We’ve been in our flat for 5 months now and the bedroom still isn’t quite finished. All the finishing touches seem to be happening in the next 2 weeks. We’re getting a new bed and finalising our art / print choices for the walls. We’ve been looking for something big for one of the walls but couldn’t find anything we really loved until I stumbled across The Poster Club.
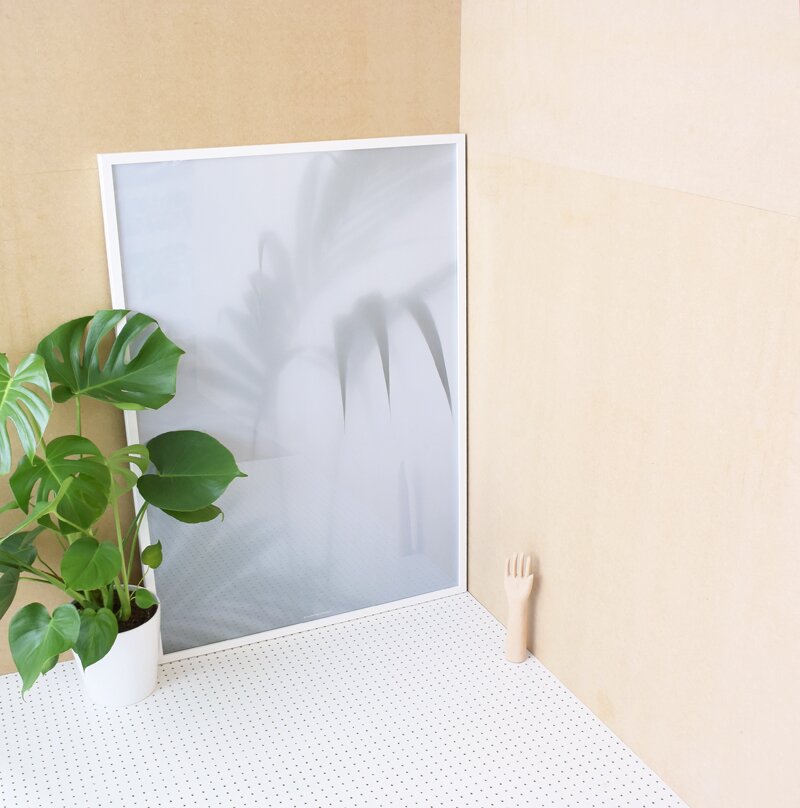
The online store, based in Copenhagen sells a range of art prints and posters by designers and illustrators from around the world. There are some really beautiful prints there but we instantly fell in love with this print by Kristina Dam.
Palm I is 70 x 100cm and it’s the perfect size for our wall. It’s hanging out in the living room right now but will move into its bedroom home in a few weeks when the makeover is finally finished!
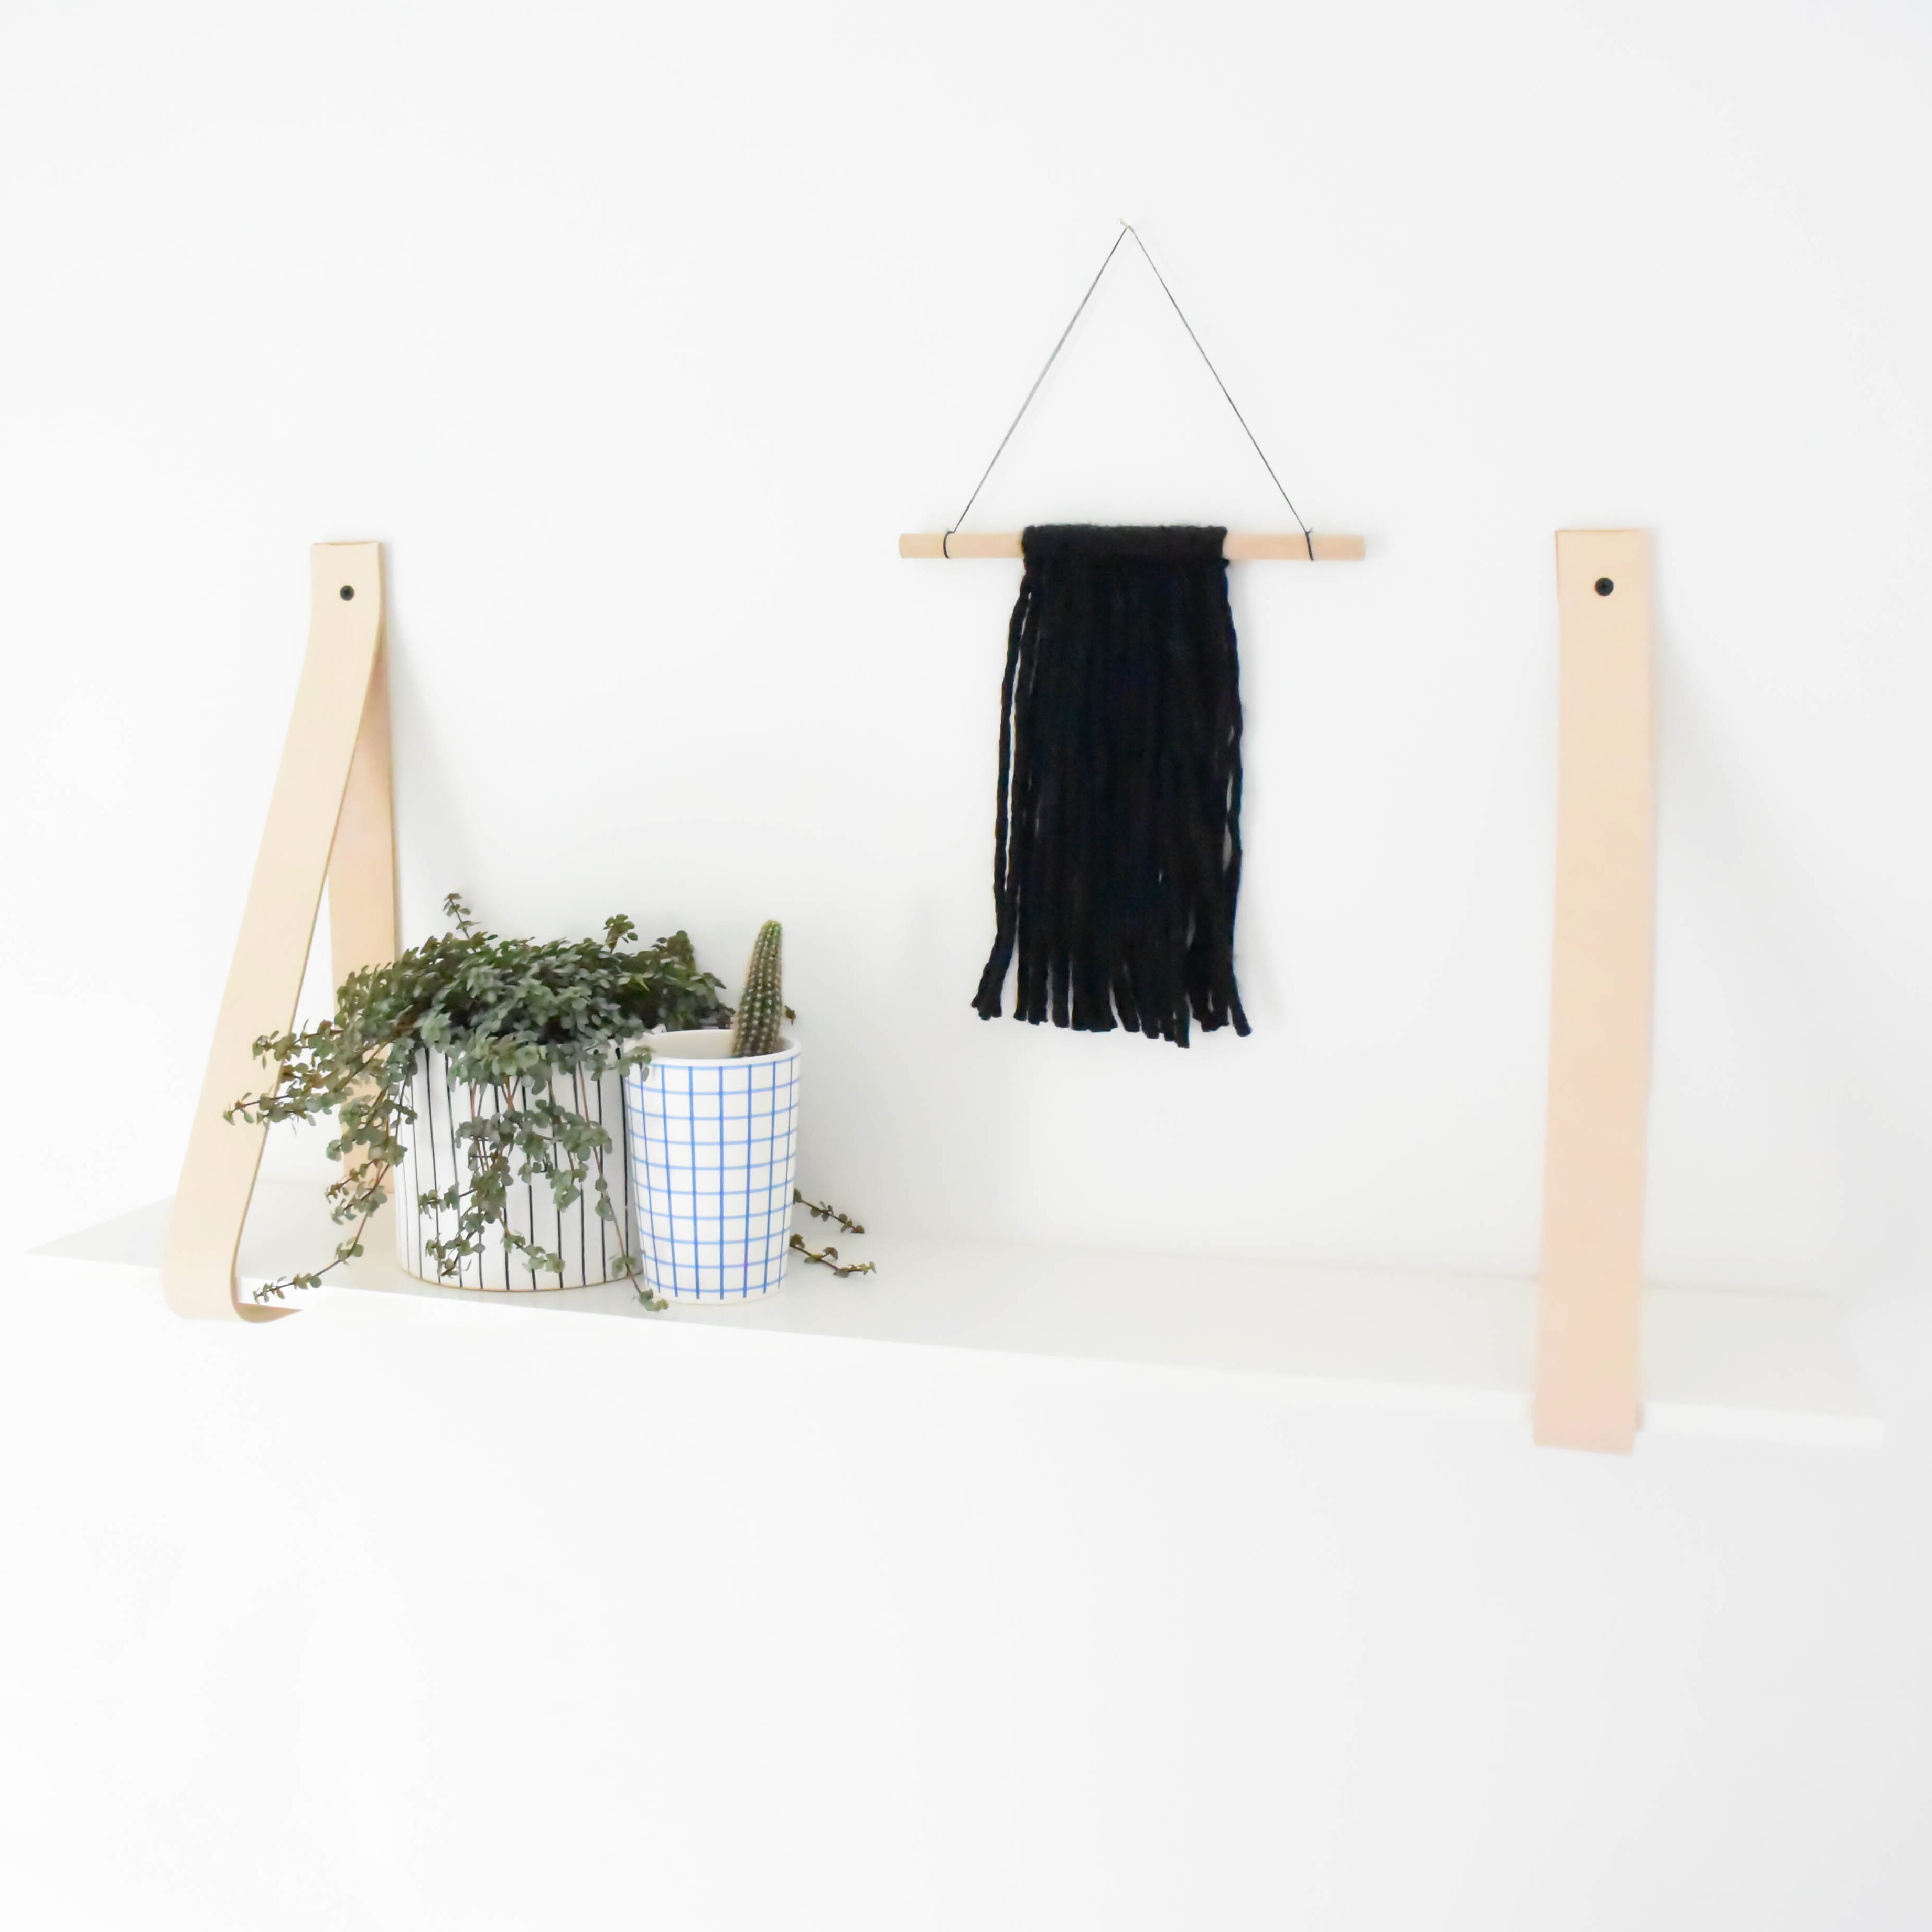
Finishing off our bedroom has been a tricky one. It’s the last room in the flat to complete and it seems to be taking forever. We need lots of storage but also want our things to look nice and not just thrown in a corner or everything piled high on boring shelves. I’ve seen a few decorative shelves around using old belts or leather straps so decided to make this one for our sleepy space.
You will need
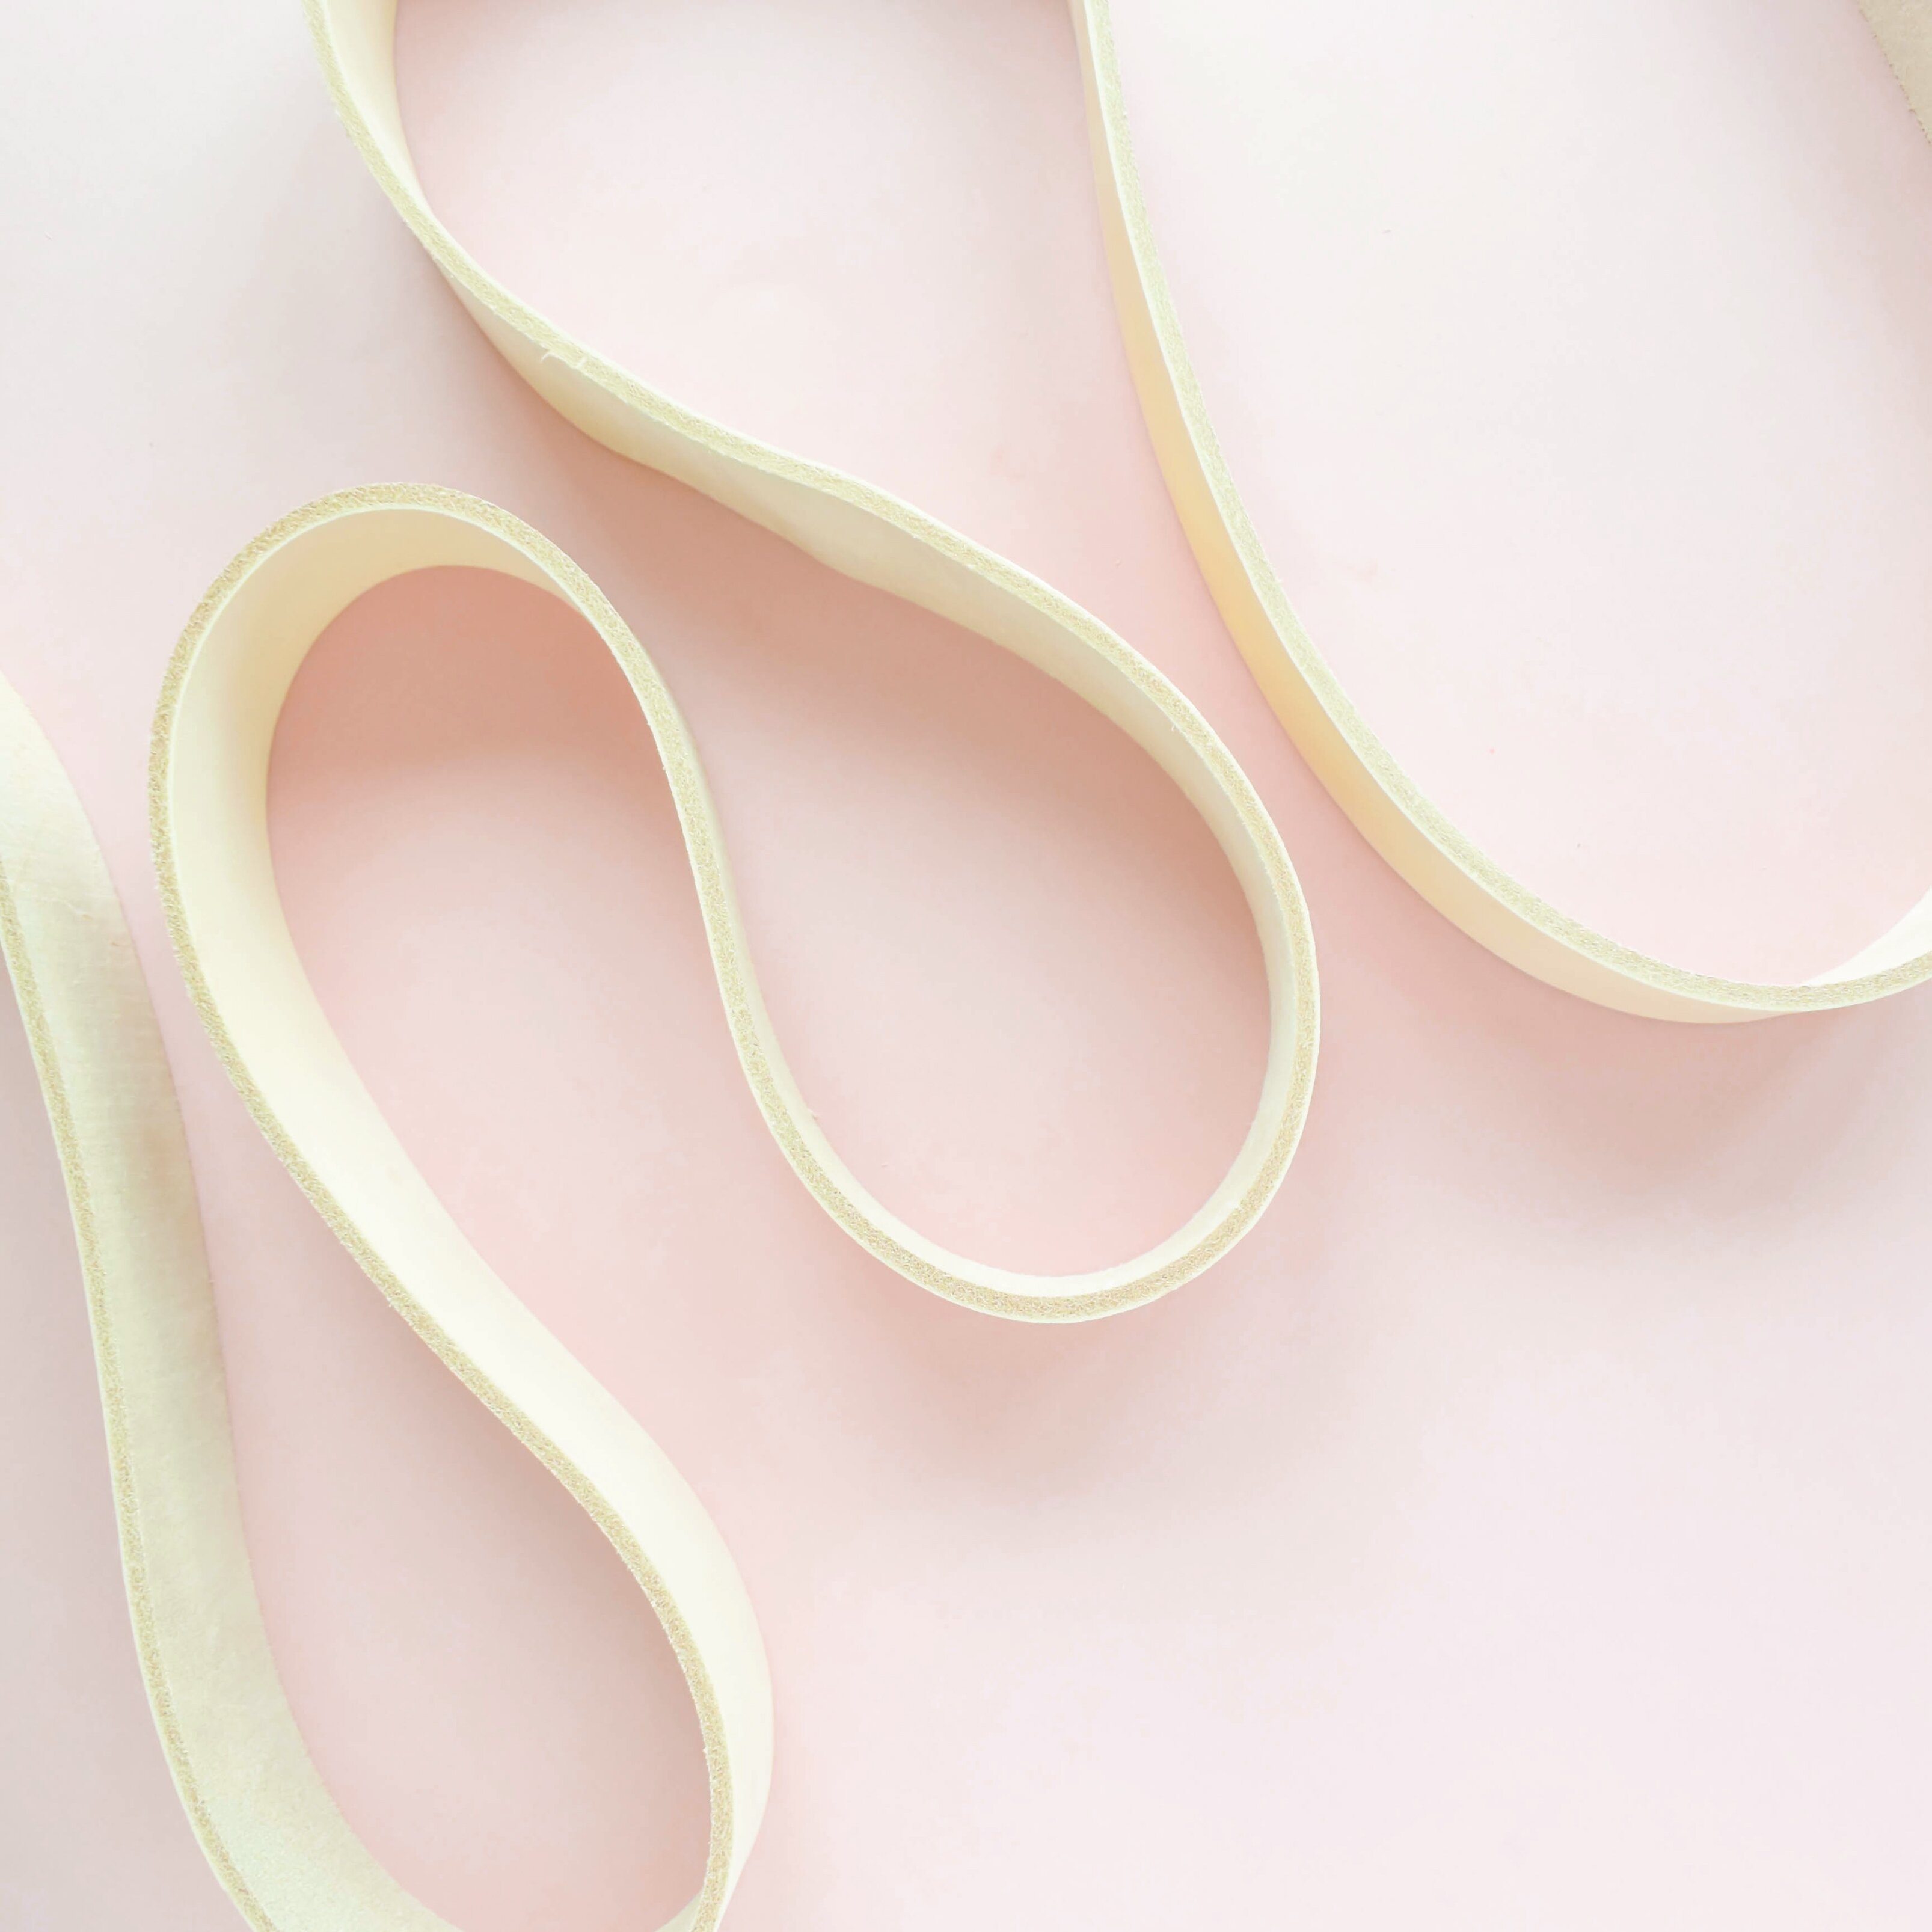
Leather strap (approx 200cm long for this shelf)
Wooden shelf (ours is 82cm x 17cm)
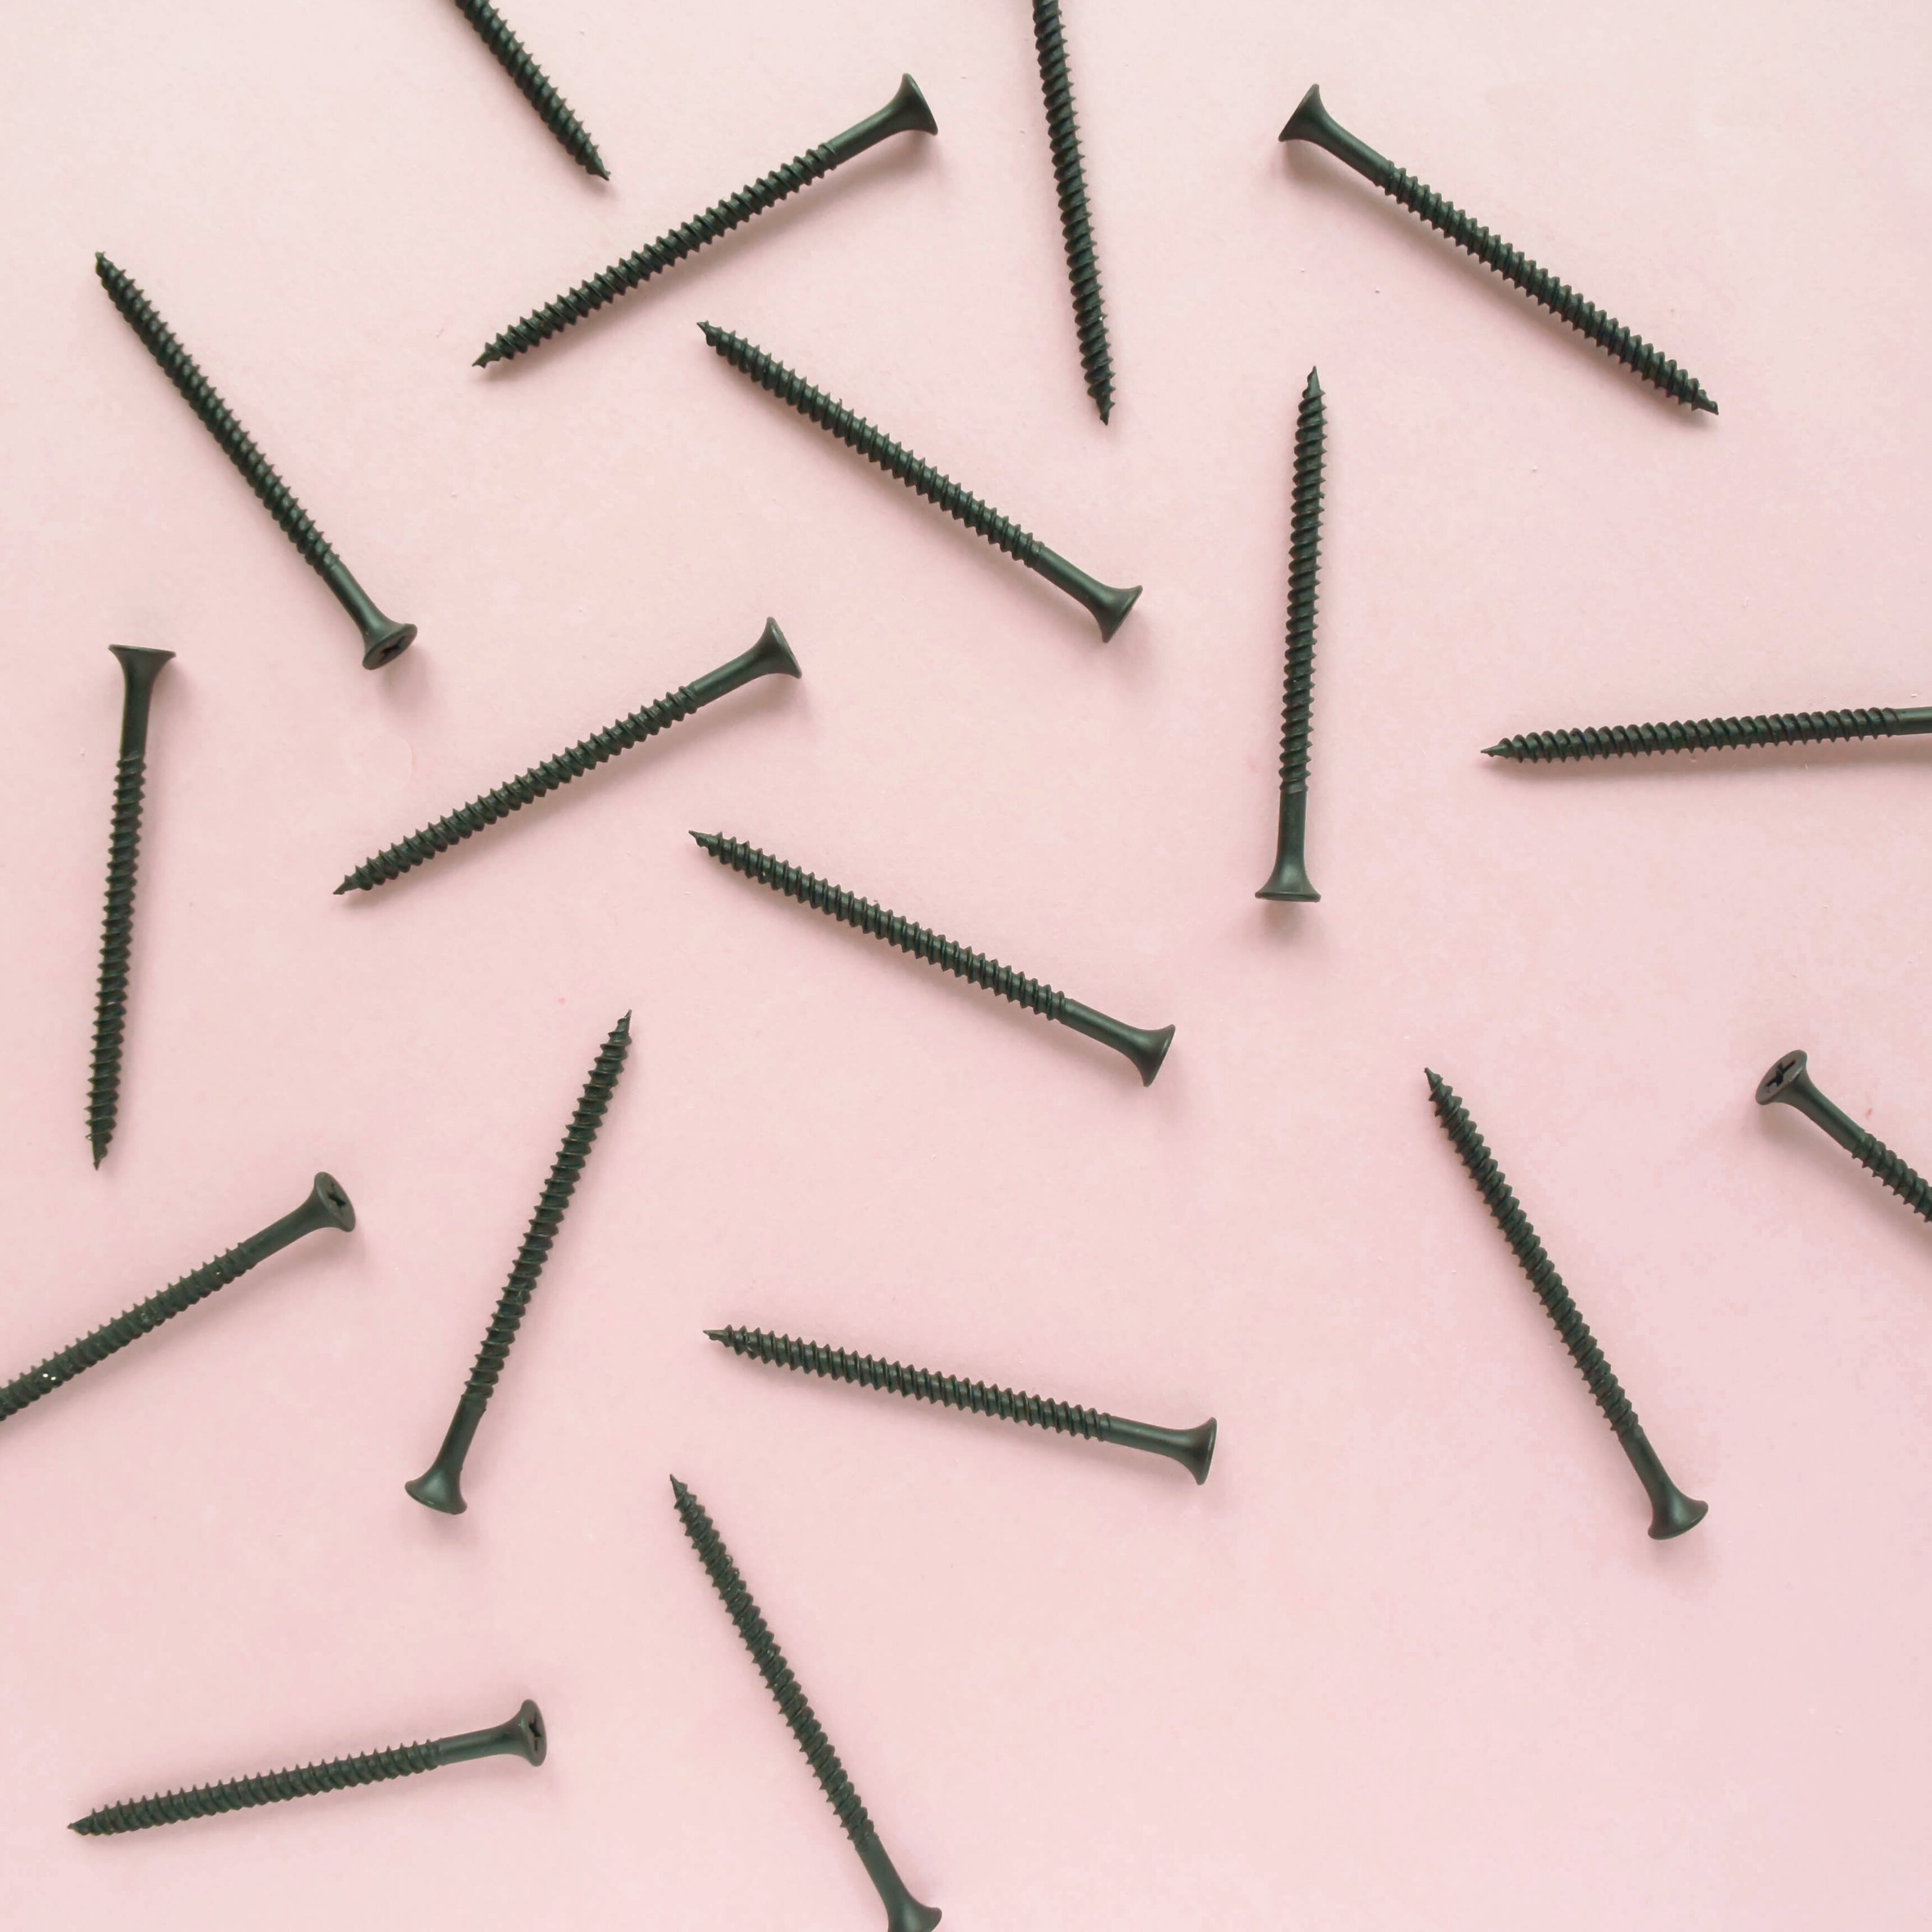
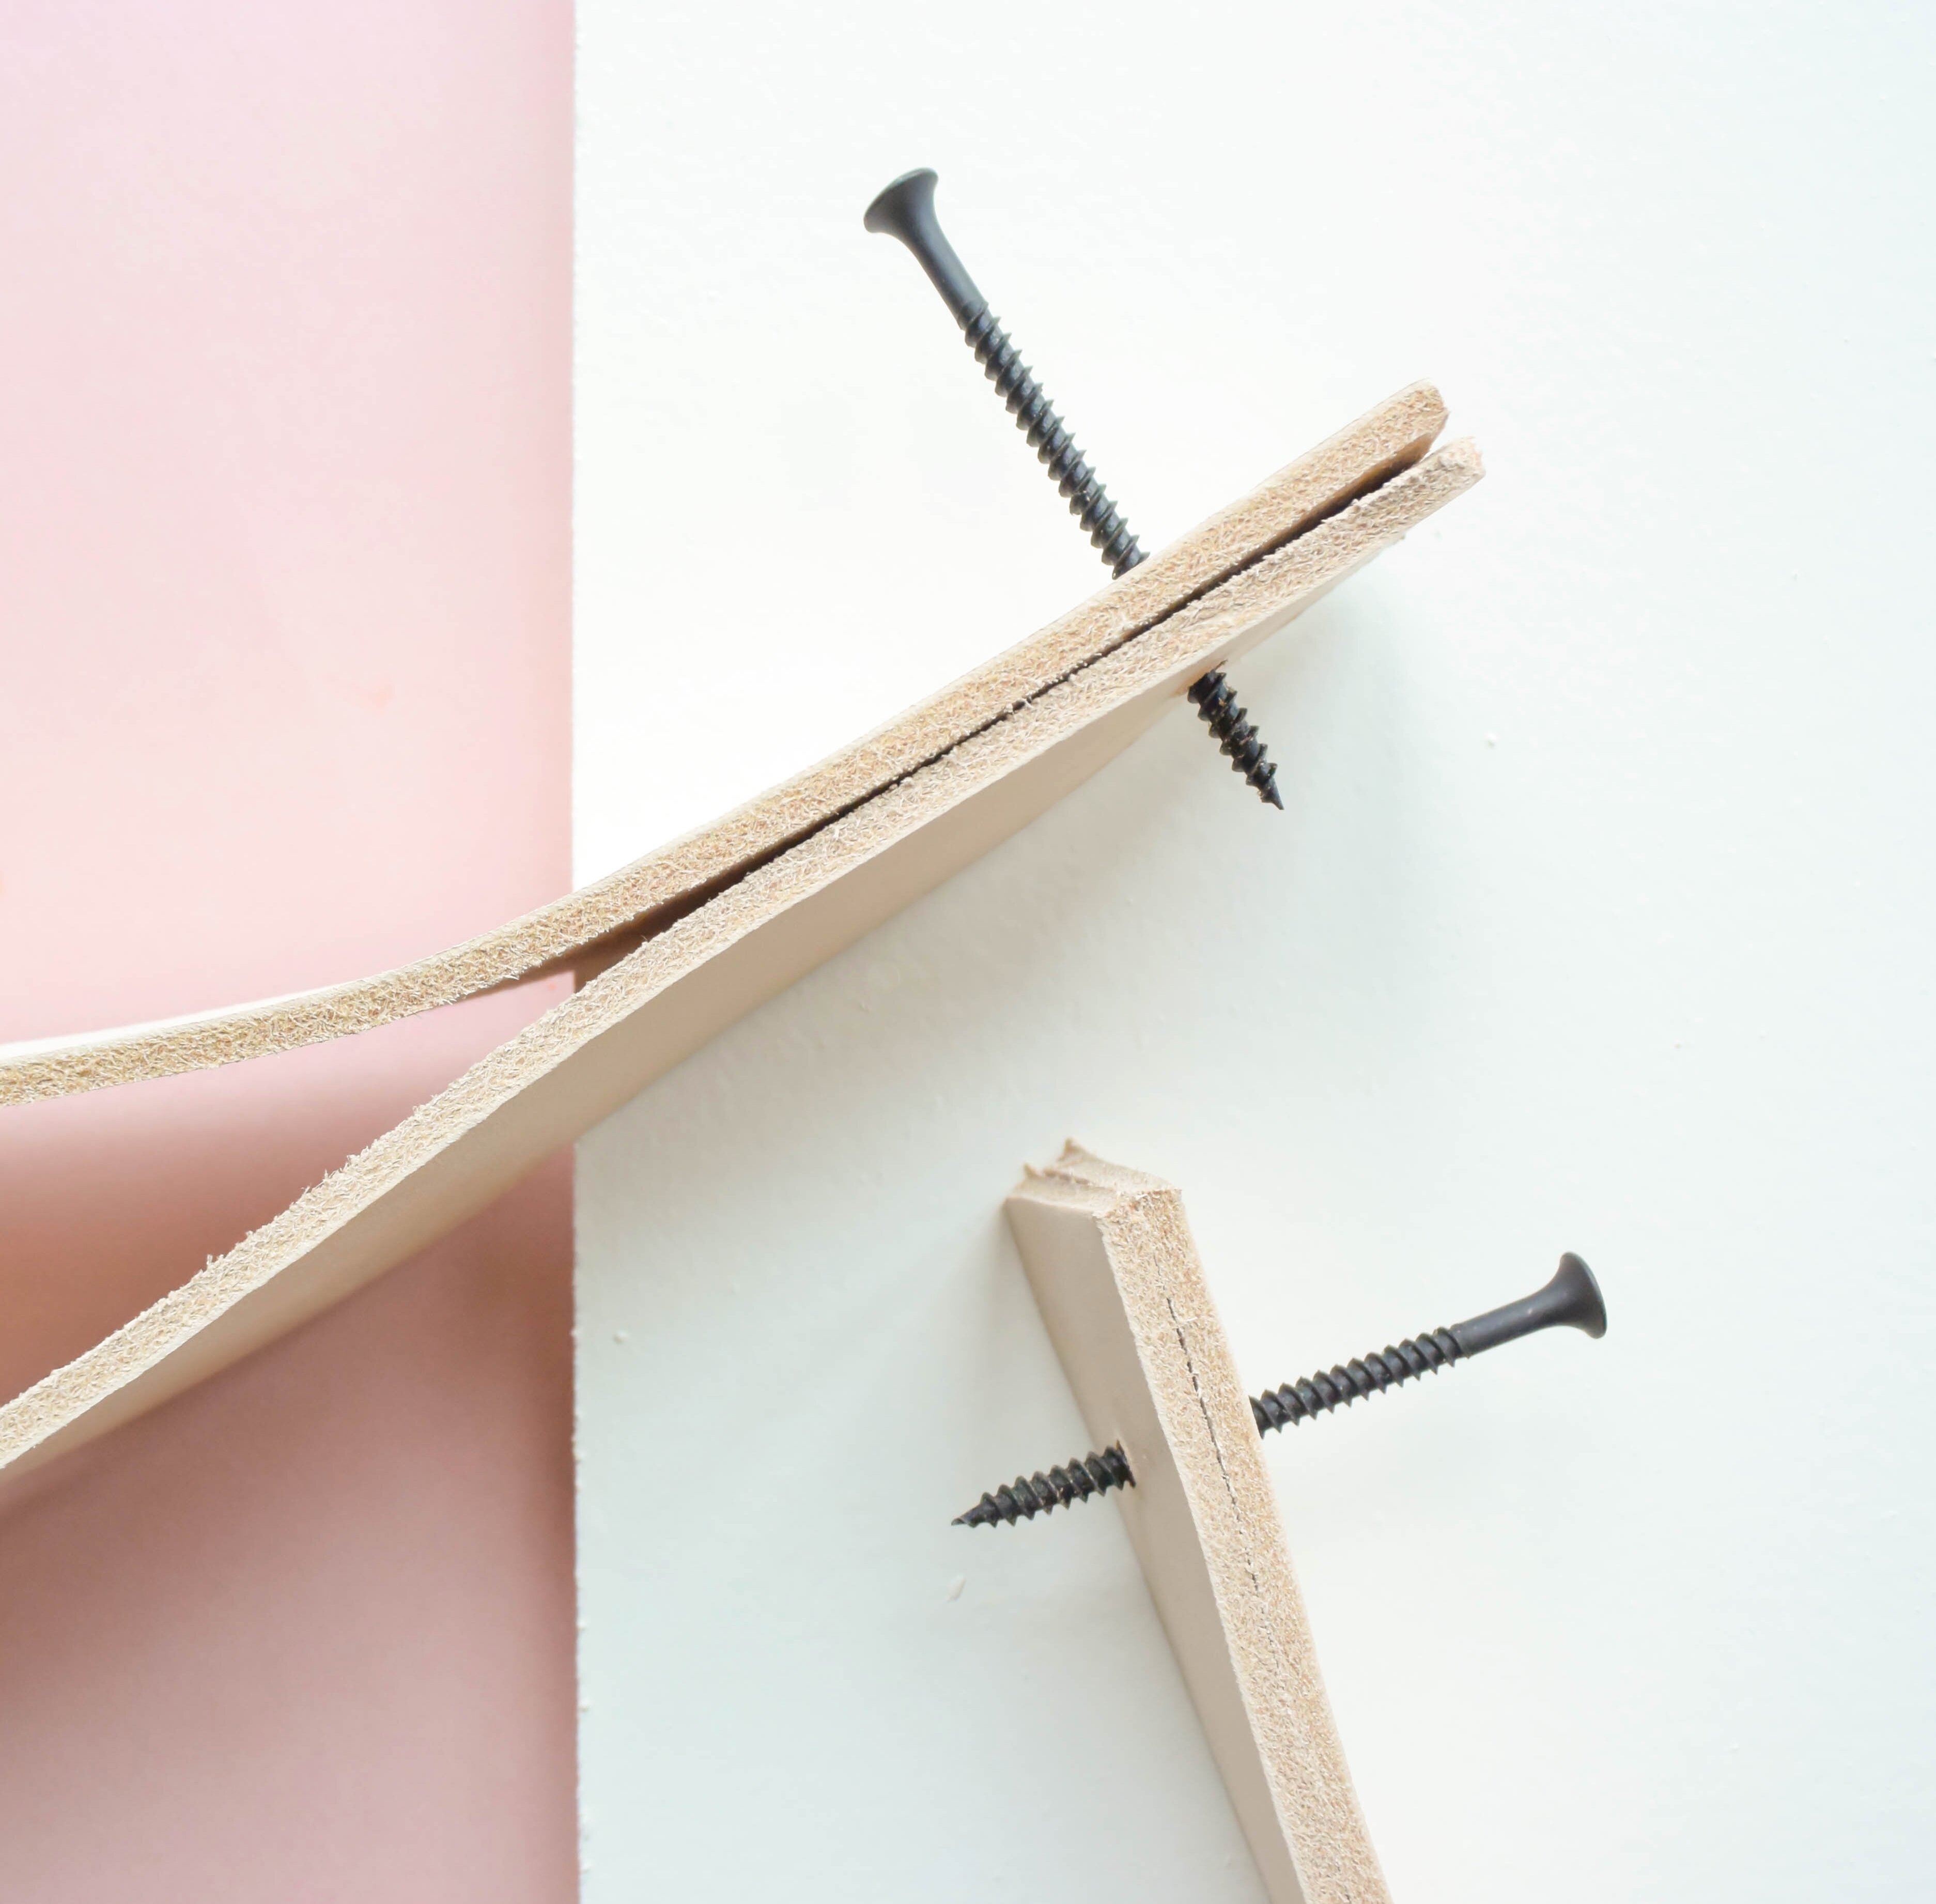
Screws (I used black but brass look good too)
Scissors or scalpel knife
Ruler / Measuring tape
Drill
Spirit Level
Wall plugs / fixings that are suitable for your wall
Take your leather strap and either cut in half or cut 2 pieces to your desired length (ours was 200cm x 5cm). You can do this with a ruler and scalpel knife, or scissors if you prefer. Make sure your scissors are sharp as leather is not easy to cut with blunt tools!
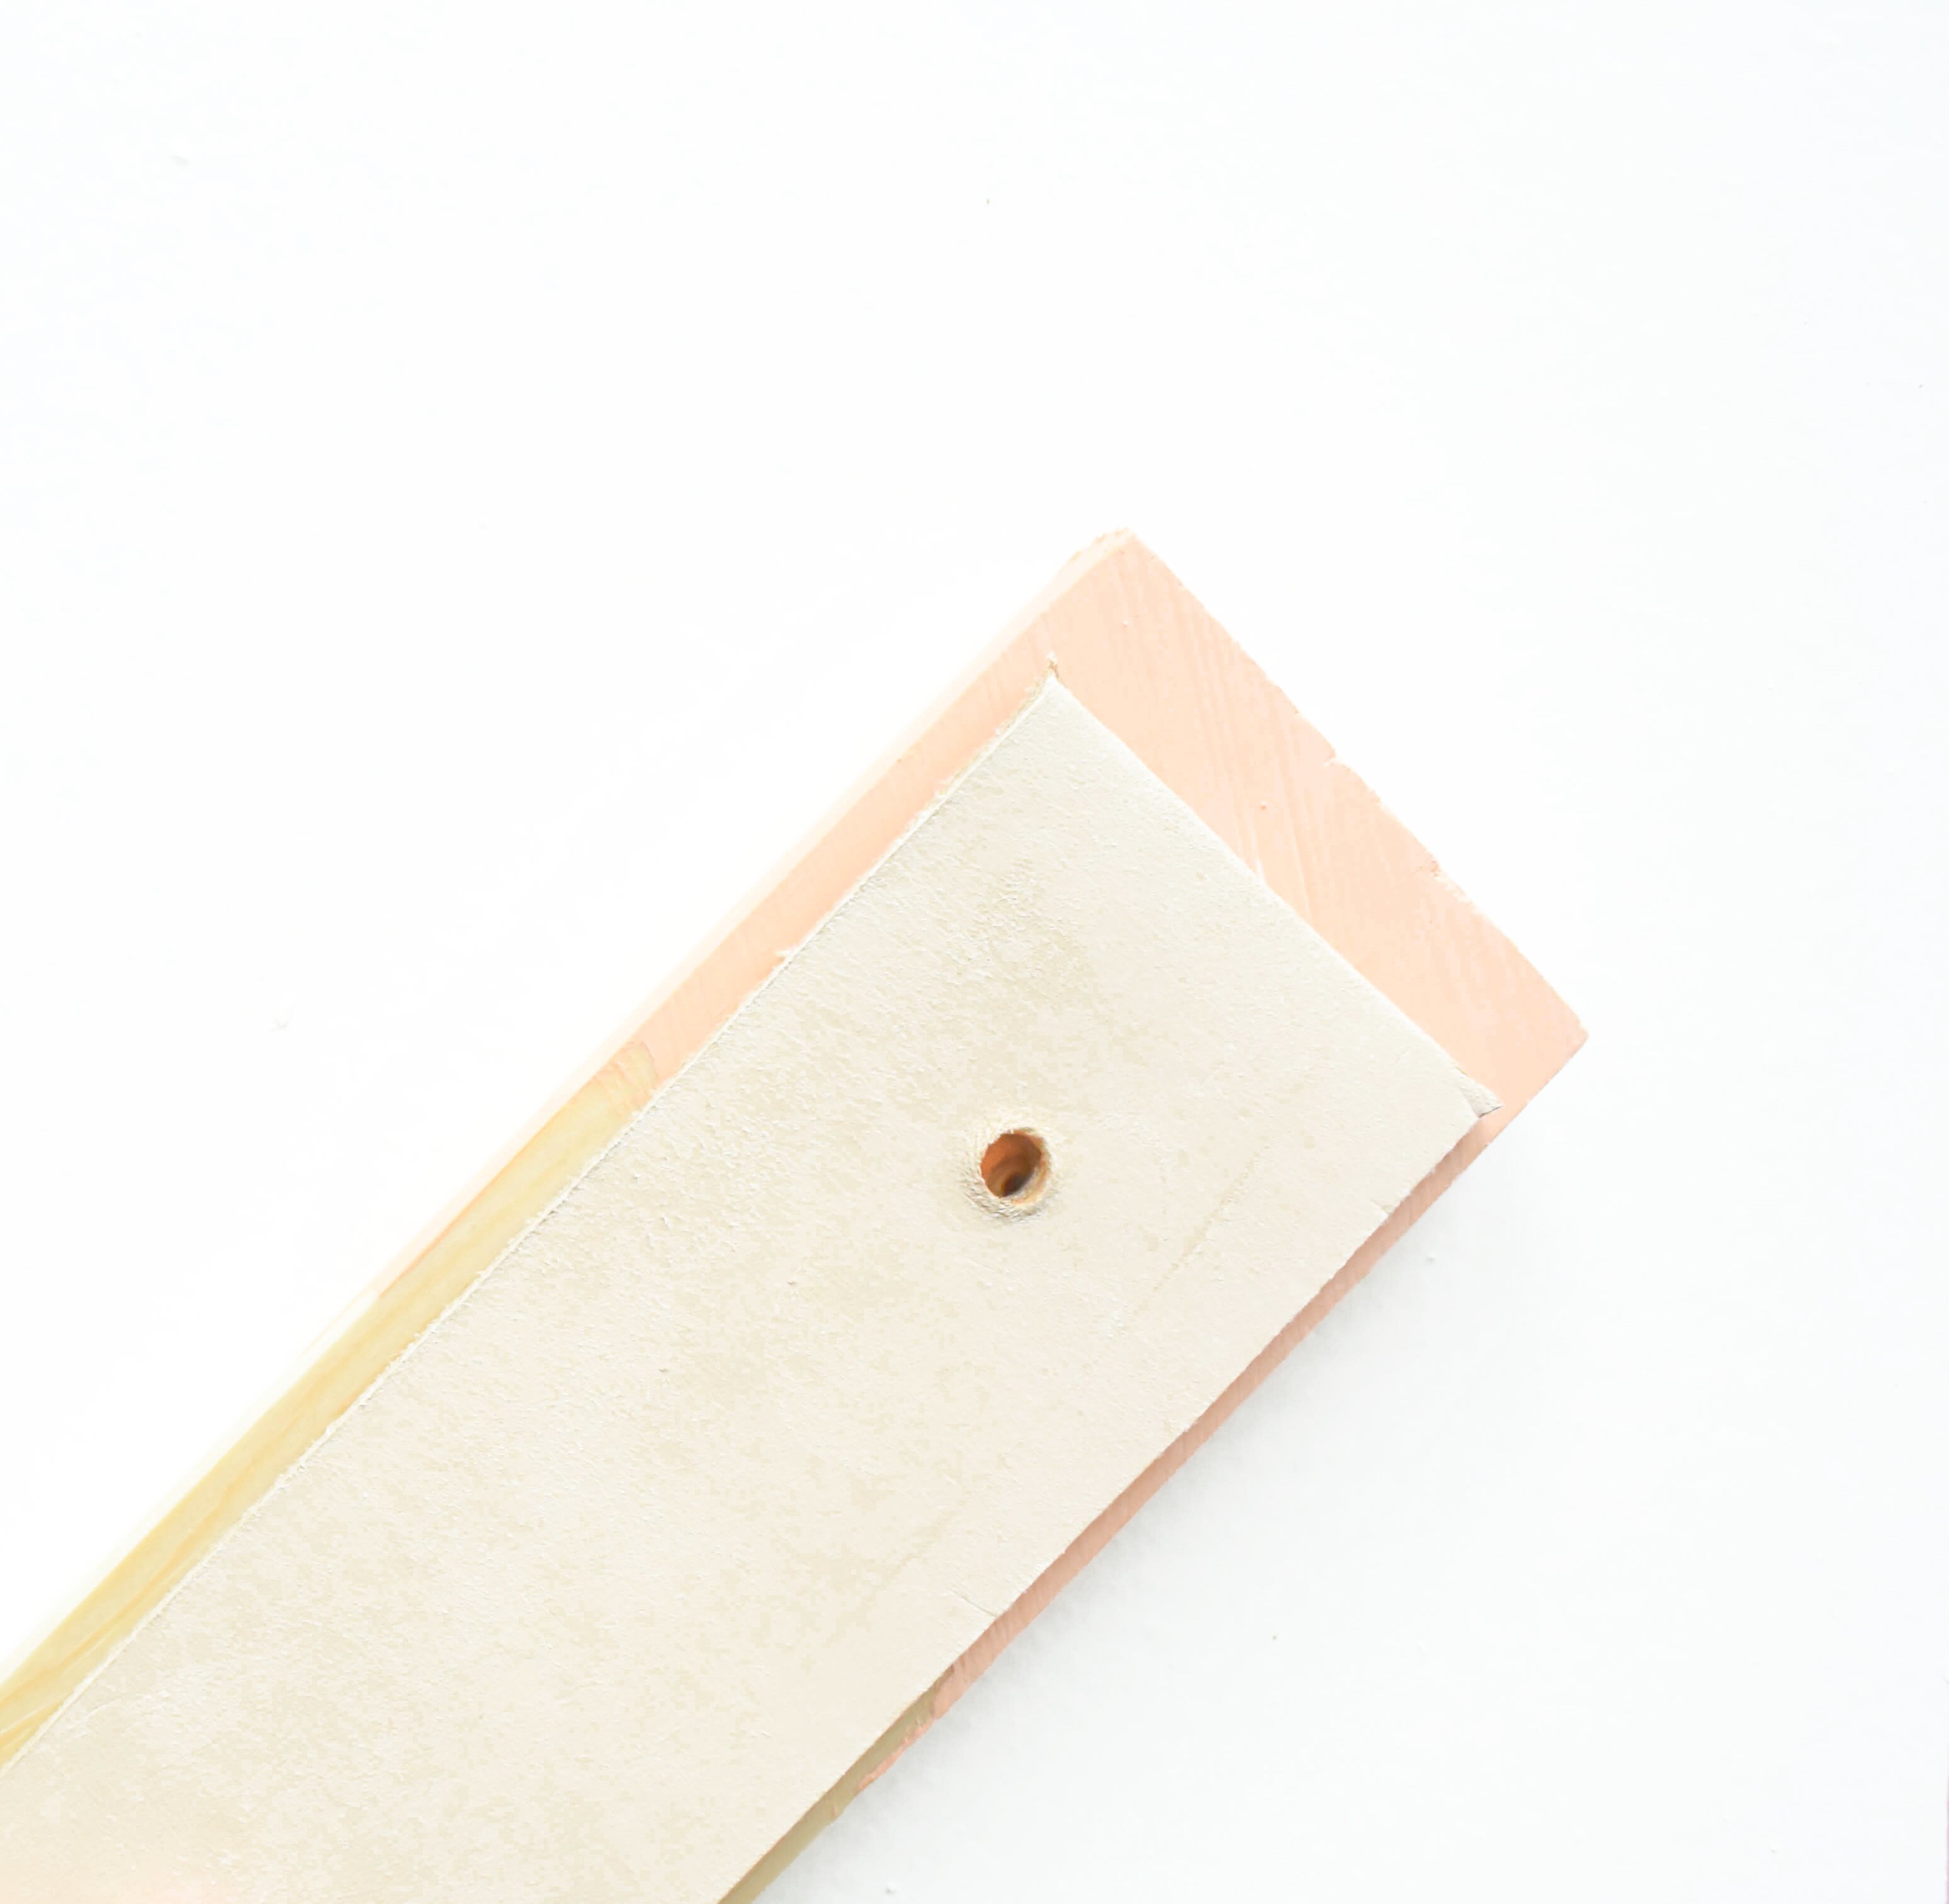
Using the drill, make a hole at each end of each strap, approximately 2cm away from the ends and centred. I used a scrap piece of wood under the leather to stop me drilling into my table.
Quit screwing around! (It’s time to choose your screws). I chose black to compliment the rest of the colours in the room but I really like the way brass screws look with this paler tan leather.
Fold each of your straps in half and twist in your screws, lining up your holes. Using your spirit level, and hopefully a friend to help hold and keep balance, it’s time to fix the shelf to your wall. Make sure you use the correct fixings for the type of wall you have. Simply mark out your screw holes on the wall, drill, add wall plugs and screw in place.
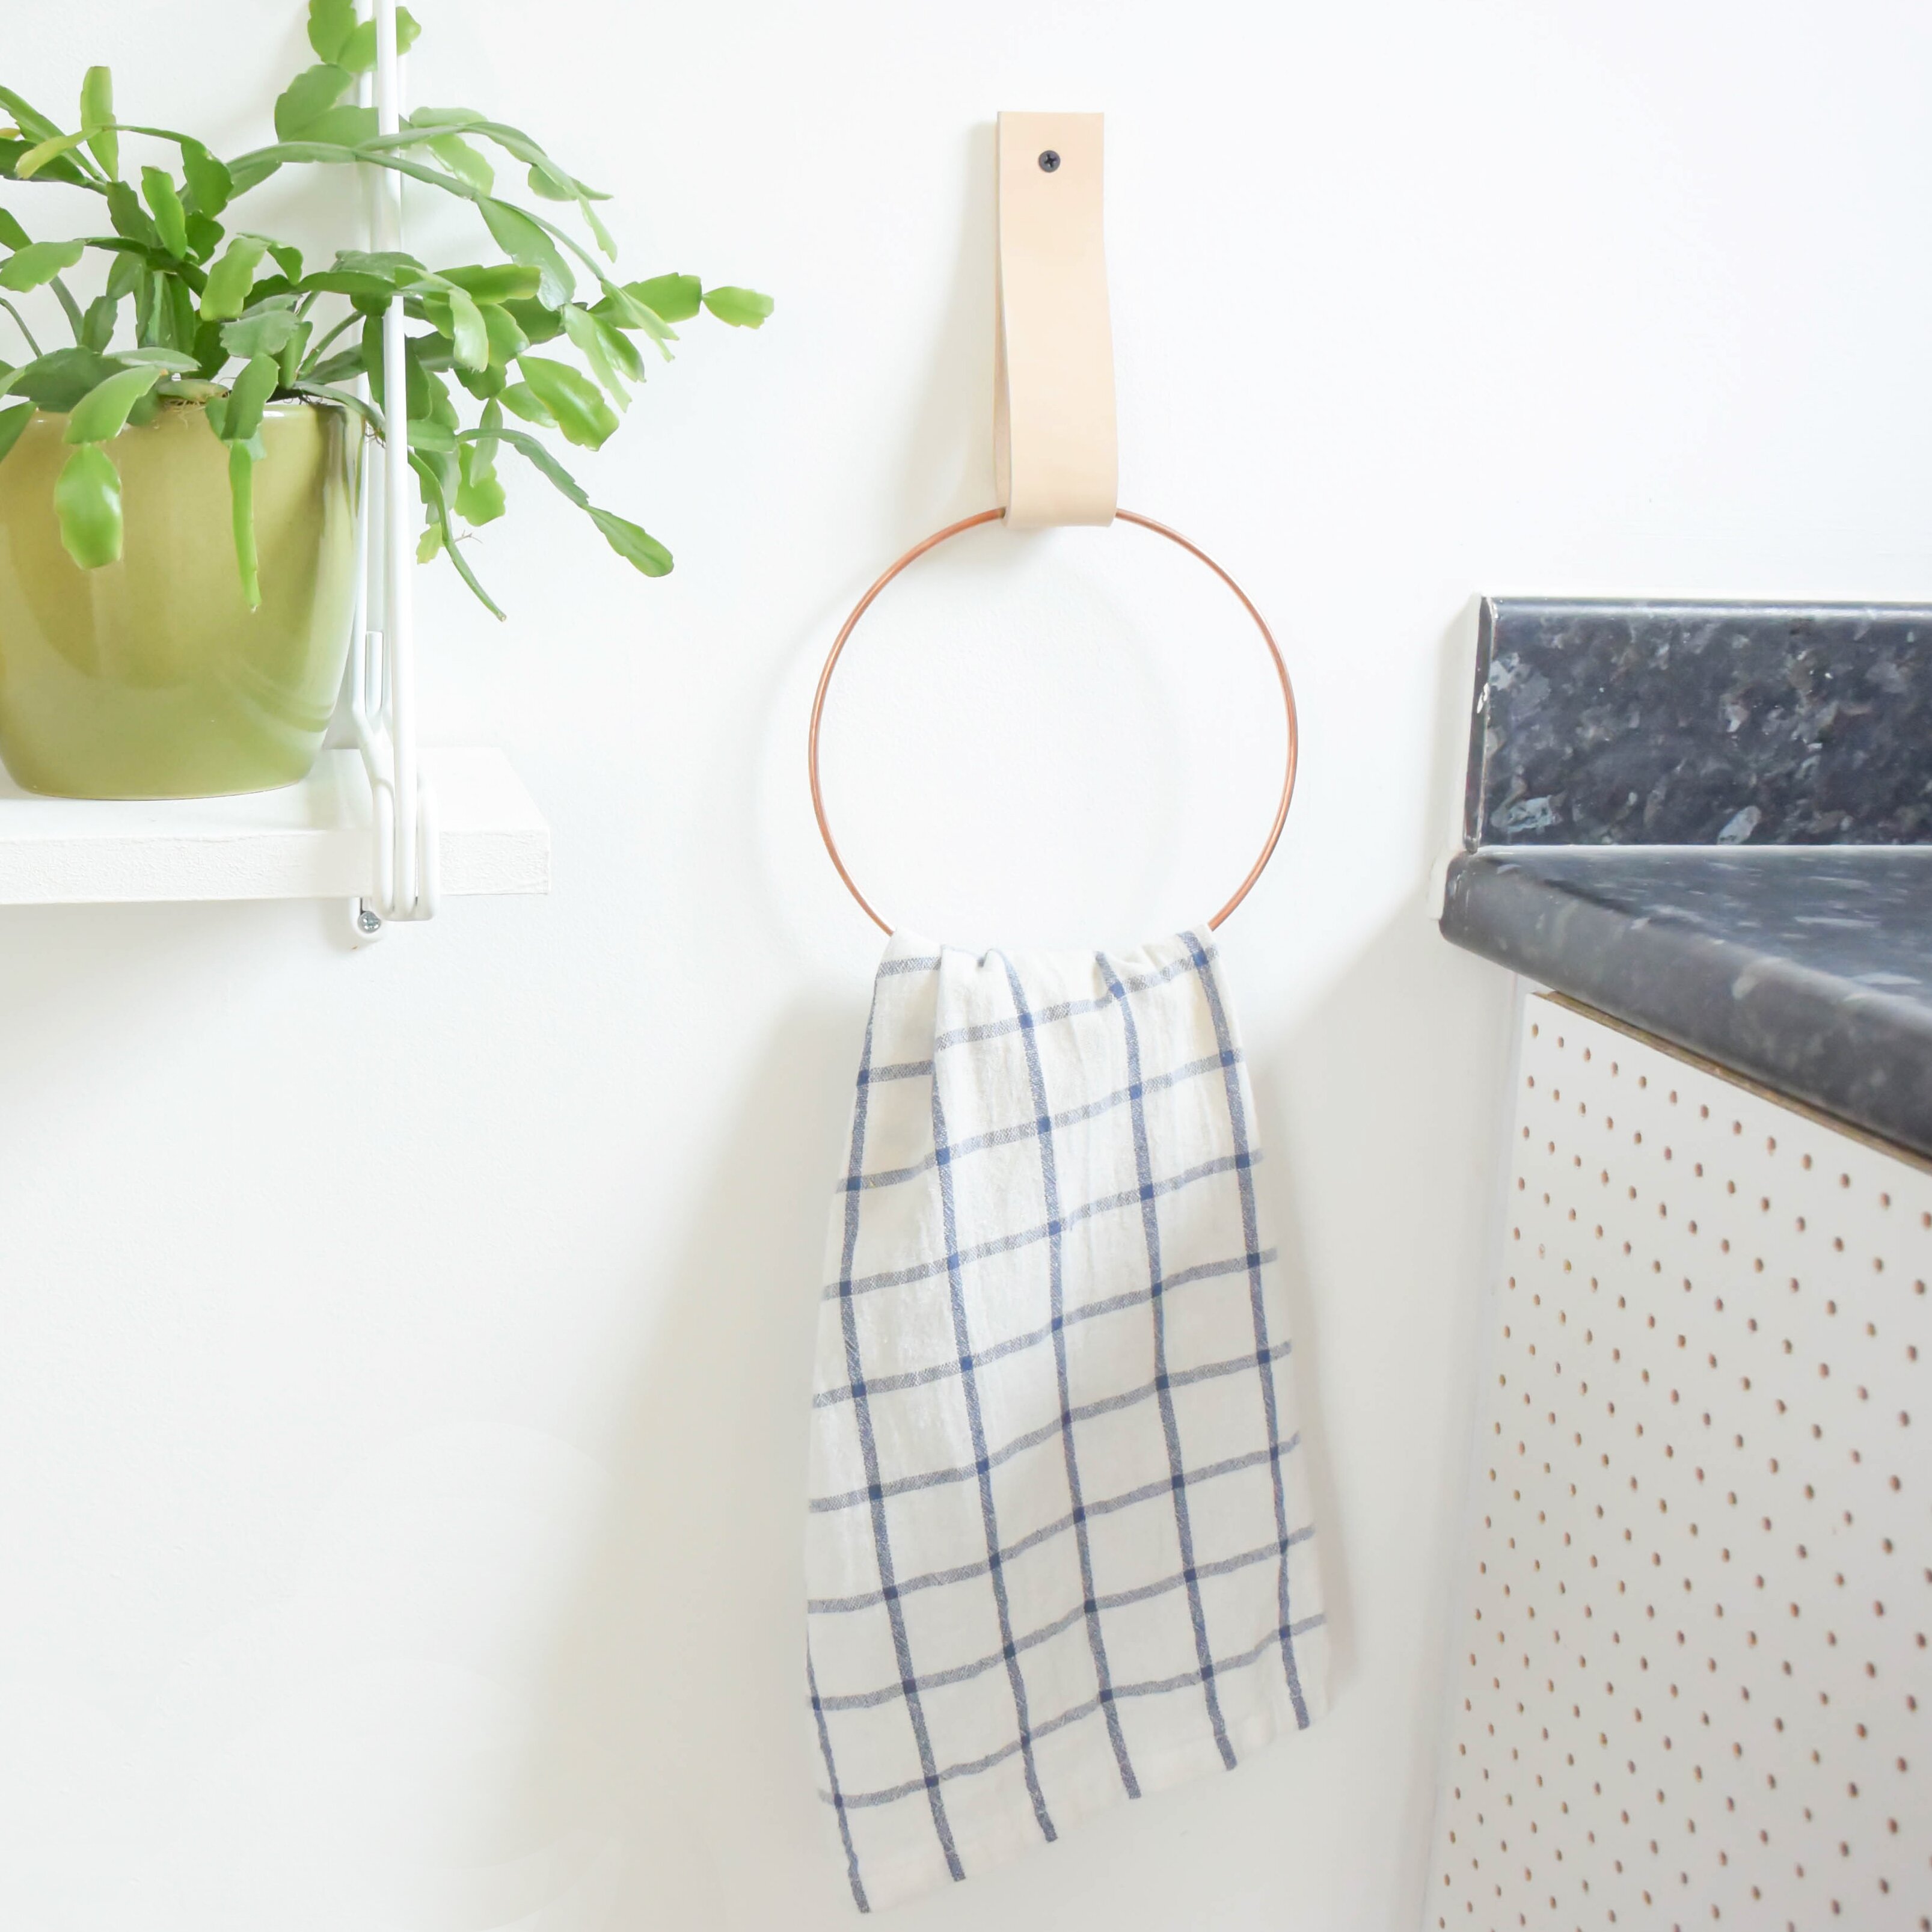
It’s a decorative shelf and we’re not planning on putting too much on it but I’d say this could hold a decent amount of weight. Don’t go sitting on it, or piling your entire book collection on it, but you get the idea. There was a spare bit of leather left over so I also made this tea towel holder for the kitchen using the same drill method as above and a copper hoop. It might just make drying the dishes a bit less tedious. Maybe.
Last Monday I was nominated by the lovely Mel Wiggins to take part in a blog hop. Bloggers get to tell people a bit about themselves and then recommend some of their favourite bloggers to their readers, nominate them to take part and the hop continues. Wheeee!
1. What have been the doings/makings/scribblings at your desk this week?
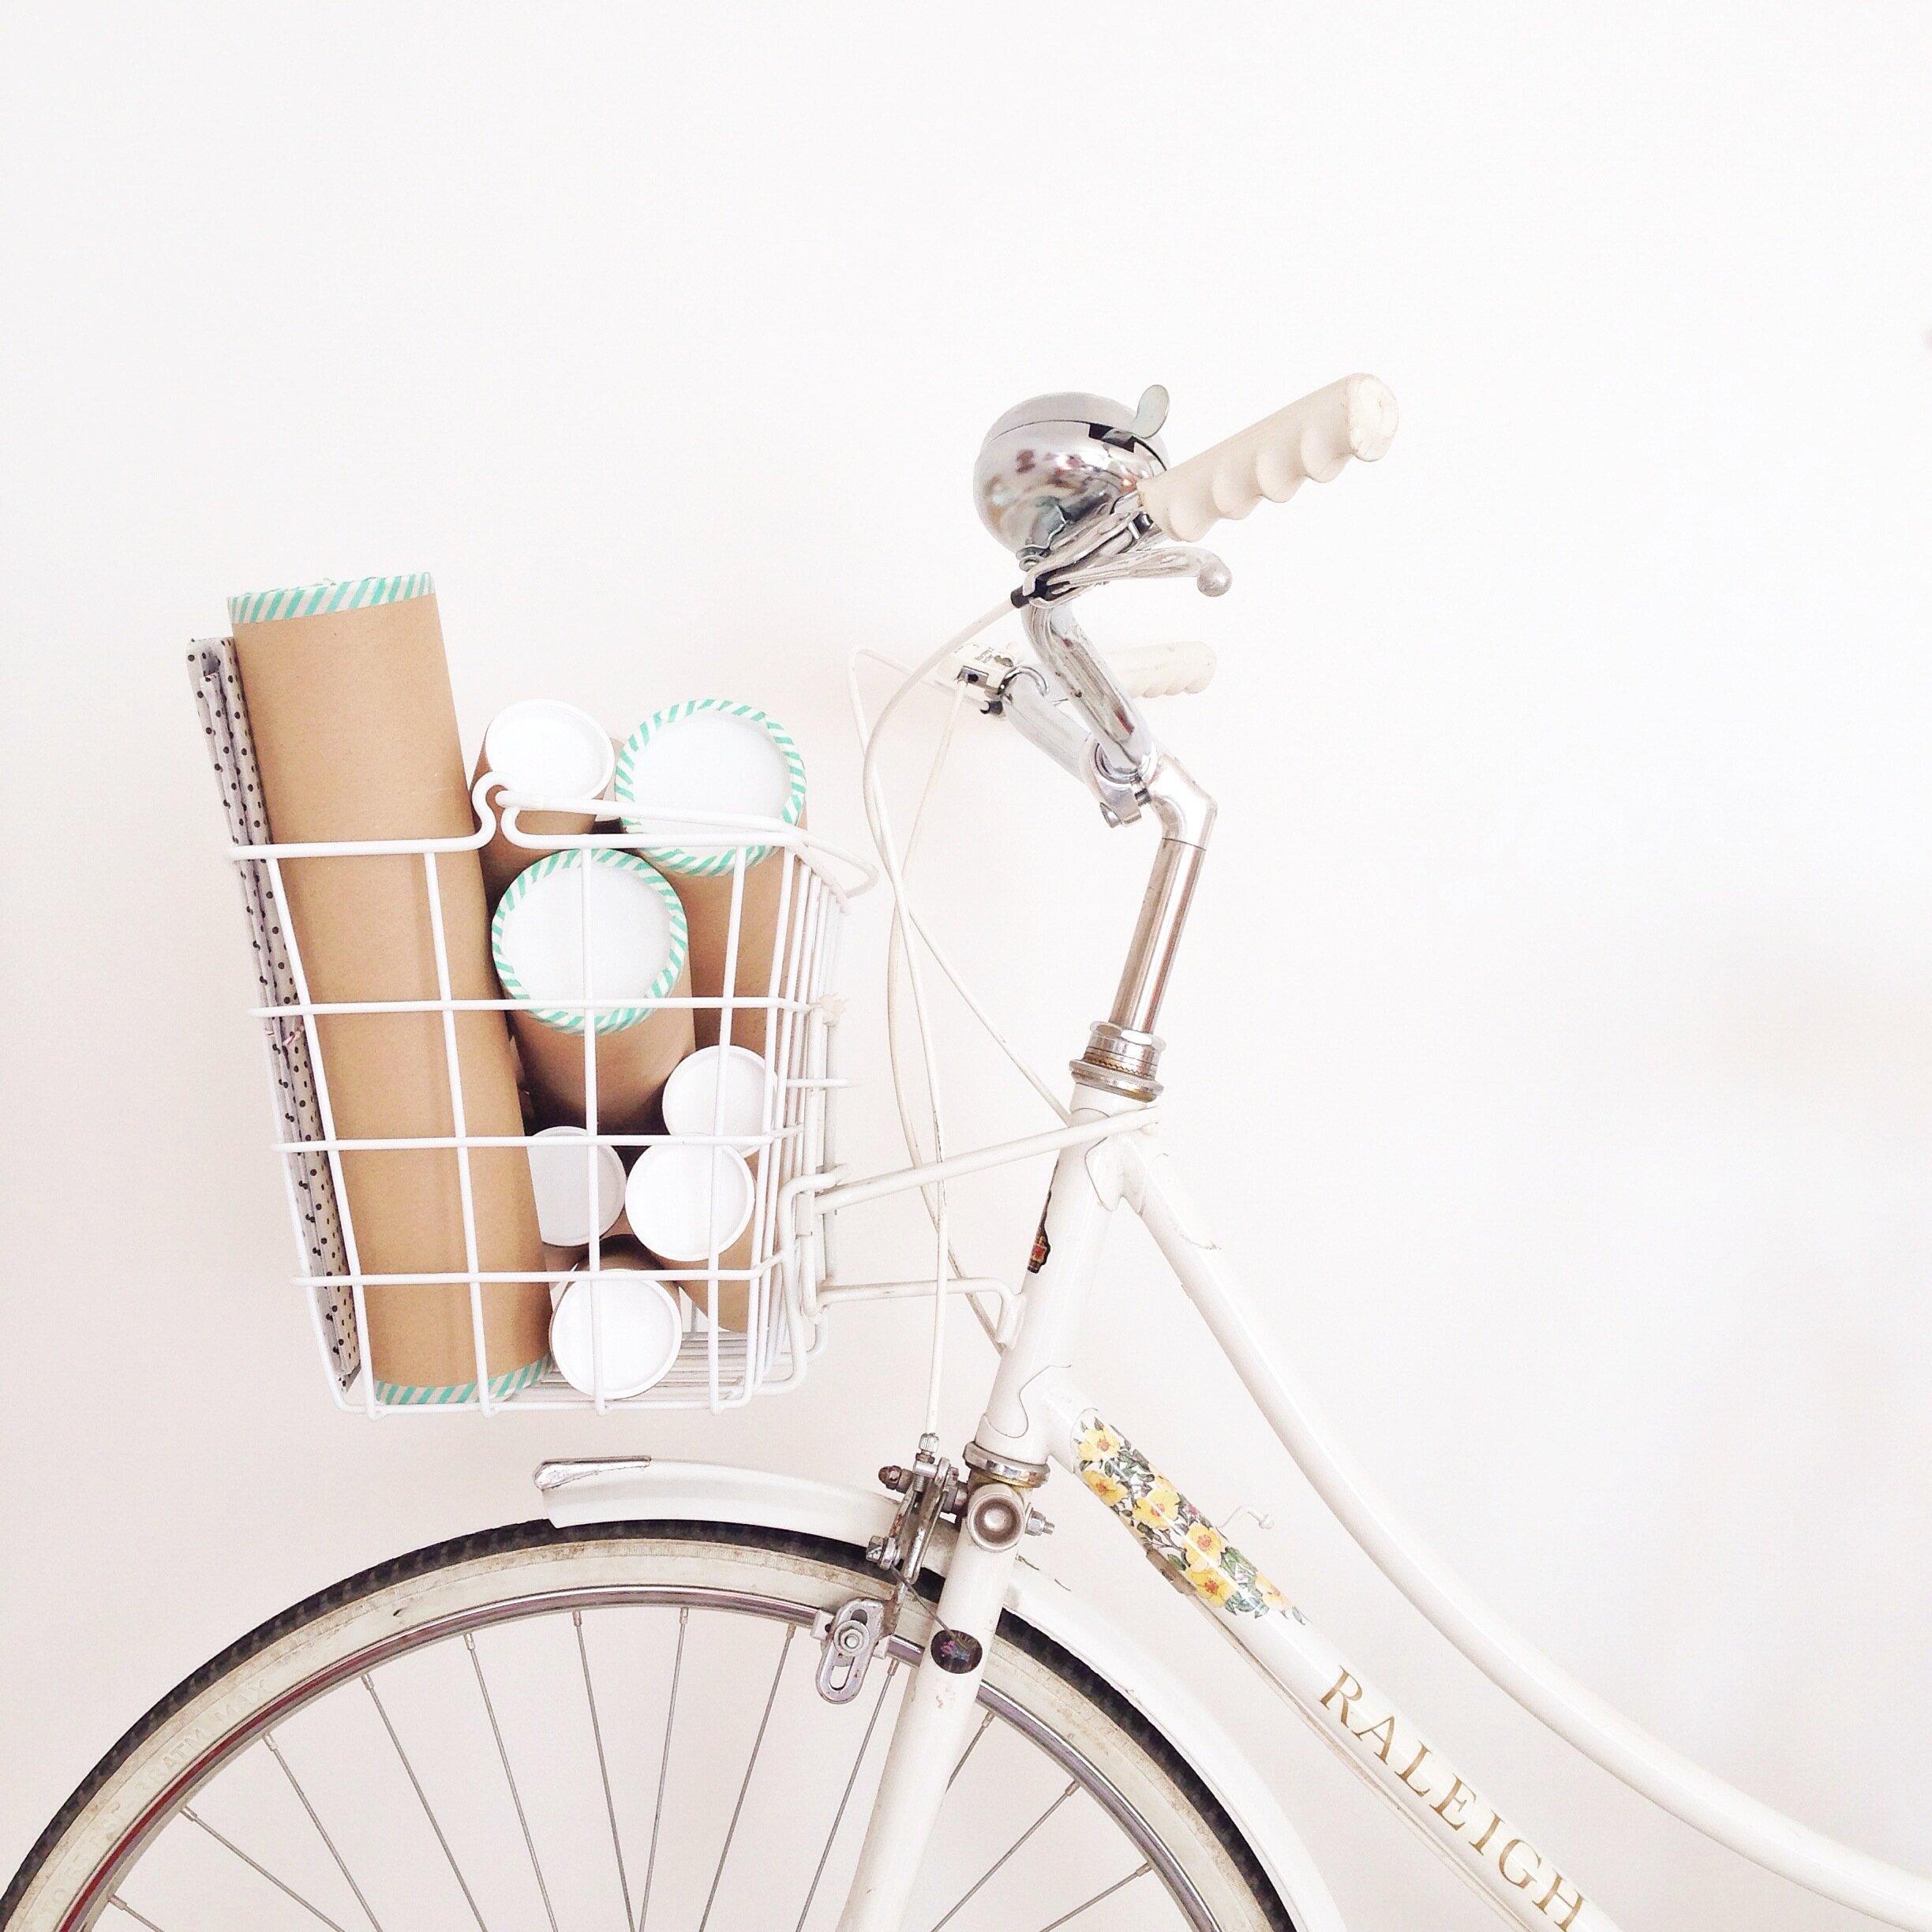
This week I’ve got some projects to work on for clients. One of which is a Christmas shoot. It’s July. It’s 25 degrees outside and I’m not in the mood! It is fun though to gather festive props and we have a beautiful location house to style for the shoot. I always love being in and snooping around other people’s homes (not in a creepy way). As well as that, I have a couple of DIYs to get up here on the blog and still have a list of things to complete in the flat. Most rooms are now finished but there are a lot of annoying little jobs that need to be completed before it’s really finished. I’ll also be making my daily trips to the post office every day this week to post print orders from the online shop. Getting up the massive hill to the post office really is a struggle as I seem to have the heaviest bike in the world. Whizzing back down the hill really is the best.
2. Where are you currently finding your inspiration? (Influences, heroes, sources of inspiration, paths exploring)?
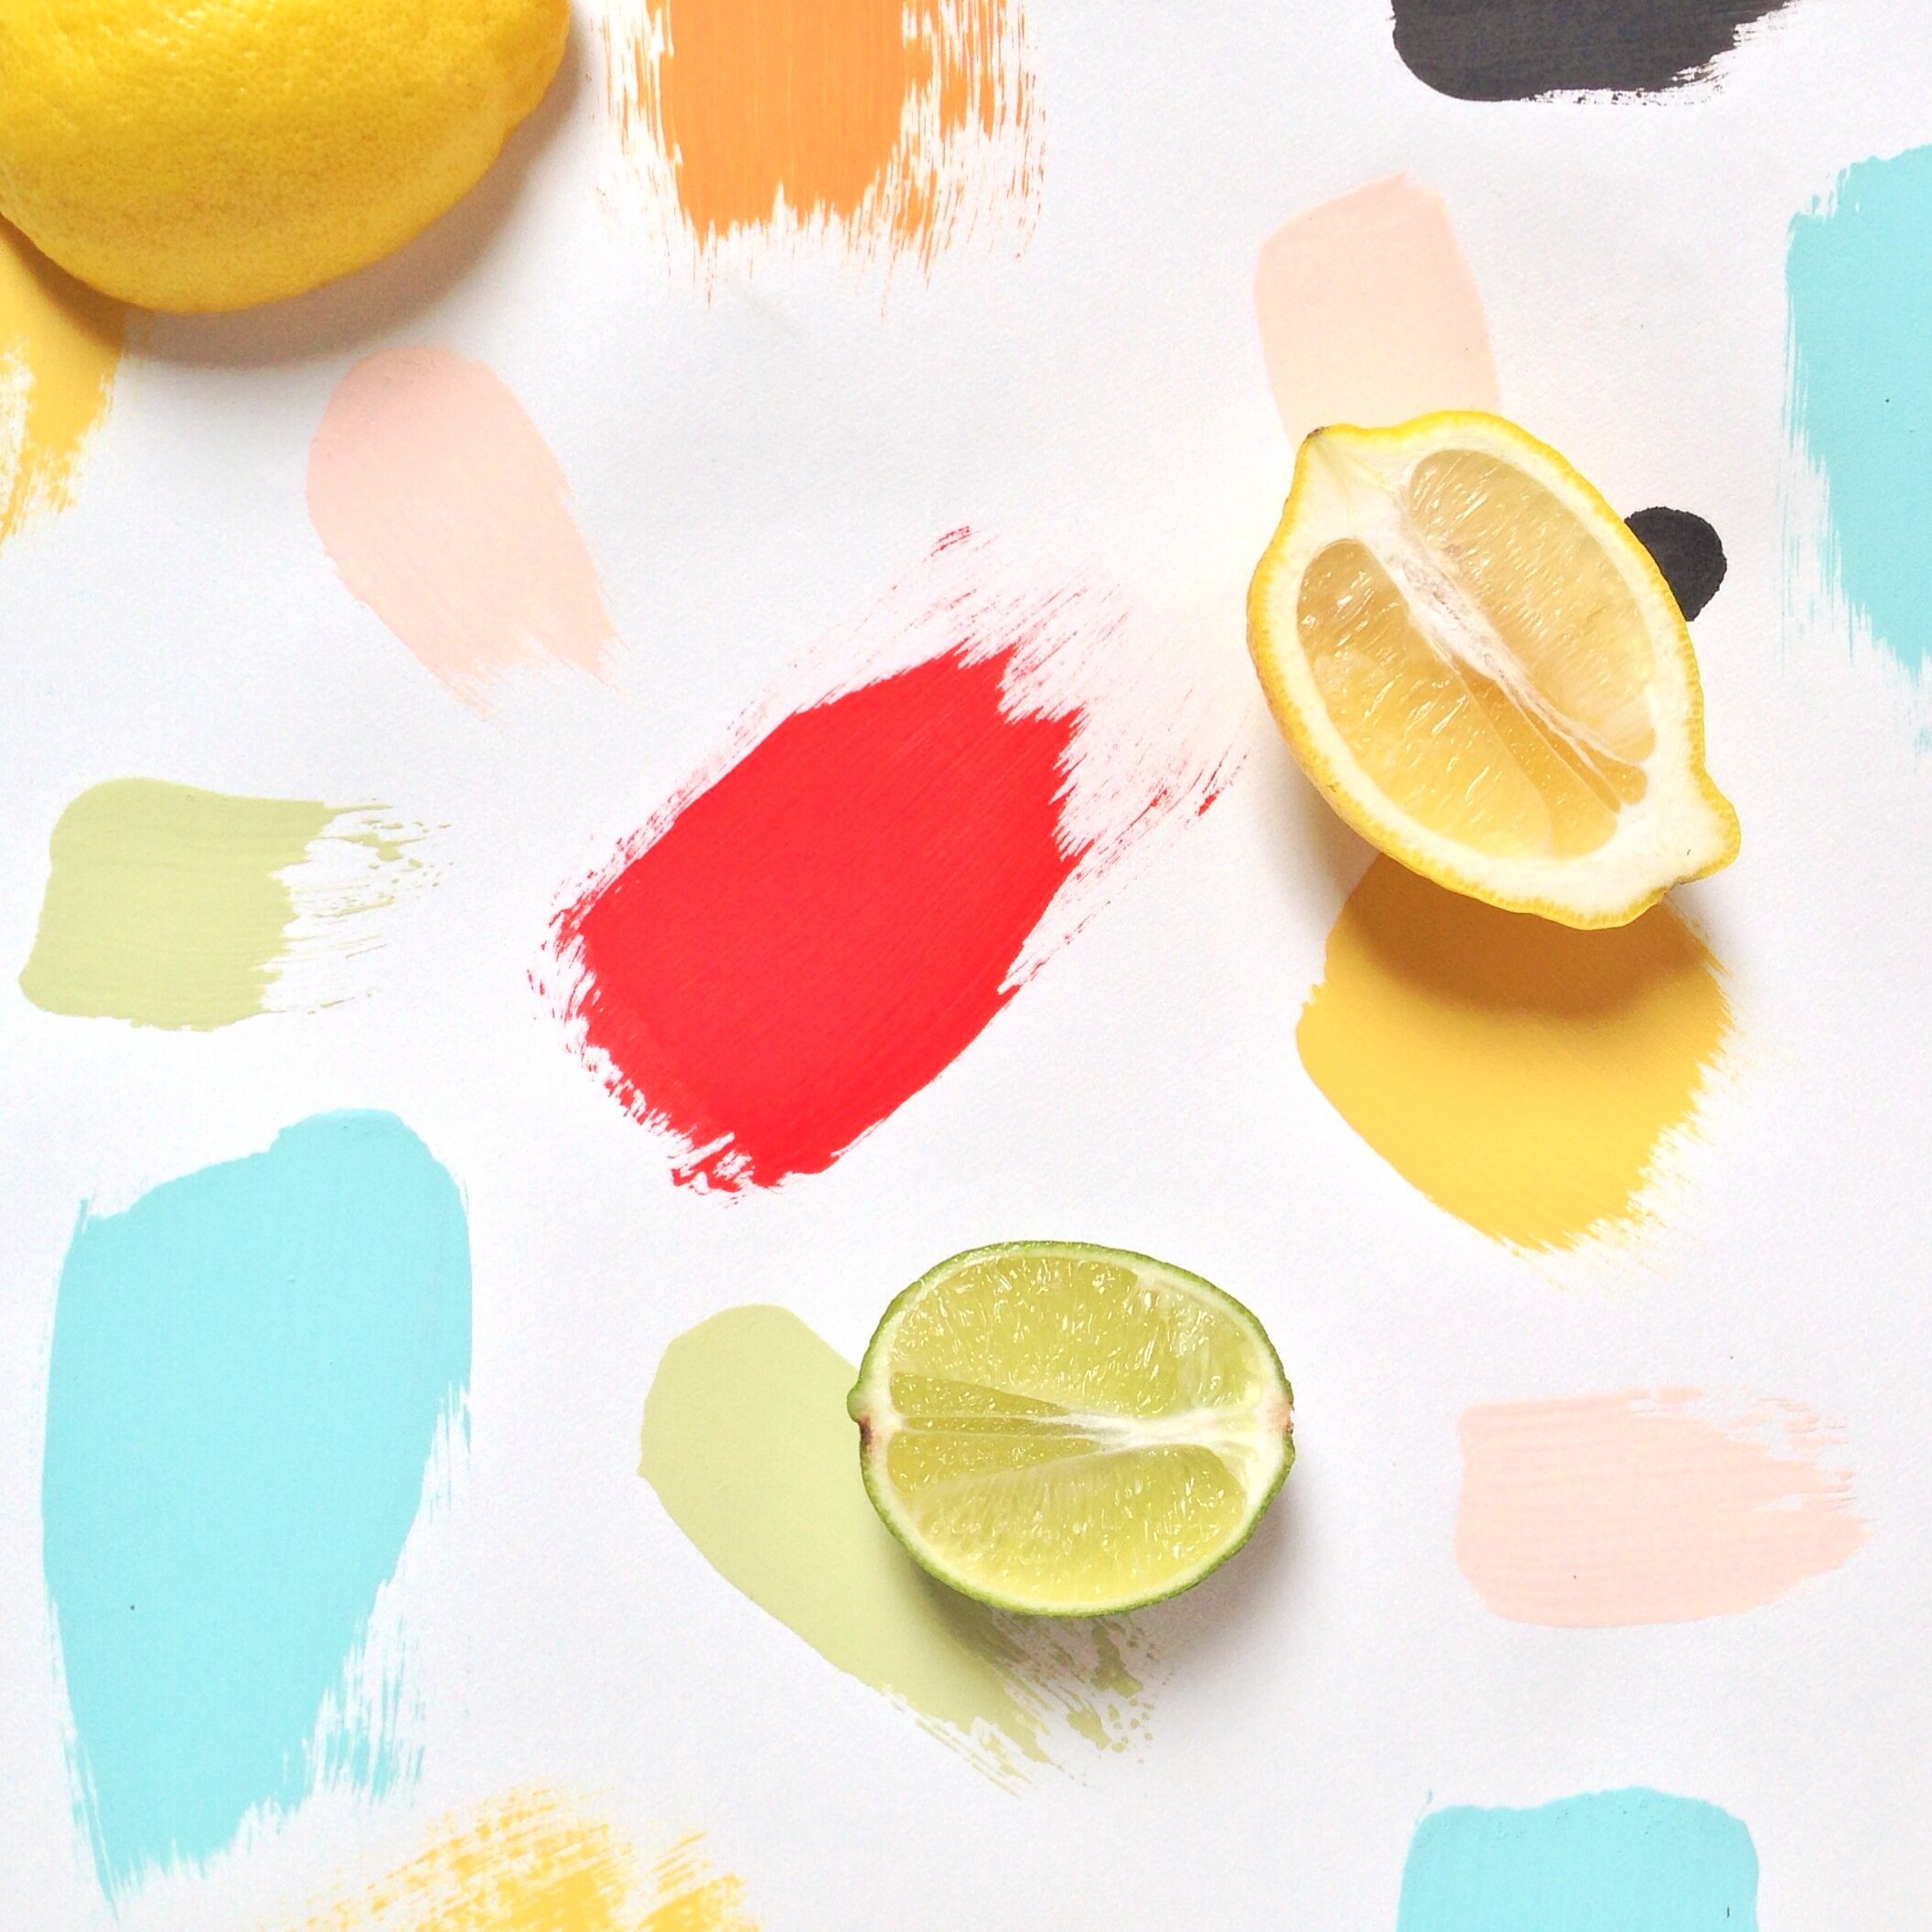
I’m always on when I have spare time and when I’m needing a little inspiration boost. My board is my favourite thing to look at. It’s great when I’m looking for colour ideas for new print designs or for colour schemes for shoots and my home. I don’t read nearly as many magazines as I’d like to. One of my favourites is Apartamento.
“For too many people, being happy at home is pretty much an abstract idea, something they can’t know or imagine, until it appears on some taste maker’s must-have list, or in a magazine, or reposted on Tumblr. A home sweet home is not curated or produced by acquiring a perfect arrangement of chairs, lamps and friends. A real living space is made from living, not decorating. A bored materialist can’t understand that a house has to become a home. It happens, not through perfection but by participation.”
Being a stylist, you might think this magazine goes against everything I stand for, but it really is a great publication with some really inspiring interviews.
photo from Pinterest
3. How important is being creative to you, and how do you blend this with your work / life / family balance?
Being creative is my job so it’s kind of all I do and all I am, all the time. I design and make things to sell in my shop and I design and style products for clients. I also feel very strongly about making my home a beautiful place for us to be so I’m always making and DIYing for the flat as well. My boyfriend John is a furniture maker and visual stylist so when there’s something creative to do in the flat we can often do it together which is nice, even if there are a few disagreements over how it looks / where it’s to be placed in the flat!
I do switch off (I LOVE going on holidays!), but I can’t just sit around doing nothing or just lie in front of the tv (we don’t have a tv for a start). If I don’t have something to do I get very antsy and need to start a new project or make something. Even if it’s as simple as making my next Instagram post a bit more stylish or rearranging my plants, I need to keep creatively active. It’s probably a good trait to have being self employed!
And here are my blog recommendations. Pop over and say hello to these ladies…
Carrie is my buddy and we used to run a shop and organise events together in Glasgow. She’s a writer and has a cool cat named Bruce. Take a look to see what she’s been up to!
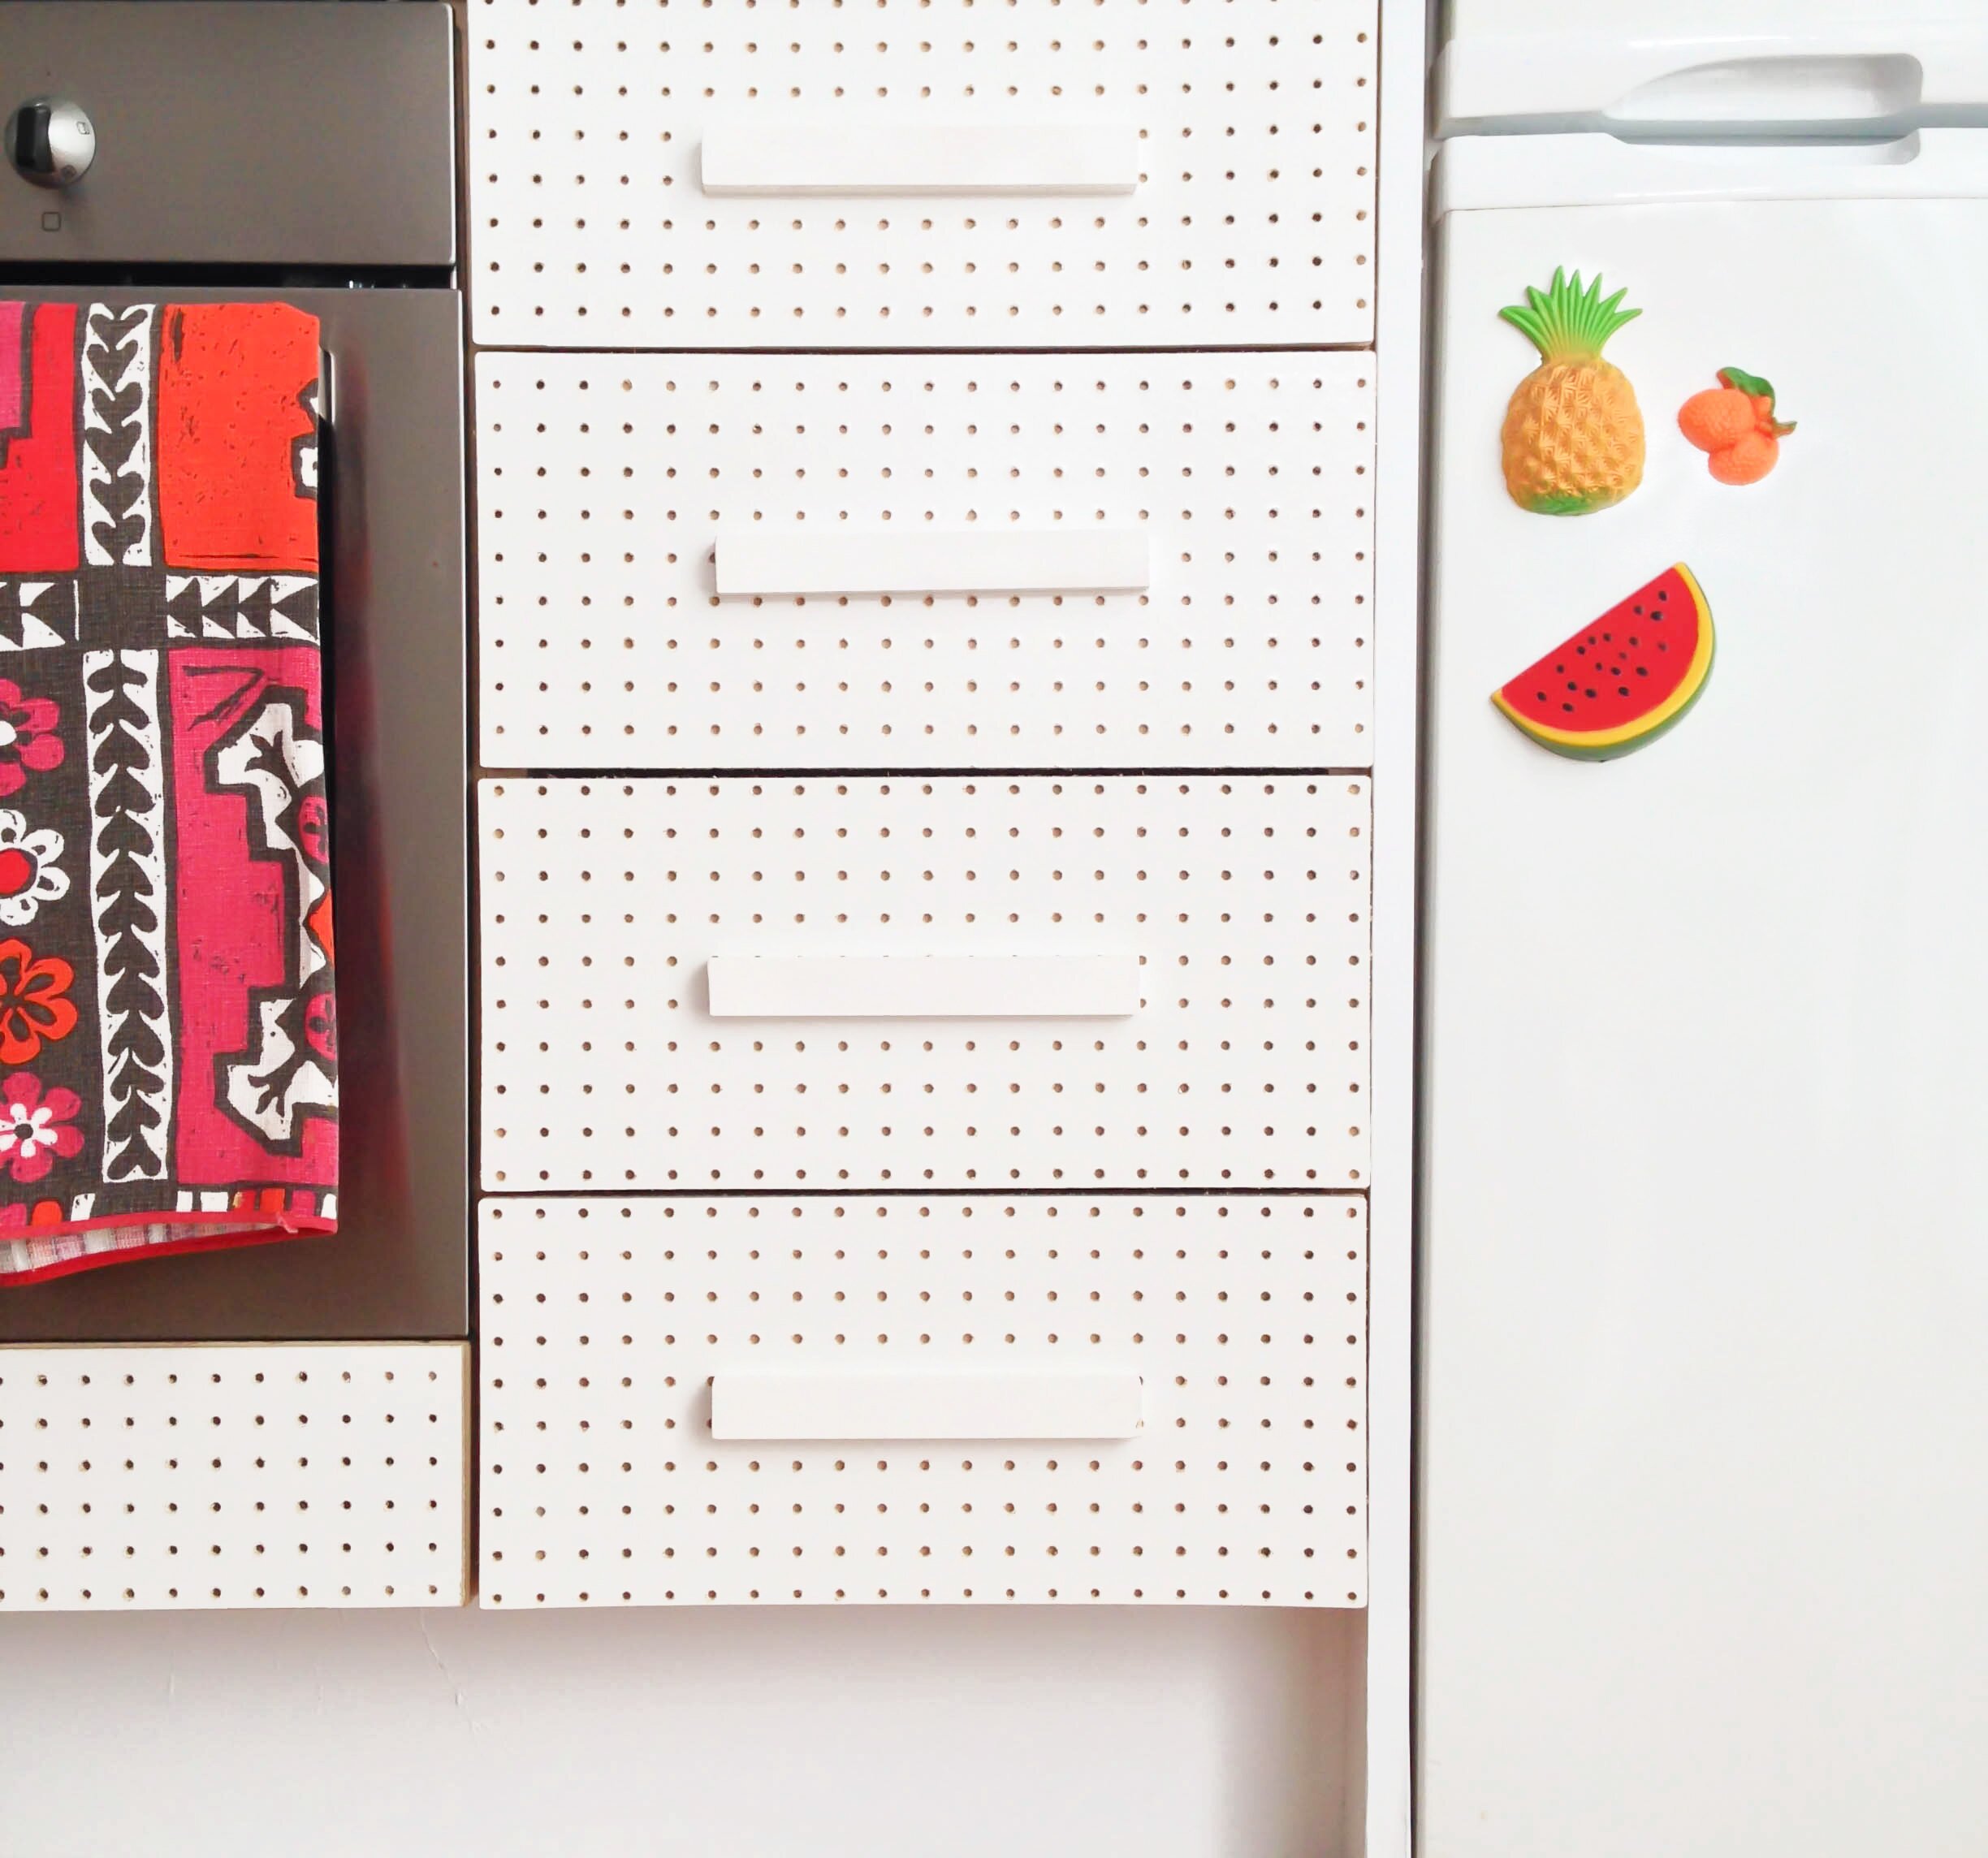
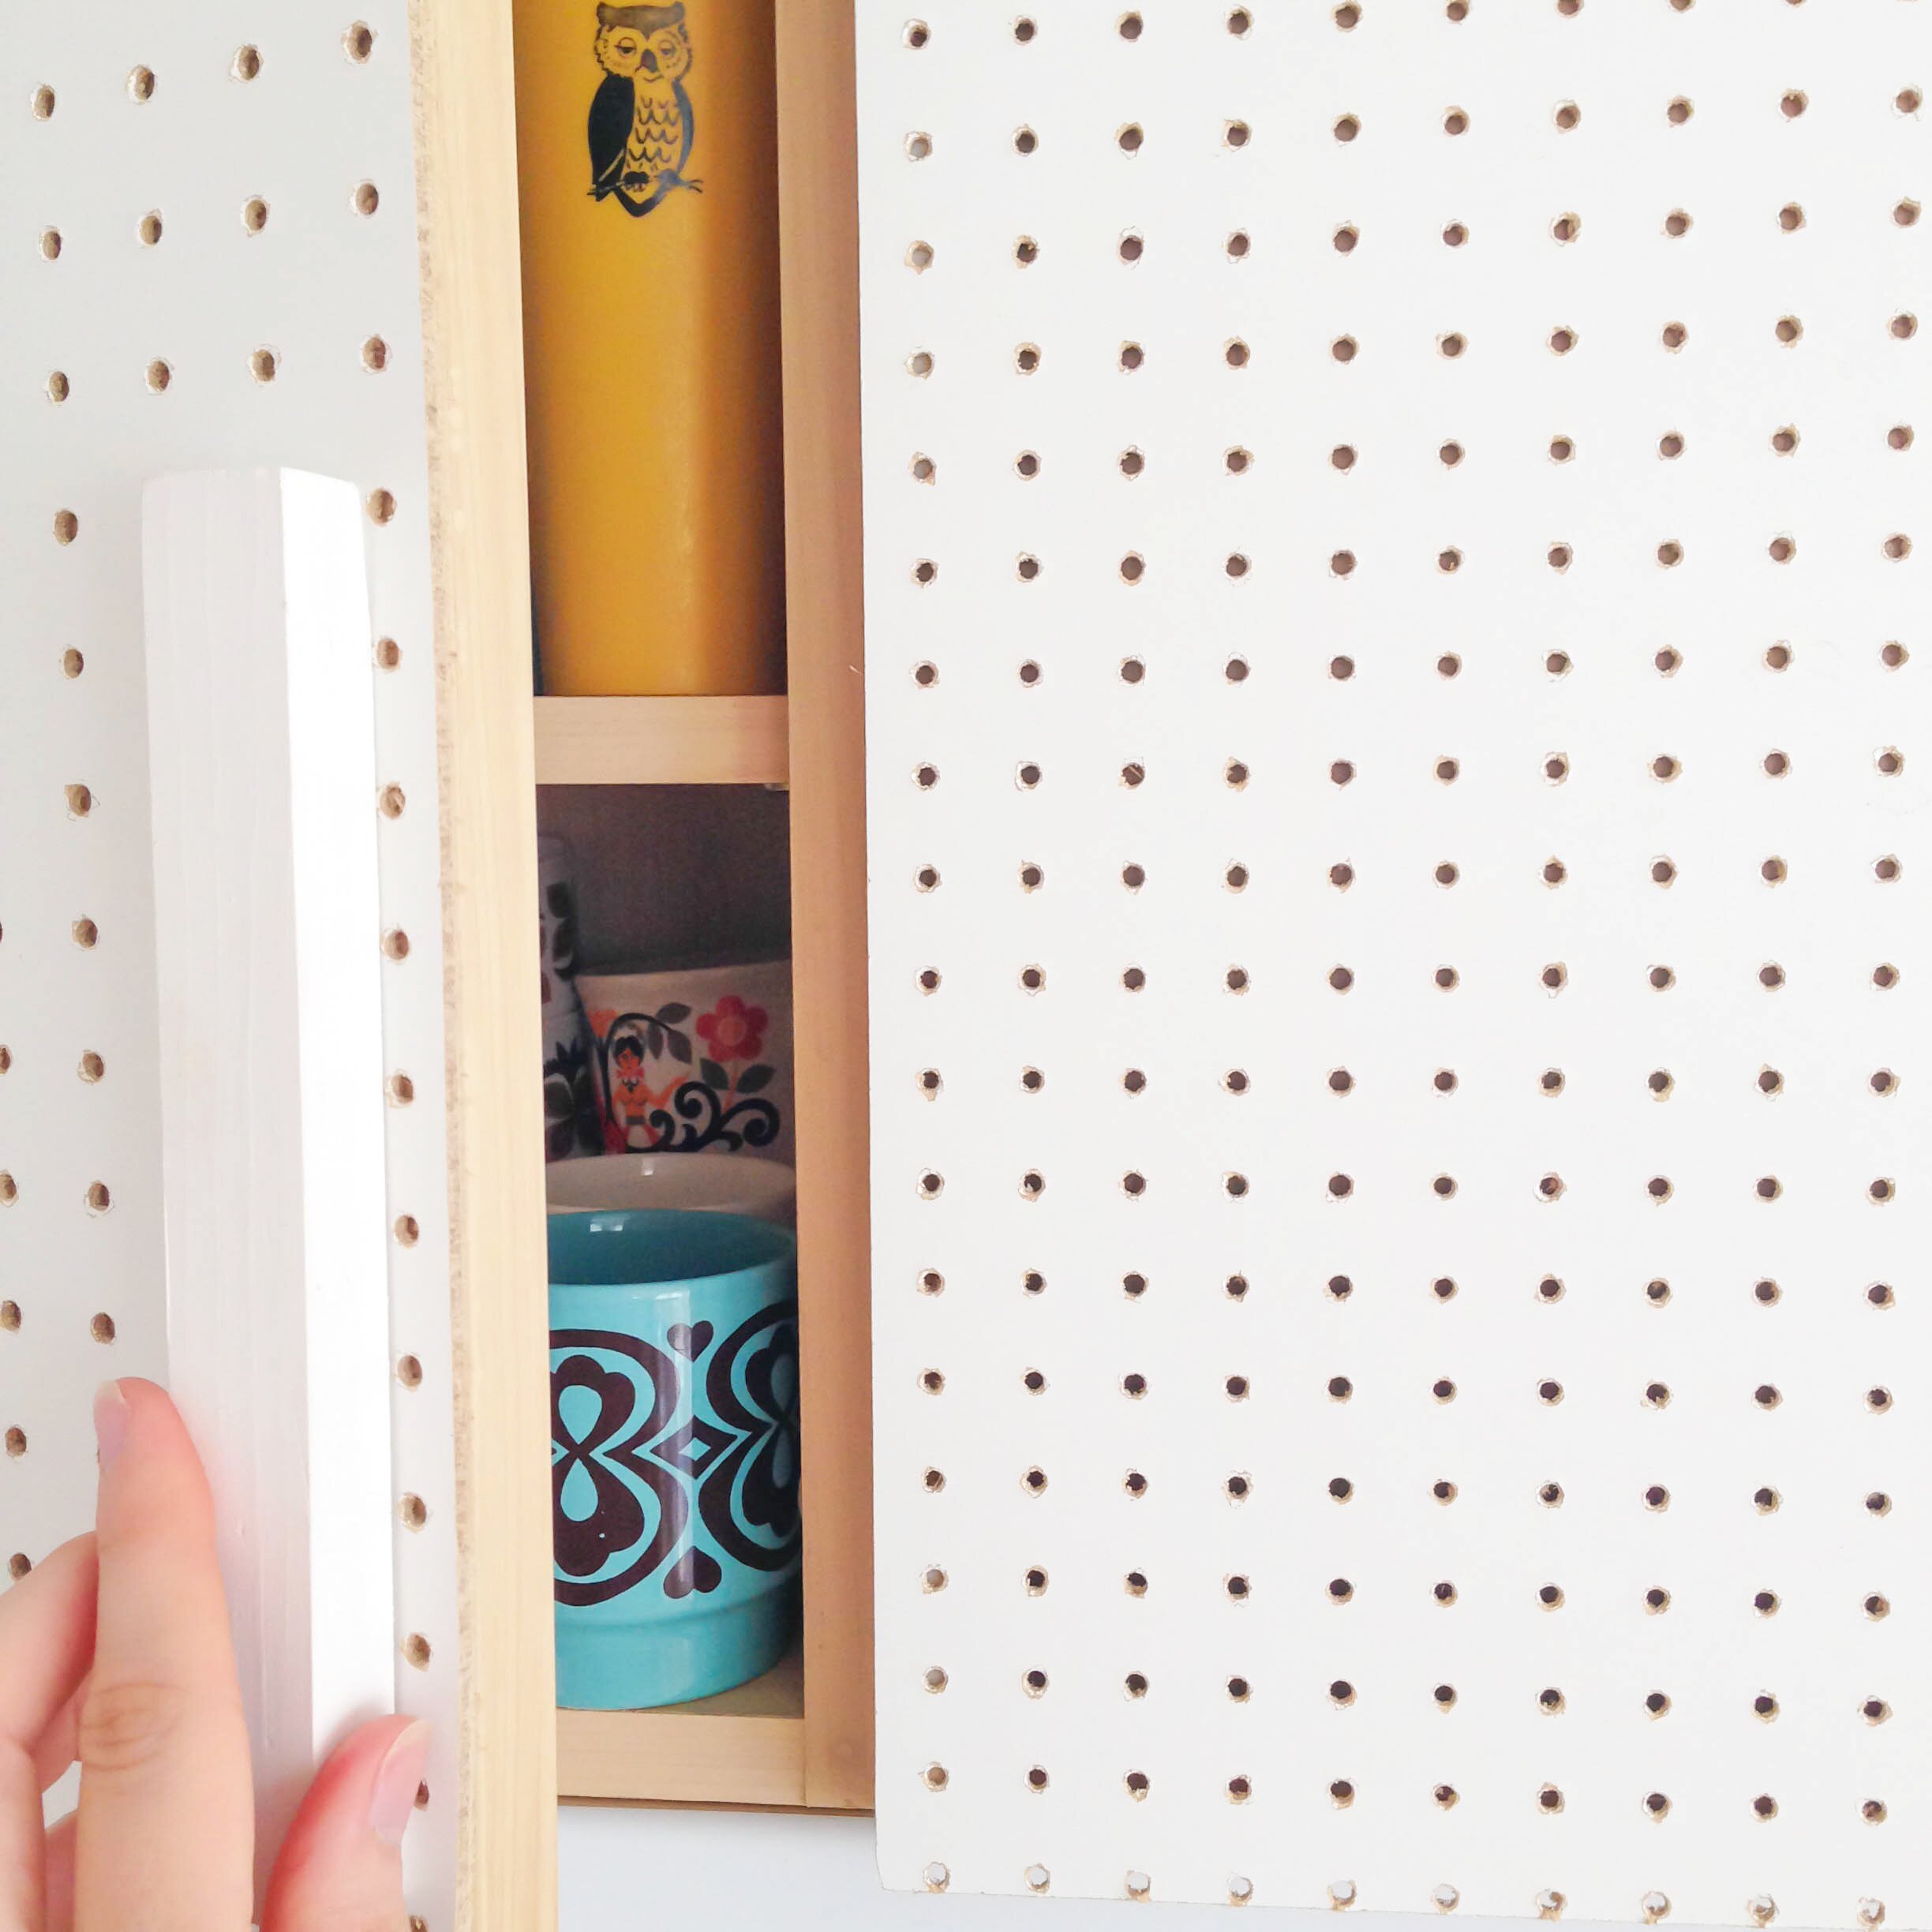
I spent a year in a tiny studio apartment with a sad, little kitchen made for cooking for one. Now, in the new place, we have a larger kitchen space that’s perfect for cooking for two, or three, or four. We can have people over for dinner! To sit at a table, instead of the floor! Our place is rented and is a new build style flat. The kitchen is pretty standard – beige laminate ‘wood’ doors and kickboards. It’s not that offensive. I’ve seen worse, but we really wanted to do something a little different. For years I’ve dreamed of pegboard something in my home. Pegboard anything! The kitchen seemed the perfect space to try out this project.
My original plan was to take off all the doors and drawer fronts and replace them with brand new pegboard doors made by gluing pegboard to mdf. This plan was quickly thrown out the window when we didn’t have anywhere to store the original cabinet doors. So, using a whole heap of command strips and our new handles (made from painted pine) we simply stuck the pegboard to the cabinet fronts. This means they will be completely removable when we move out. For some of the kickboard and cabinet surrounds I’ve covered them with removable white vinyl.
I really wasn’t sure how I would feel about seeing the original laminate cupboards every time I opened one but I really love the contrast!
I gave our under counter nook a curtain so we can hide our bin and recycling.
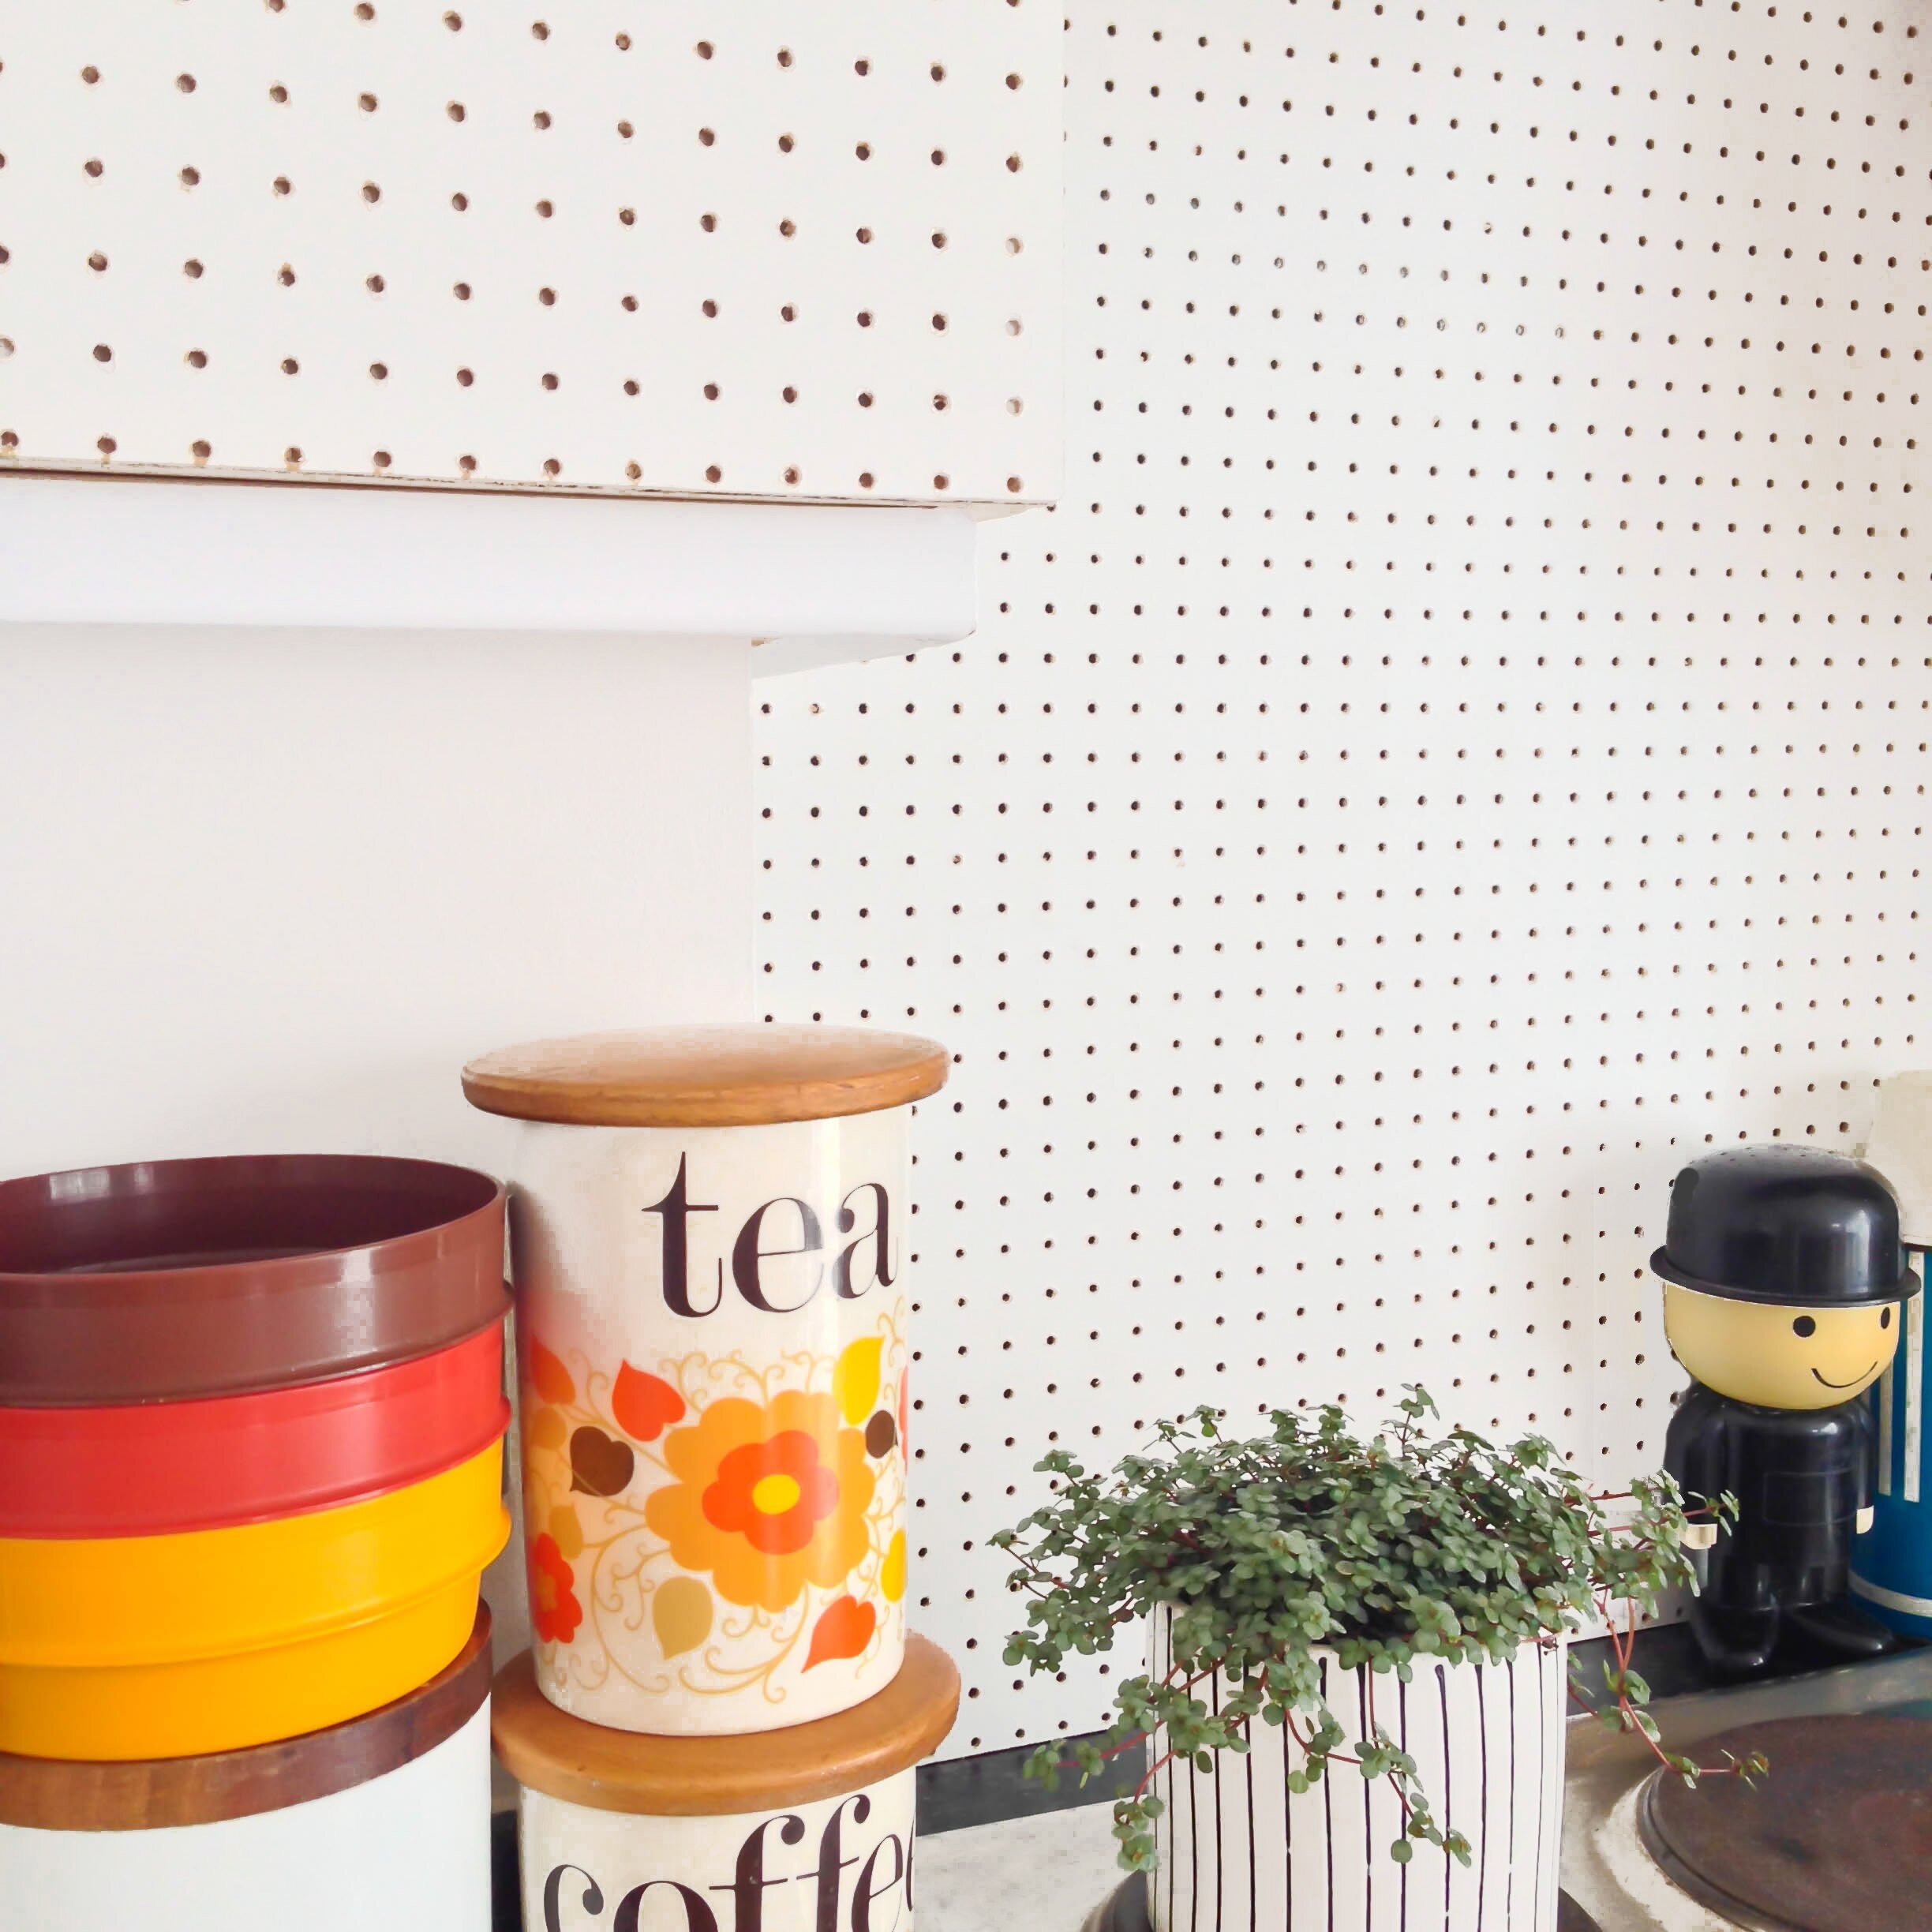
Our decision to keep two of the doors with the original frontage was down to the command strips refusing to stick to the extractor cover and the other door not able to open due to the added layer of pegboard making it too thick. I’m actually really pleased that this happened as looking at it now, it might have been a bit much with EVERYTHING covered in white vinyl and white pegboard.
It’s not perfect, there are wonky bits here and there but I do love my new pegboard kitchen!