Page 6 of 9

pegboard kitchen

kitchen 3

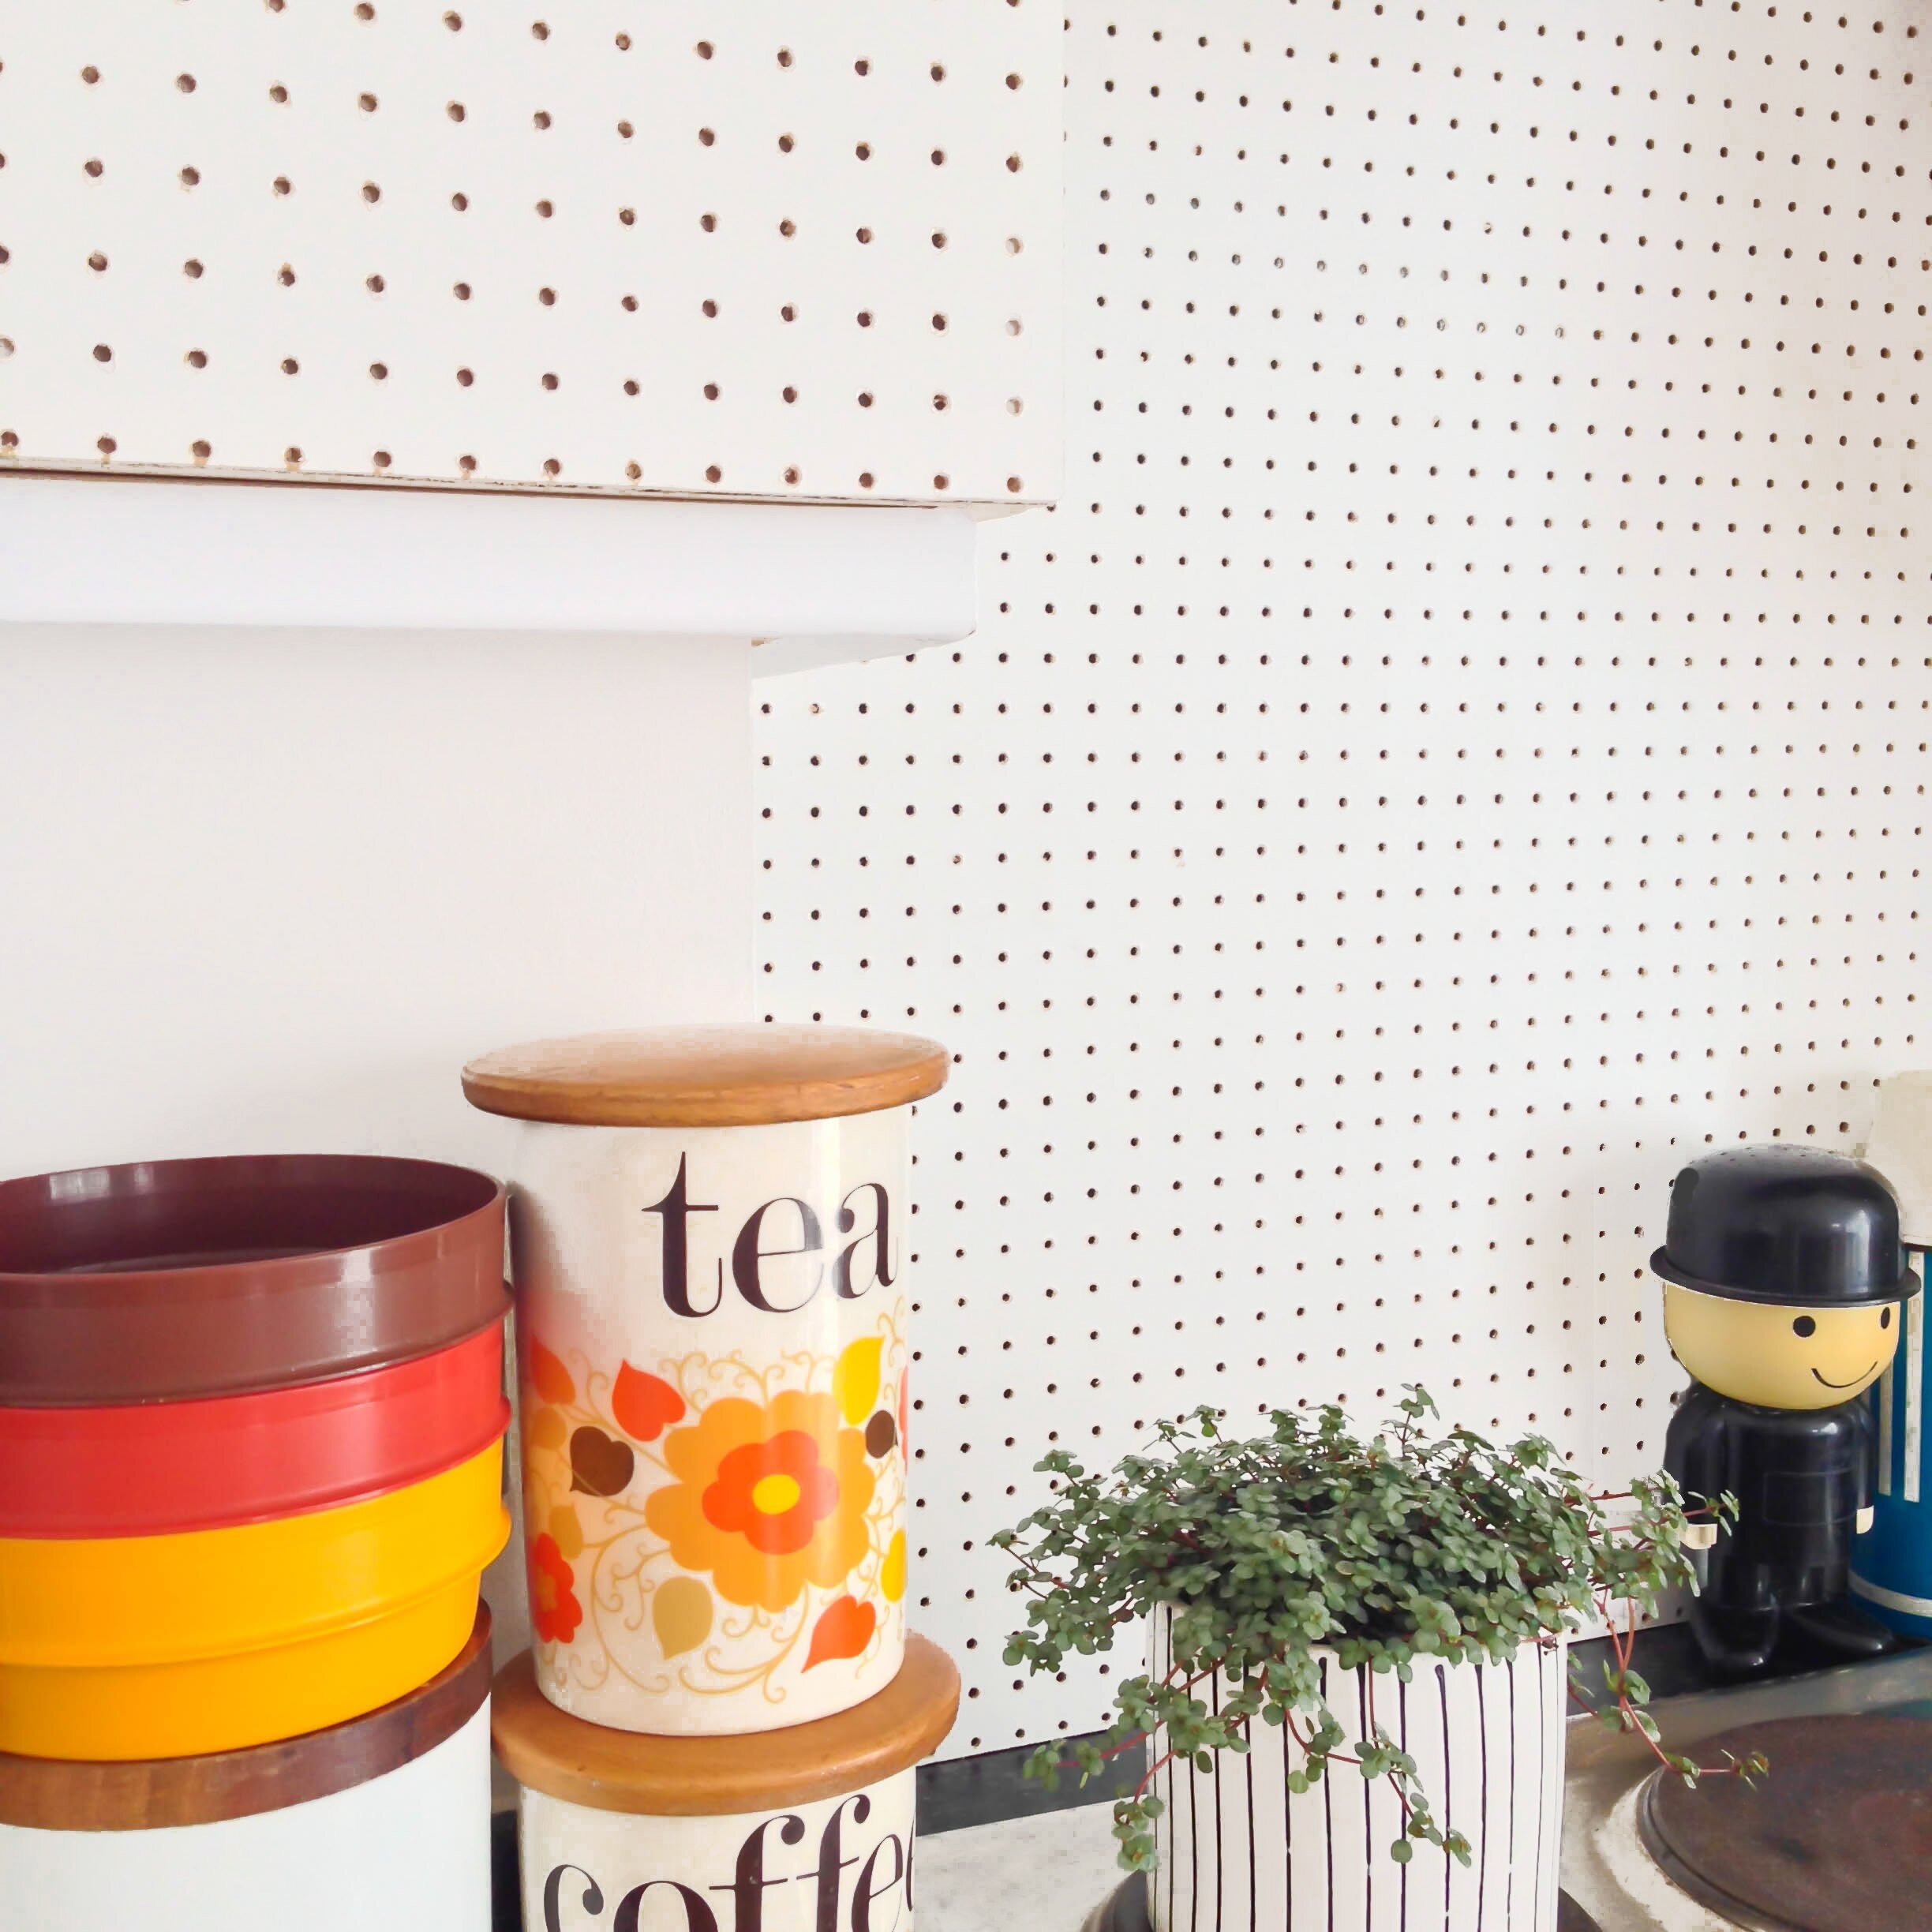
I spent a year in a tiny studio apartment with a sad, little kitchen made for cooking for one. Now, in the new place, we have a larger kitchen space that’s perfect for cooking for two, or three, or four. We can have people over for dinner! To sit at a table, instead of the floor! Our place is rented and is a new build style flat. The kitchen is pretty standard – beige laminate ‘wood’ doors and kickboards. It’s not that offensive. I’ve seen worse, but we really wanted to do something a little different. For years I’ve dreamed of pegboard something in my home. Pegboard anything! The kitchen seemed the perfect space to try out this project.

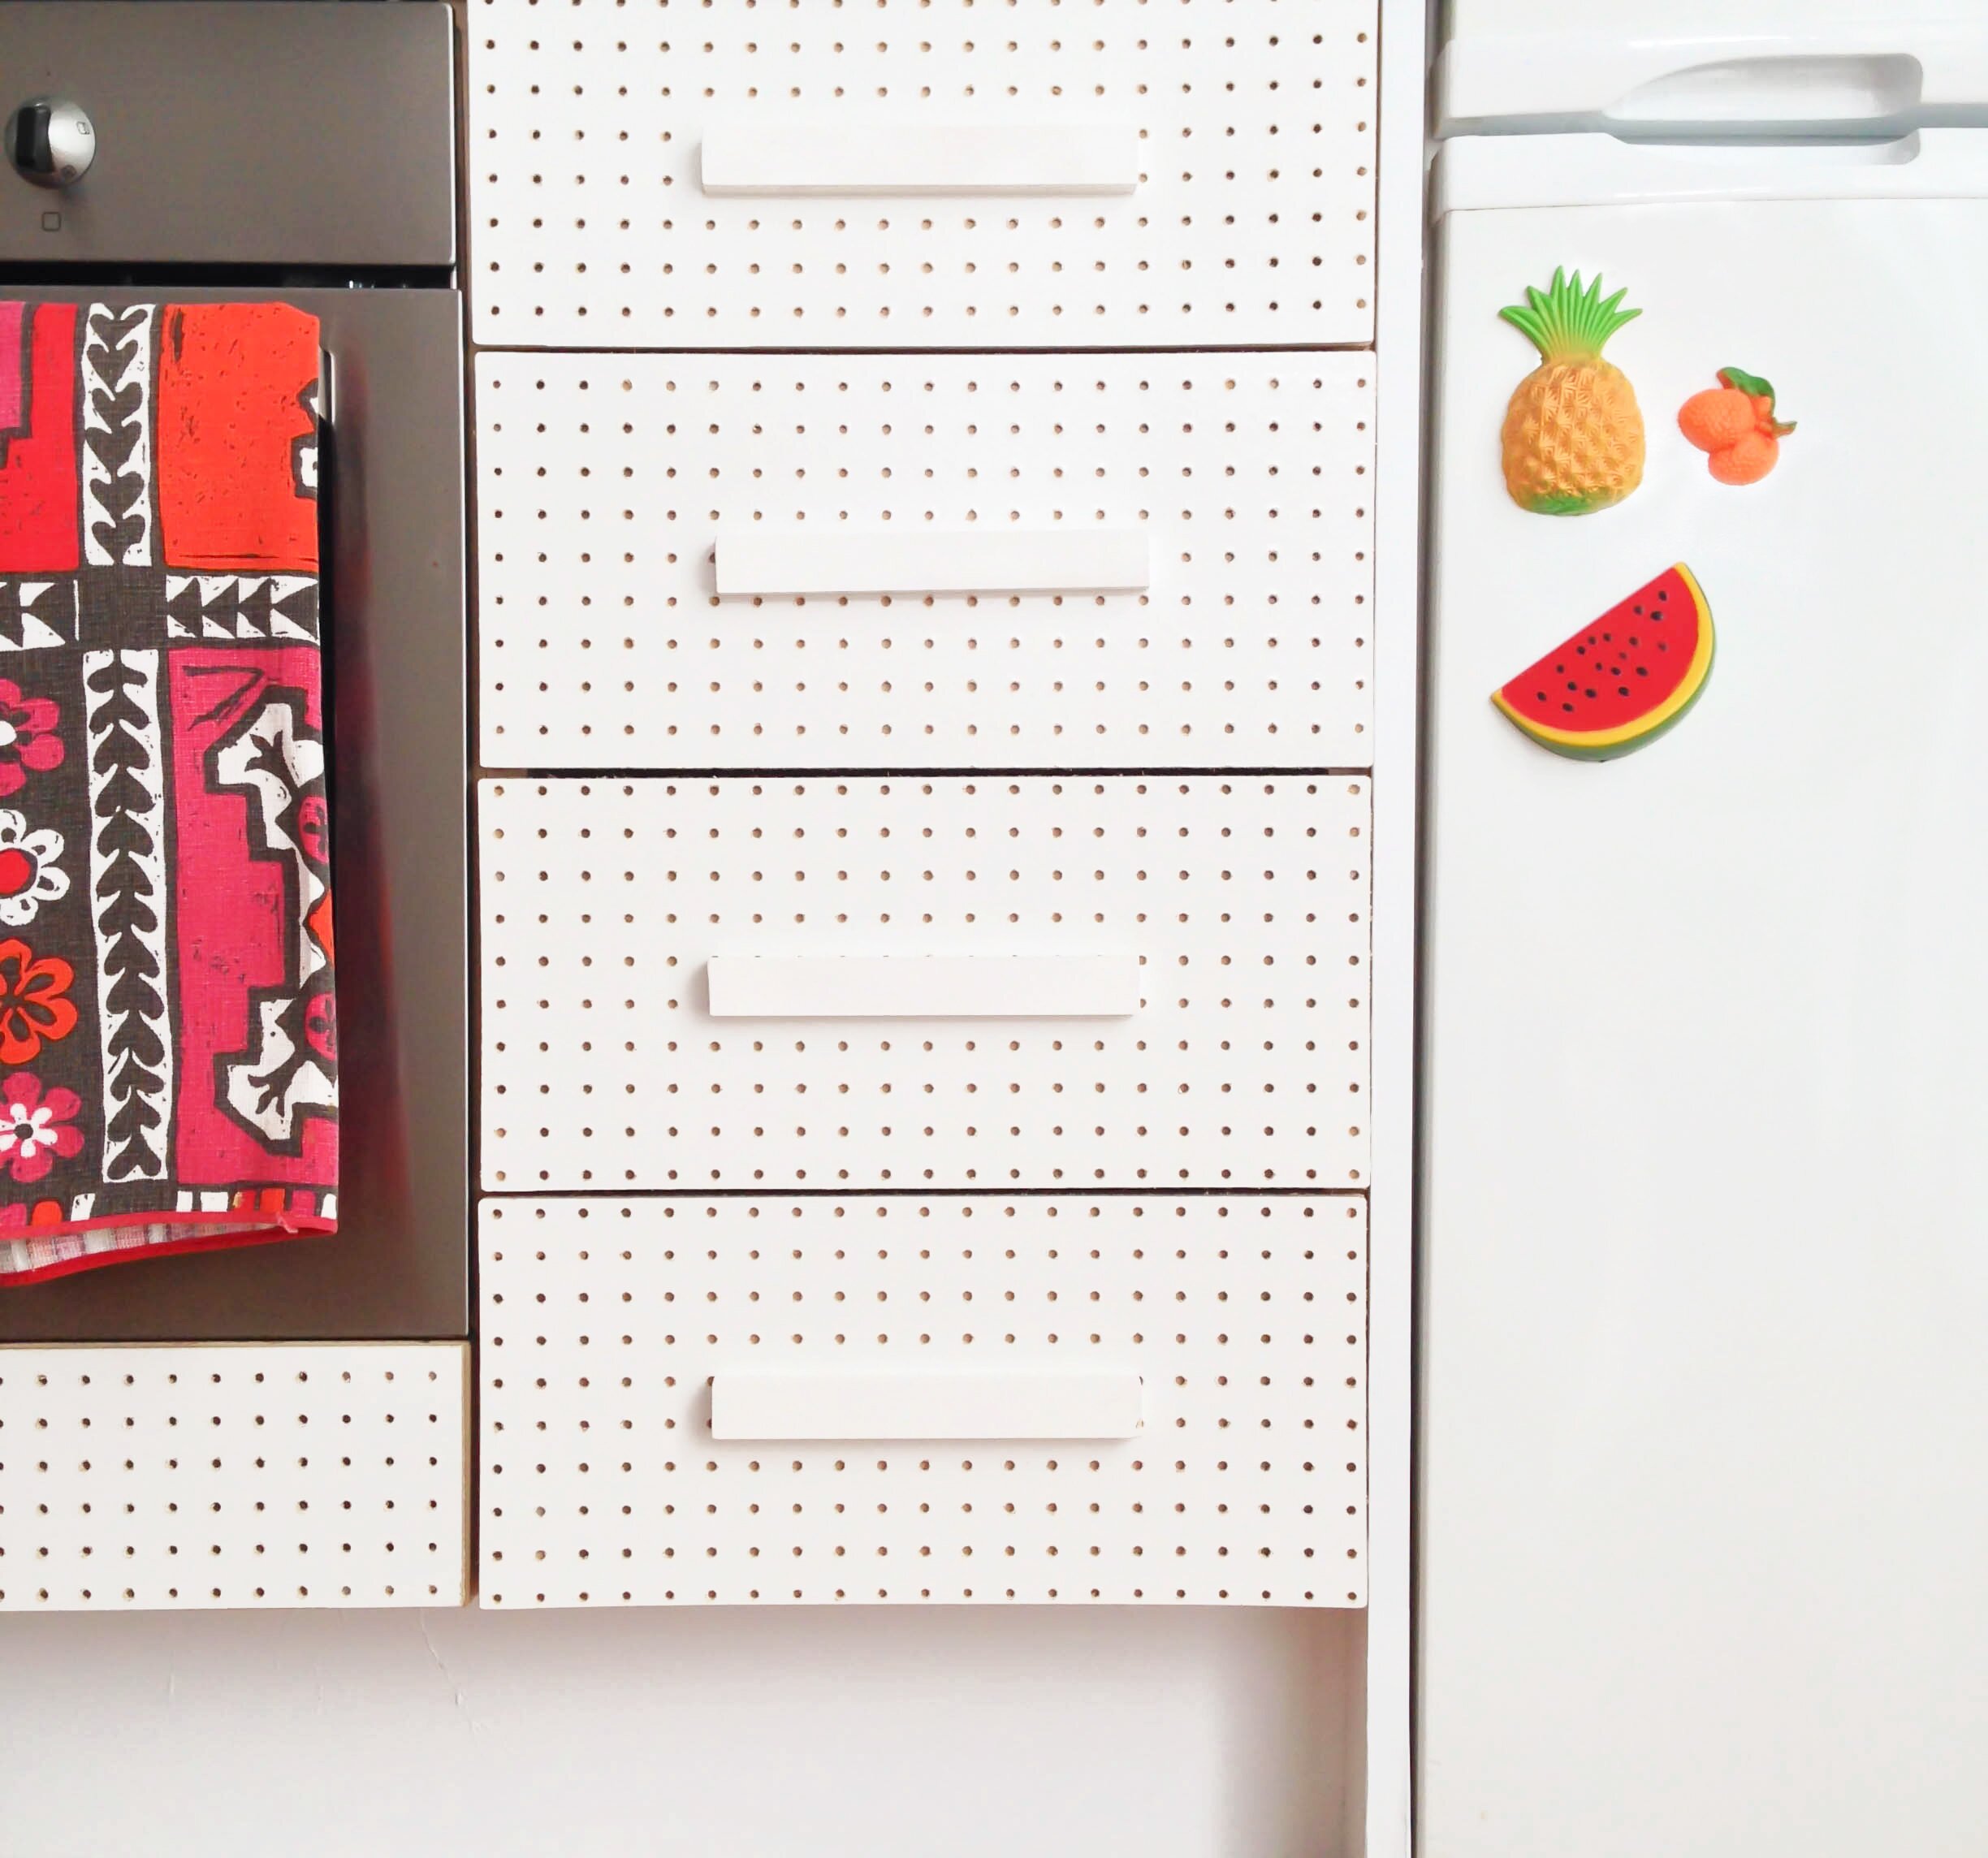
My original plan was to take off all the doors and drawer fronts and replace them with brand new pegboard doors made by gluing pegboard to mdf. This plan was quickly thrown out the window when we didn’t have anywhere to store the original cabinet doors. So, using a whole heap of command strips and our new handles (made from painted pine) we simply stuck the pegboard to the cabinet fronts. This means they will be completely removable when we move out. For some of the kickboard and cabinet surrounds I’ve covered them with removable white vinyl.

kitchen 9

kitchen 8

kitchen 7

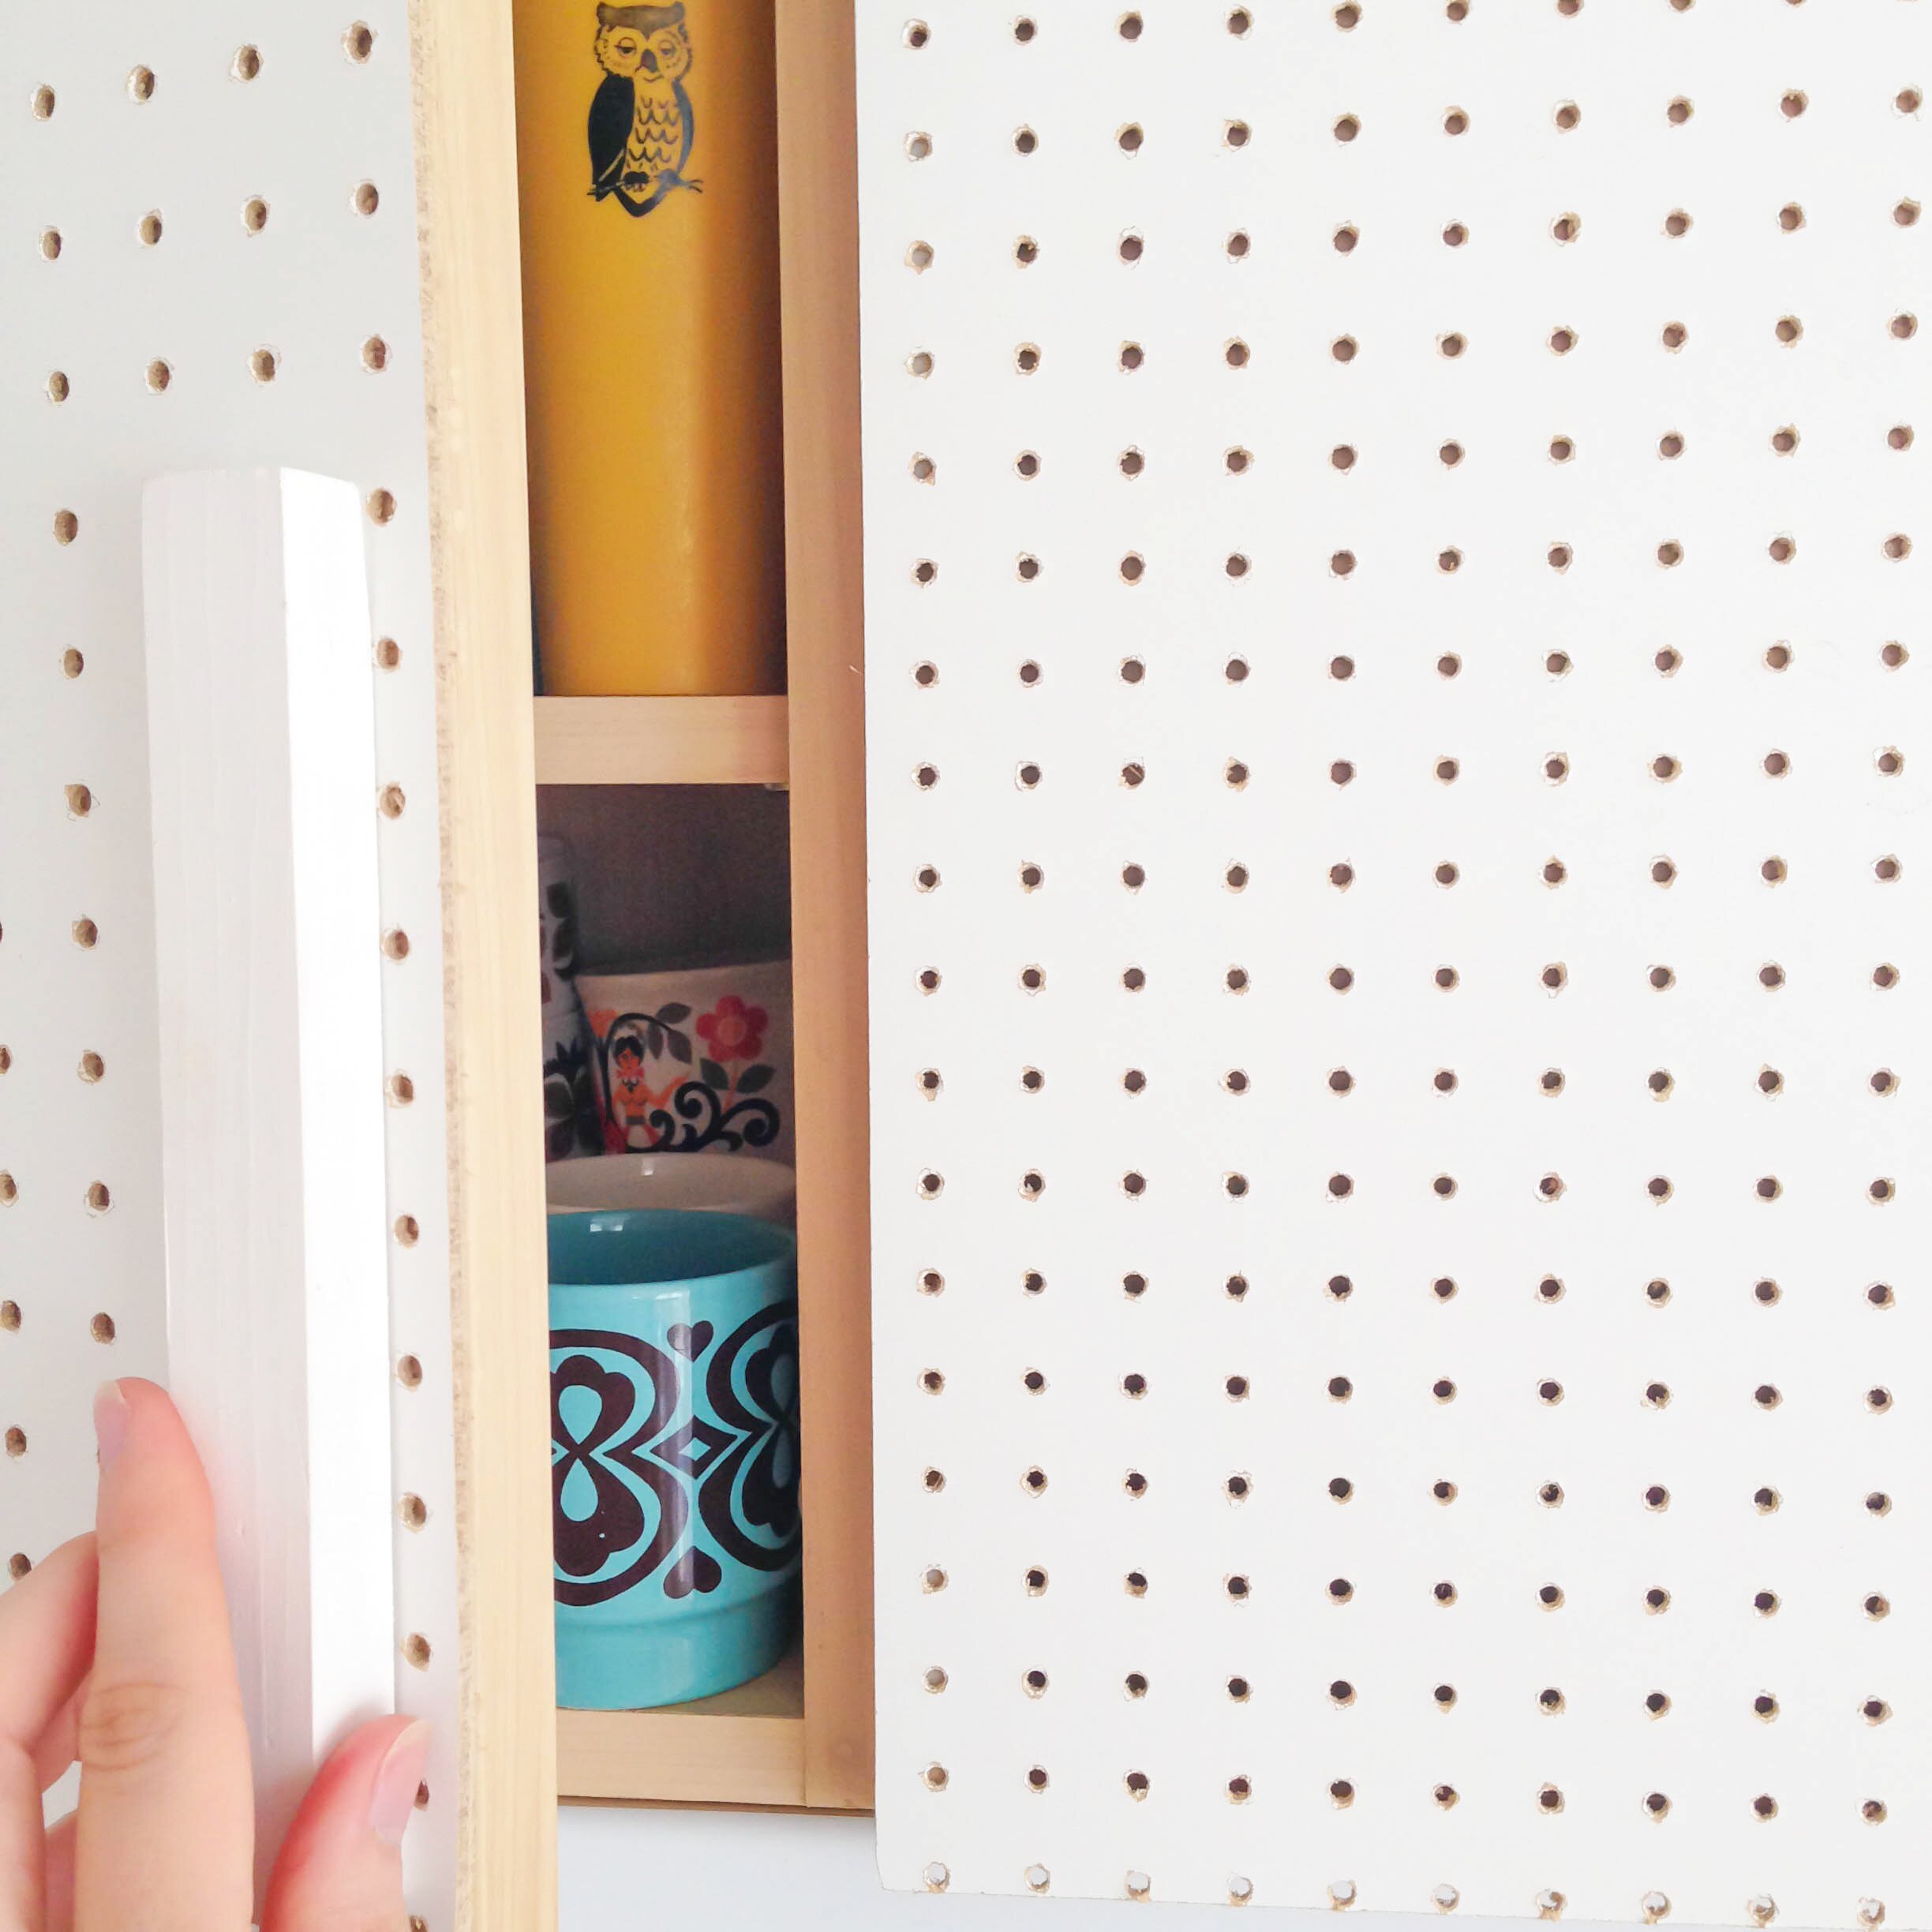
I really wasn’t sure how I would feel about seeing the original laminate cupboards every time I opened one but I really love the contrast!

kitchen 6

kitchen 10

I gave our under counter nook a curtain so we can hide our bin and recycling.

kitchen 4

kitchen 1

Our decision to keep two of the doors with the original frontage was down to the command strips refusing to stick to the extractor cover and the other door not able to open due to the added layer of pegboard making it too thick. I’m actually really pleased that this happened as looking at it now, it might have been a bit much with EVERYTHING covered in white vinyl and white pegboard.

kitchen 11

It’s not perfect, there are wonky bits here and there but I do love my new pegboard kitchen!


dream shelf

I’ve been dreaming of having a triangle shelf in my home for so long now, thanks to . I’m also obsessed with beautiful lifestyle shop General Store in California and their amazing wooden triangular displays.

Finally, my dream has come true (thanks to furniture maker boyfriend!) and we now have this beautiful shelf in the living area. It’s  made from American oak and I think it’s my favourite part of the room. The spaces are starting to come together now as we finish all the little jobs and fill the empty spaces.

photo(29)

copper wall light

photo 3

We really needed a mood / reading light for the bedroom and rather than spend money on a new one we thought we’d recycle this KVART lamp we had from IKEA which was only £5.25. The KVART comes with both a clamp and wall fitting. We seem to have lost our wall fitting so I’ve done this DIY without it.

You will need

KVART lamp

copper spray paint

wood (I’ve used birch plywood but any wood / MDF you like will do) My piece measures 18 x 26cm

varnish (optional)

hand saw

drill

screwdriver

screws x 2 (choose the correct length screws depending on the depth of wood you have)

masking tape

ruler

pencil

protection for your work surface

photo 1

Take all fittings off the lamp. Here’s the clamp fitting I mentioned which I haven’t used for this project. Don’t forget to take the bulb out too!

photo 2

With masking tape, cover the flex so you don’t get any paint where you don’t want it. Also tape off the inside of the lamp just in case any spray creeps in. In a well covered and well ventilated area, spray the lamp (and wall fitting if you want to use this) with the copper spray paint and leave to dry for at least an hour and give a second coat if required.

photo(28)

Now it’s time to prepare your wood. I used an old piece of birch plywood and cut it down to size (18 x 26cm) using a hand saw then finished the edges with a fine sandpaper. You can cut your wood by hand or if you prefer, places like B&Q will cut the wood for you. This might incur a small charge or you might have to buy the whole piece of wood you’re cutting from. I gave the wood 1 coat of varnish using Valspar interior matt varnish in organic cotton. Birch is a beautiful pale wood but I wanted it just a touch paler to compliment the copper. Varnishing is totally optional but you may want to paint / stain your wood a bolder colour or just give a clear varnish to protect it.

photo(27)

Next, you need to find your centre point using a ruler and mark it out. If you are using the wall fitting provided with the lamp, use the screw provided to fit the lamp to the wall fitting. Next, place the lamp and fitting onto your centre point and mark out where the screw holes are with a pencil. Using a drill, make pilot holes for the screws. Then, place the lamp with wall fitting back onto the wood and screw into the wood.

If you choose not to use the wall fitting or like us, have lost it you can still fit the lamp onto your wood using the screw provided and screwing it in from the back. To do this you must ensure that the wood you choose is not too thick or the screw won’t go all the way through the wood to the lamp. Using your centre point as a guide, drill a hole through the wood. Then screw in from the back, holding the lamp in place at the front until secure.

This project wasn’t difficult but I think if we had the wall fitting it would have been a bit easier!

To fix to the wall I’d recommend a sawtooth picture hanger available in most hardware / DIY shops or online. The finished project isn’t especially heavy but always choose the correct screws / wall plug / fixings to secure to your type of wall. To fix to the wall in a rented home (or where you don’t want to damage the walls) there are these non-permanent hangers.

photo 5


our clothes have a home

Since we moved into the new flat, our clothes have been living in bin bags on the floor. Such glamour! As well as building most of the furniture for our home, John has also built us a beautiful clothing rail made entirely from found materials. I’ve been daydreaming for months about clothing rails on .  I’ve never been a fan of the wardrobe. They’re so overbearing and take up most of the space in a bedroom. Unless you live in a palace of course. I don’t. I live in a 1 bedroom flat in London, so screw you palace dwellers!

The rail is made from found materials. The wood is solid oak, which John found in an alley behind his work. The metal pole is also a find, the result of a rummage in an old cupboard.

rail 1

rail 3

rail 4

rail 2

The bedroom makeover is far from finished. We’ve got plans for storage shelving above the rail and lots of other things to make best use of the small space. Excuse the poor light in these photos, a home tour with proper photographs will be coming soon!

« Older posts Newer posts »

© 2015 Full Time Fiesta