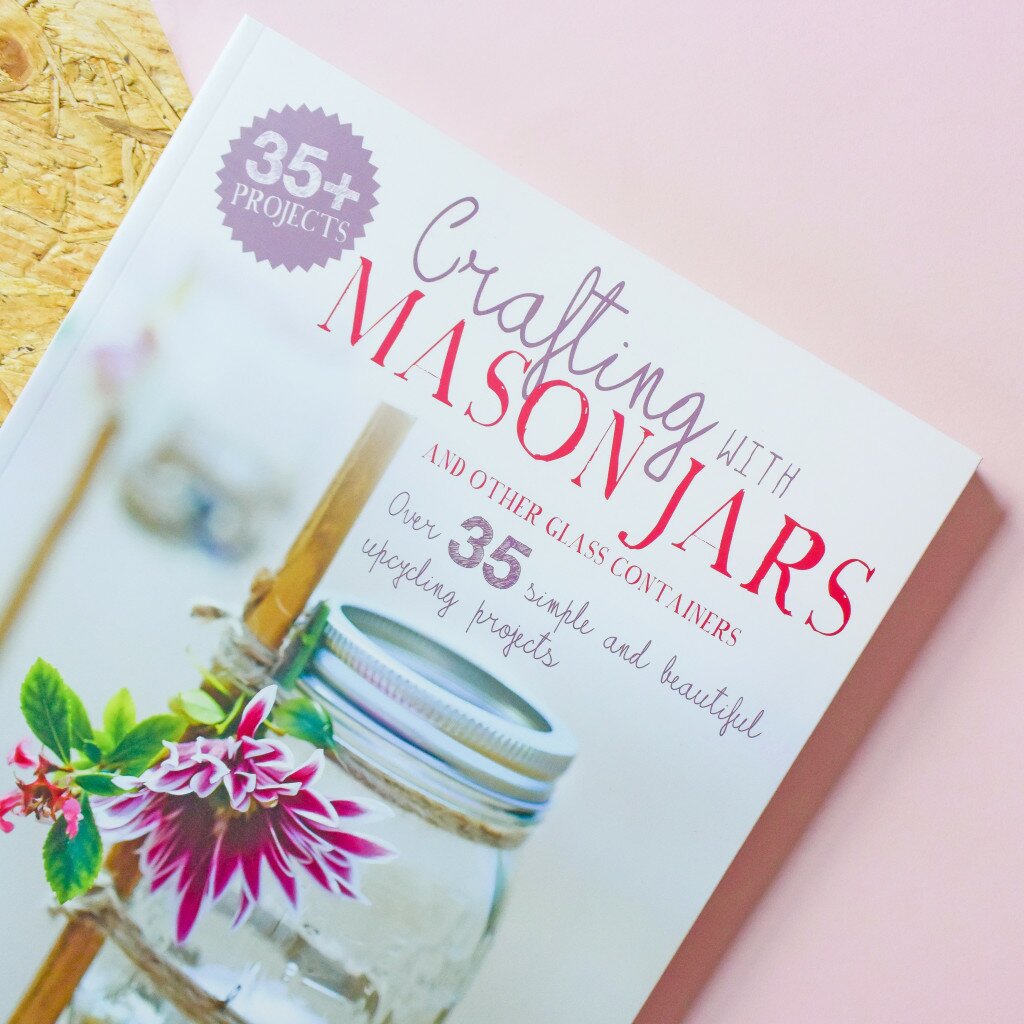
I had a little DIY day this weekend and tried out one of the projects from Hester Van Overbeek’s new book Crafting With Mason Jars. There are over 35 projects to choose from, all involving glass jars, bottles and containers.
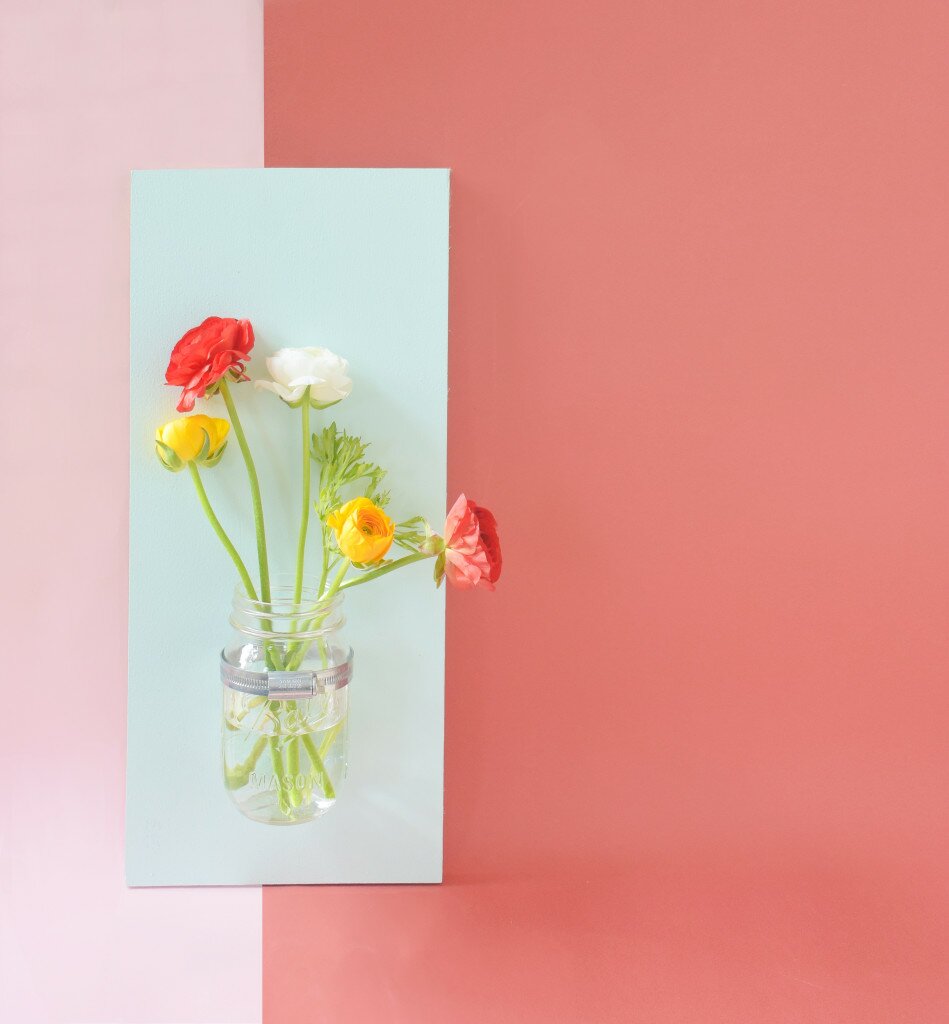
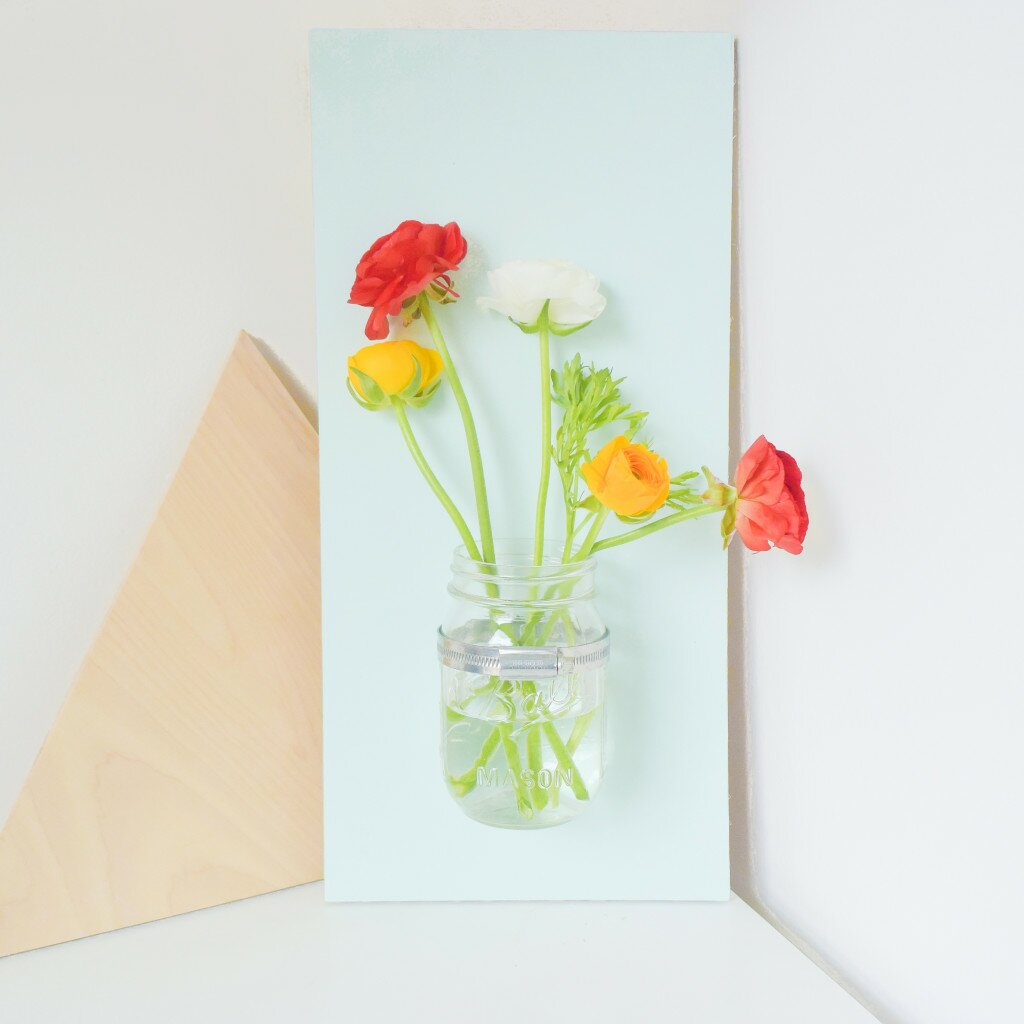
I chose this wall mounted vase DIY to tackle on Sunday. It was so simple and took me around 30 minutes (with paint drying time). I love it and think I’m going to incorporate the idea into our wedding decor next year!
Next up I’m going to try the mini terrarium, hanging light and hanging planter DIYs. We always have so many glass jars leftover each week from cooking/eating so this has really encouraged me to recycle them in a more useful way, rather than just put them in the recycling bin!
Crafting With Mason Jars is out now, published by CICO Books.
I’ve never been lucky enough to have a nice bathroom. You know the ones. They have natural light, lots of space, great tiles, maybe a fancy shower/bath combo. When we moved into the flat we painted our tiny bathroom from boring beige to a mid grey. 3 months later, it started to peel off the walls in gross chunks and I couldn’t stand looking at it any time I was in there (I don’t recommend trying to use the toilet with your eyes closed).
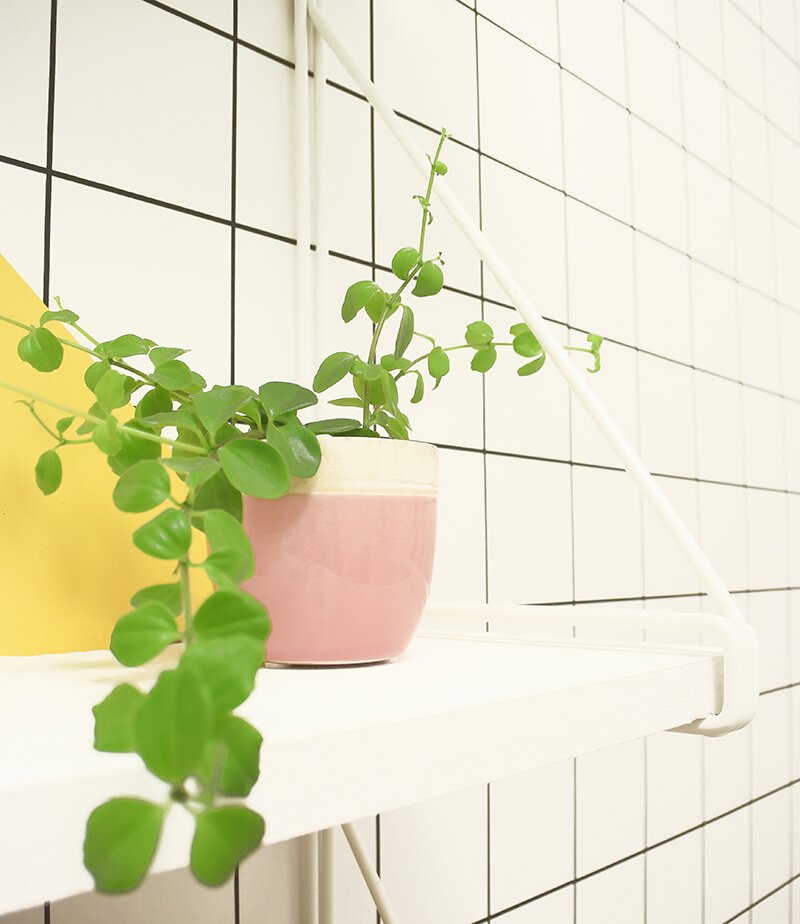
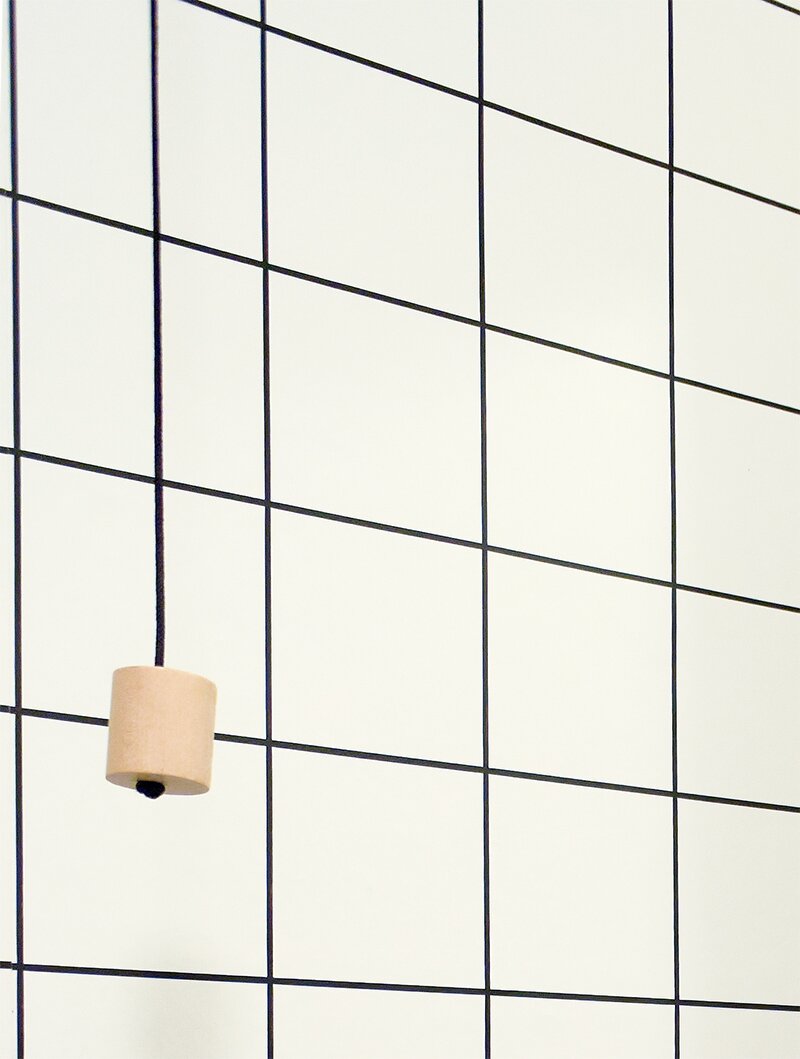
When my friend, designer Rachel Powell told me she was bringing out a new wallpaper design, I thought ‘ooh, I can’t wait to see it’. When she told me that it was a black grid design that kind of looked like graph paper I thought ‘OH MY GOD, I NEED TO GET THIS WALLPAPER ON MY WALLS, ALL OVER THE WALLS, ON ANY WALLS. NOW’.
So I did. It was the perfect thing to transform our flaky, grubby bathroom into a much fresher and brighter space. It took most of an afternoon to put up and after it dried, we sealed it using matt decorator’s seal. No more peeling, flaky walls!
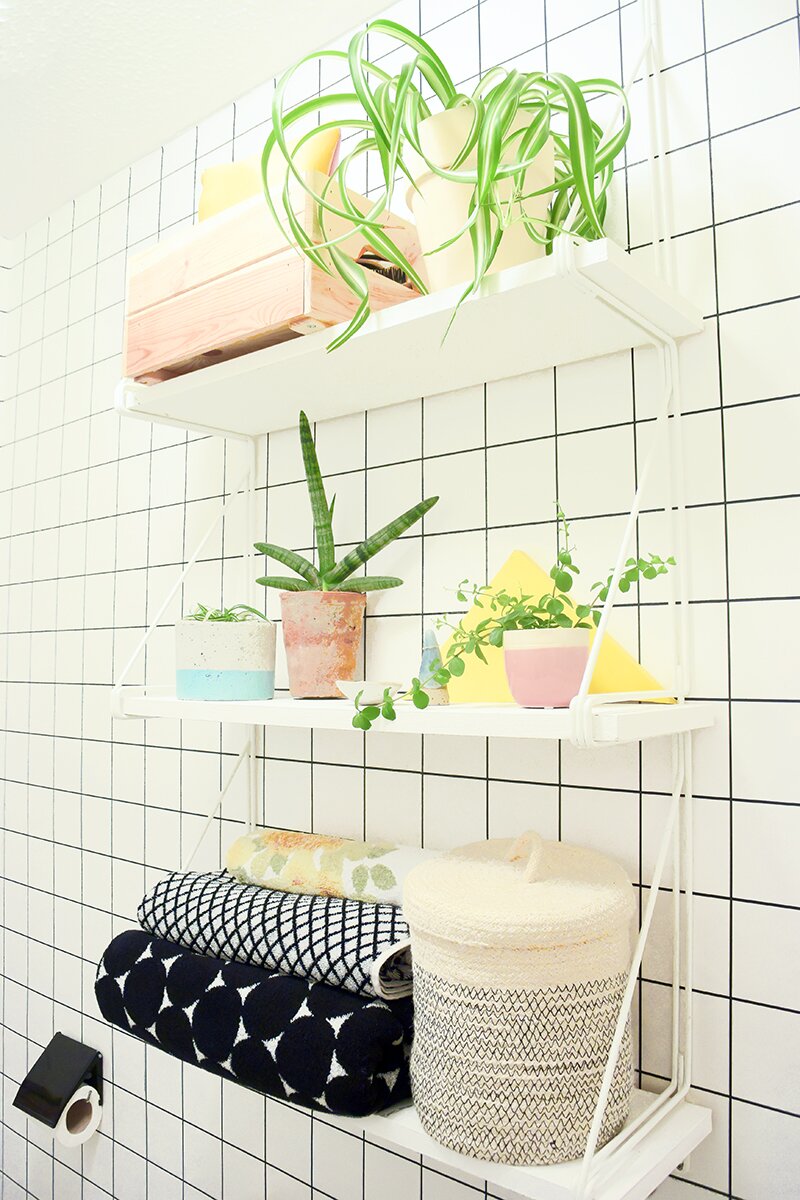
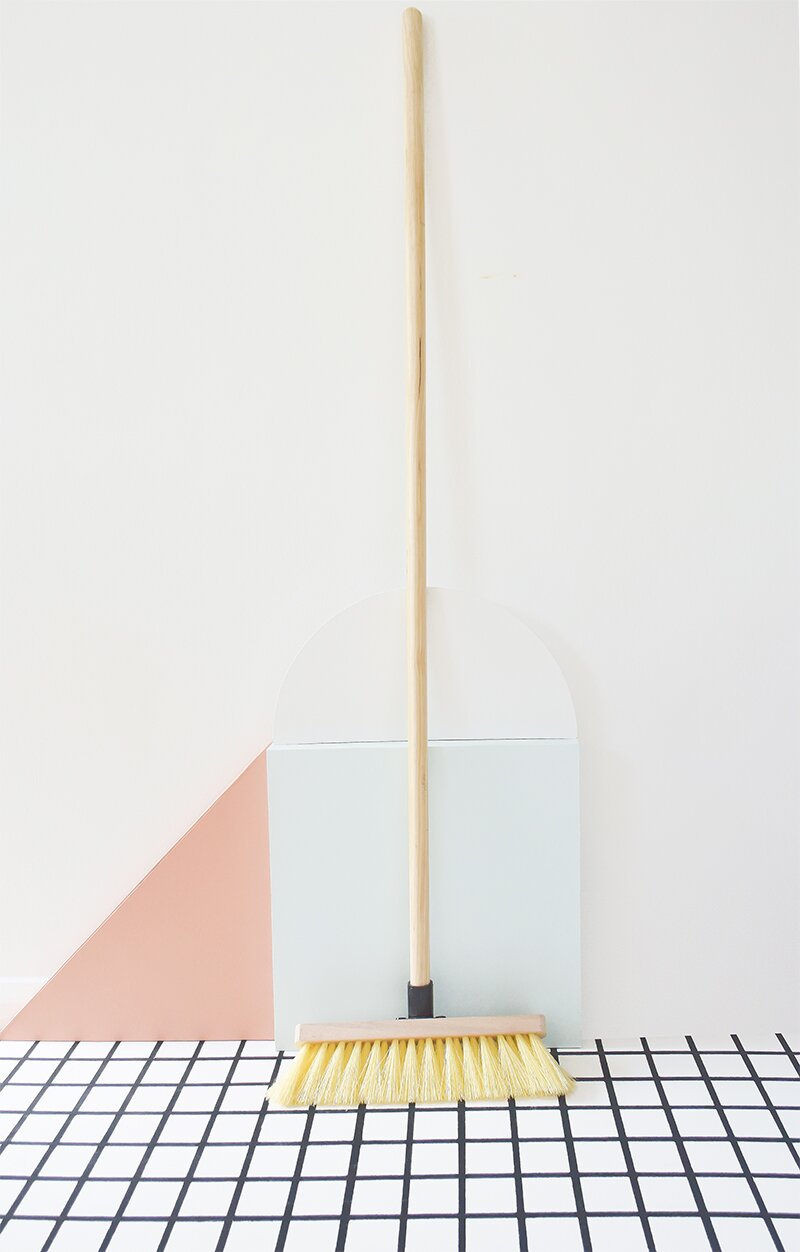
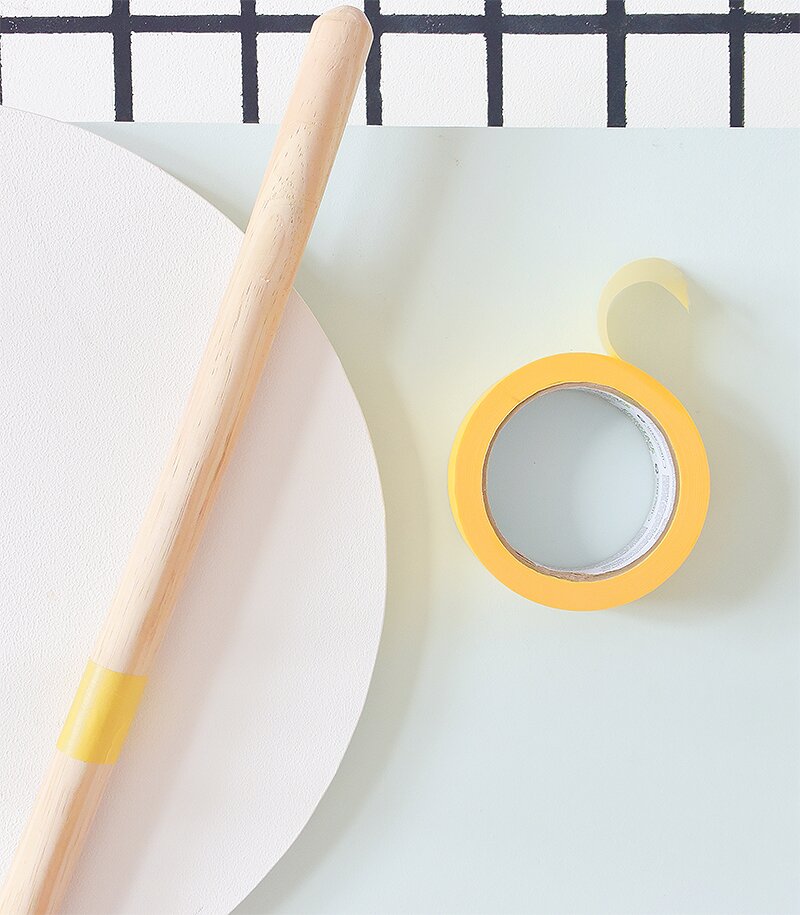
We don’t have a lot of storage space in the new flat so some things have to be out on display – there’s nowhere else for them to go! We bought this wooden broom when we moved and it took me 15 minutes to give it a little makeover so it looks nice on display as well as being useful.
You will need
wooden broom – ideally with a broom head that is removable
paint (I’ve used matt emulsion and a clear varnish to seal)
paintbrush
masking/washi tape
screwdriver
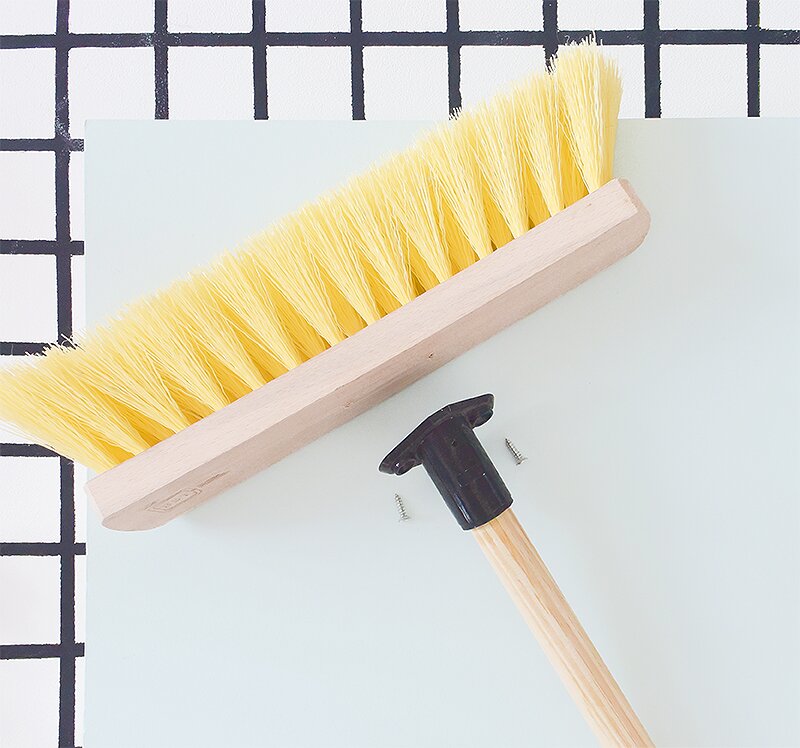
Start by removing the broom head from the handle. This will make it easier to paint. If your broom doesn’t have a removable head, don’t worry, just be extra careful when painting the head.
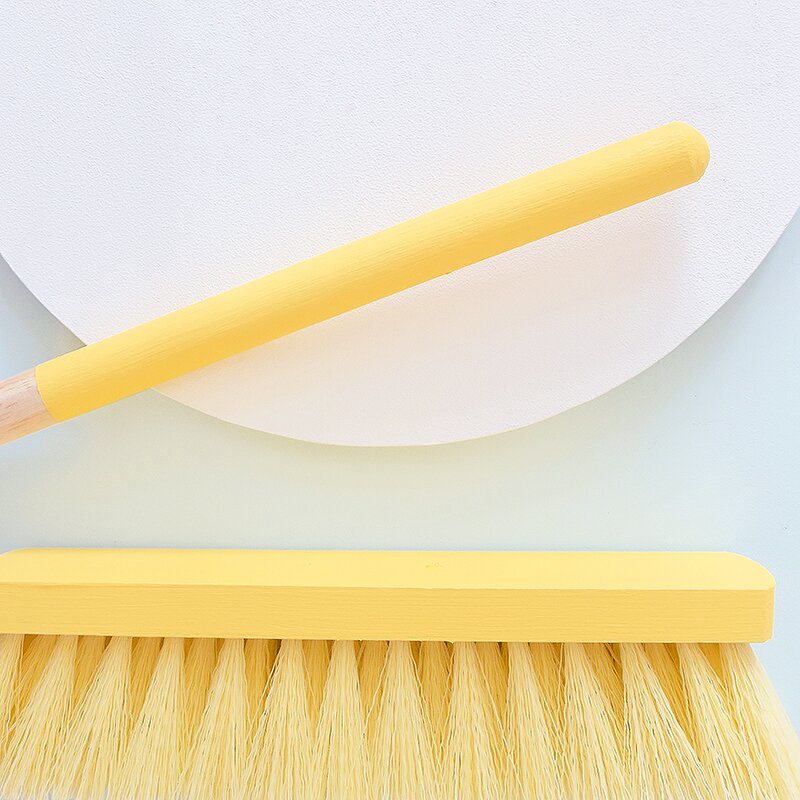
Using masking/washi tape, mark out where you want your painted area. I’ve just painted the top third of the broom handle but you could use your tape to create stripes or other patterns.
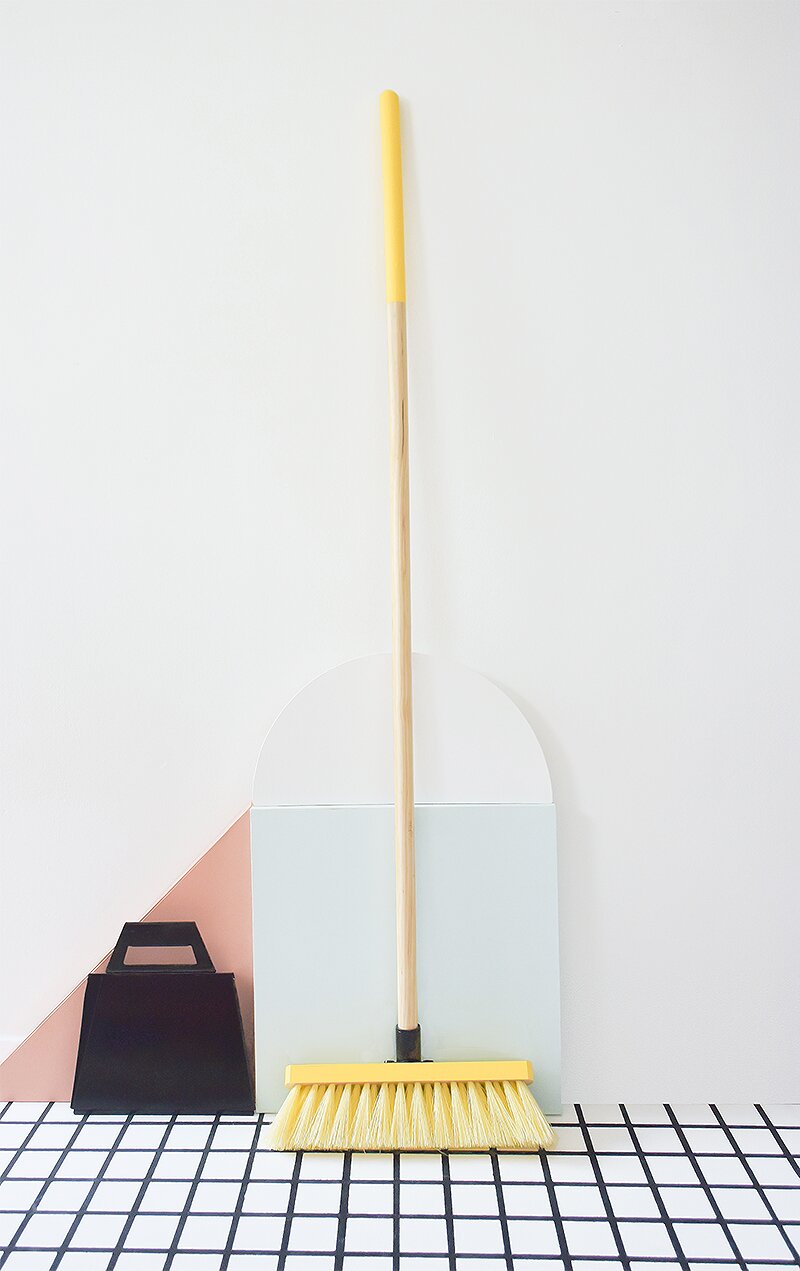
Paint the broom head and handle and leave to dry. Once you’ve painted 1-2 coats, protect your paintwork with a coat of clear varnish. This will help stop chipping and it’ll be easier to clean too. Once everything’s dry, reattach the broom handle to the head and start sweeping! It’s not made sweeping up any more fun but it does make the kitchen look good!
We’re thinking of moving in the next few months so most people would think it’s a bit silly to attempt a bathroom makeover now. Even if I only get to enjoy this for 2 months, it’s still worth it and better than the blank wall that was there before! This DIY is really easy and is non-permanent and easy to remove so it’s perfect for renters.
You will need
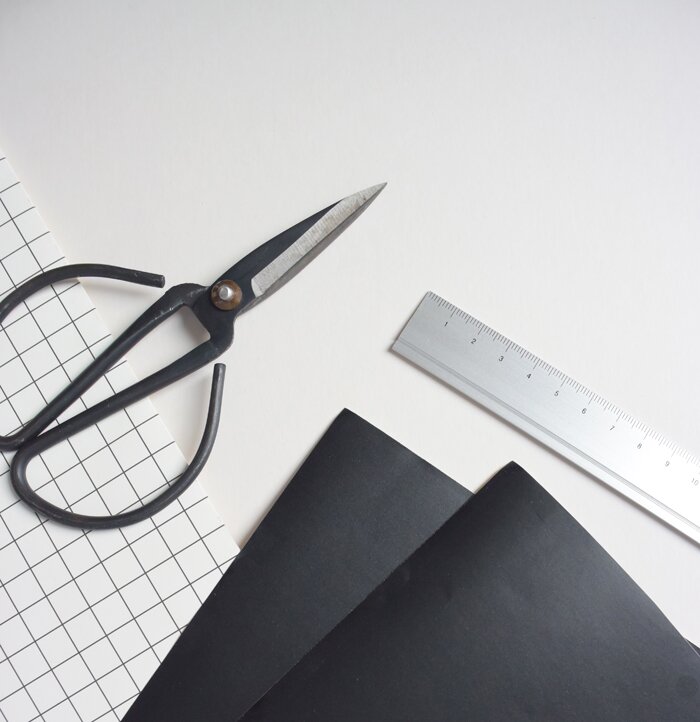
Sheets or roll of sticky back plastic / self adhesive vinyl (I used 2 A4 sheets of black matt vinyl)
Craft knife / scissors
Cutting surface
Ruler
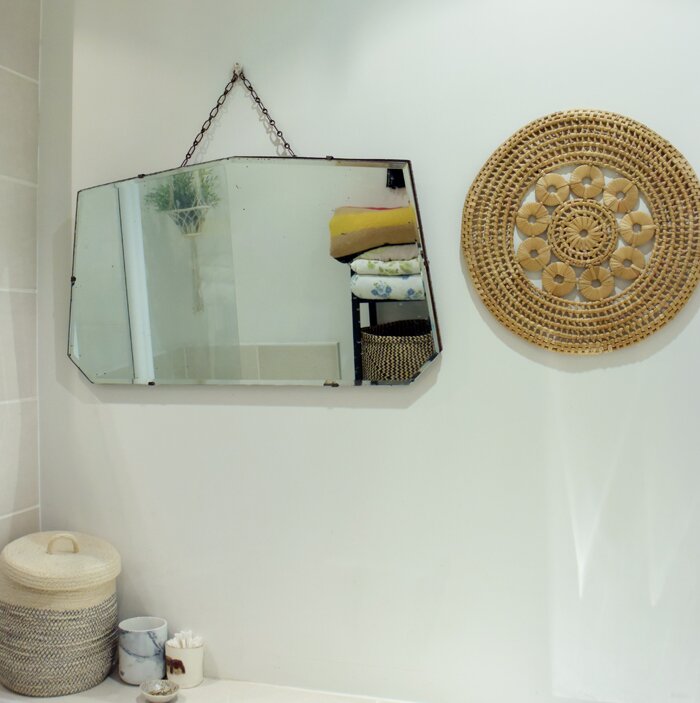
Here is how the wall looked before. It’s a small bathroom, with no natural light (hence the terrible photos!). It’s a new build, so everything is very modern but white and BEIGE. I wanted to create a feature wall, on the wall which we see and use most.
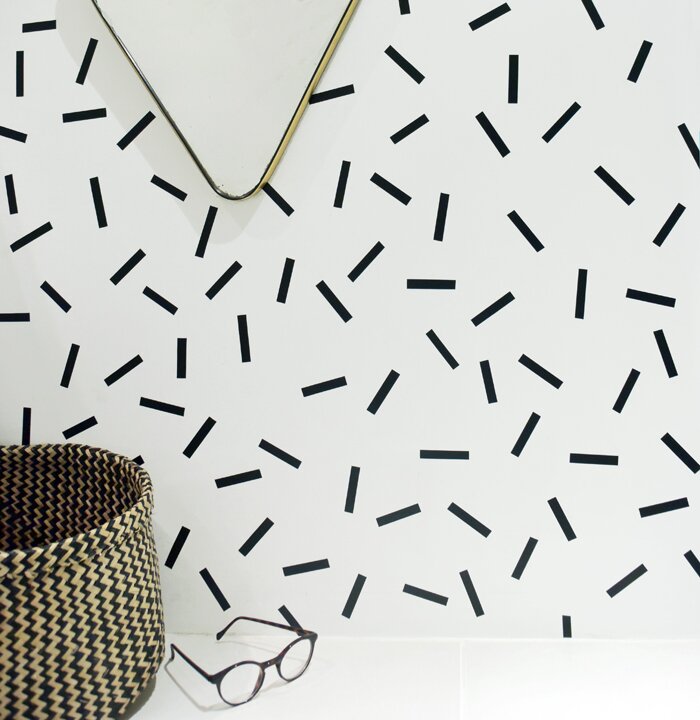
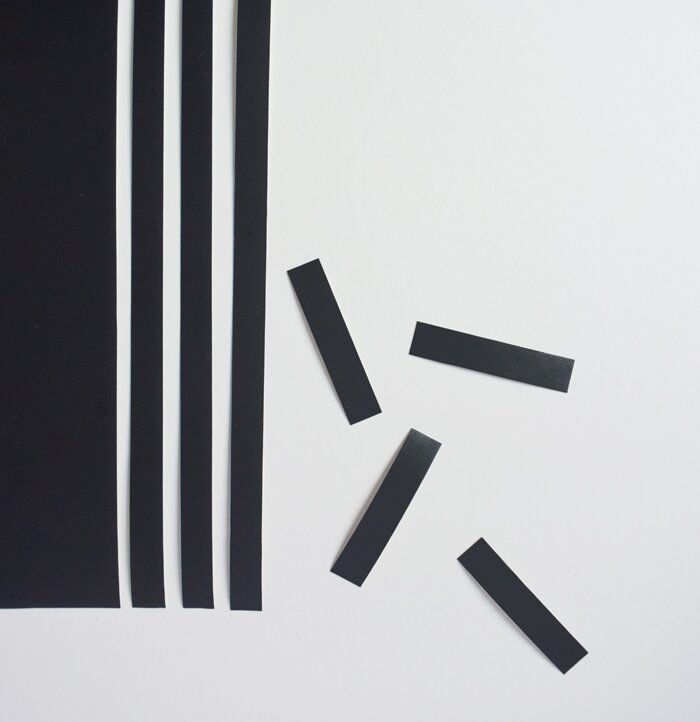
Using your ruler and scissors / craft knife, cut your vinyl into strips and then cut into equal, smaller strips. My strips measure 6cm x 1.2cm. Once you have a nice big pile of confetti, it’s time to decorate your wall.
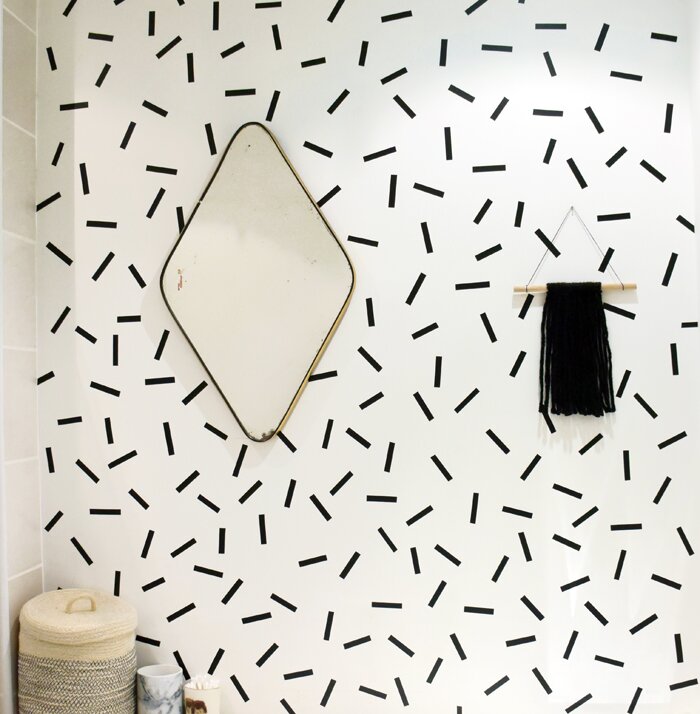
Wipe down the wall surface first to make sure it’s clean and dust / dirt free. Arrange your confetti in a random arrangement, trying to keep them all quite evenly spaced. But if you’re not happy with the placing of your confetti, simply remove and re-stick. Keep going until you’ve filled your wall. I got so far standing but then got on a stepladder to finish the top half.
I’m really happy with the finished wall. It’s something a little more interesting in what was a really dull space (it’s a bathroom, how exciting is it going to get?). And I think the pattern actually helps me wake up in the morning when I see it. How removable the vinyl is will depend on the surface of the wall. Always do a test first to make sure you will not damage your paintwork! I chose black vinyl to try to dampen down the beige bathroom vibes but I’d love to try a multi-coloured confetti pattern somewhere.