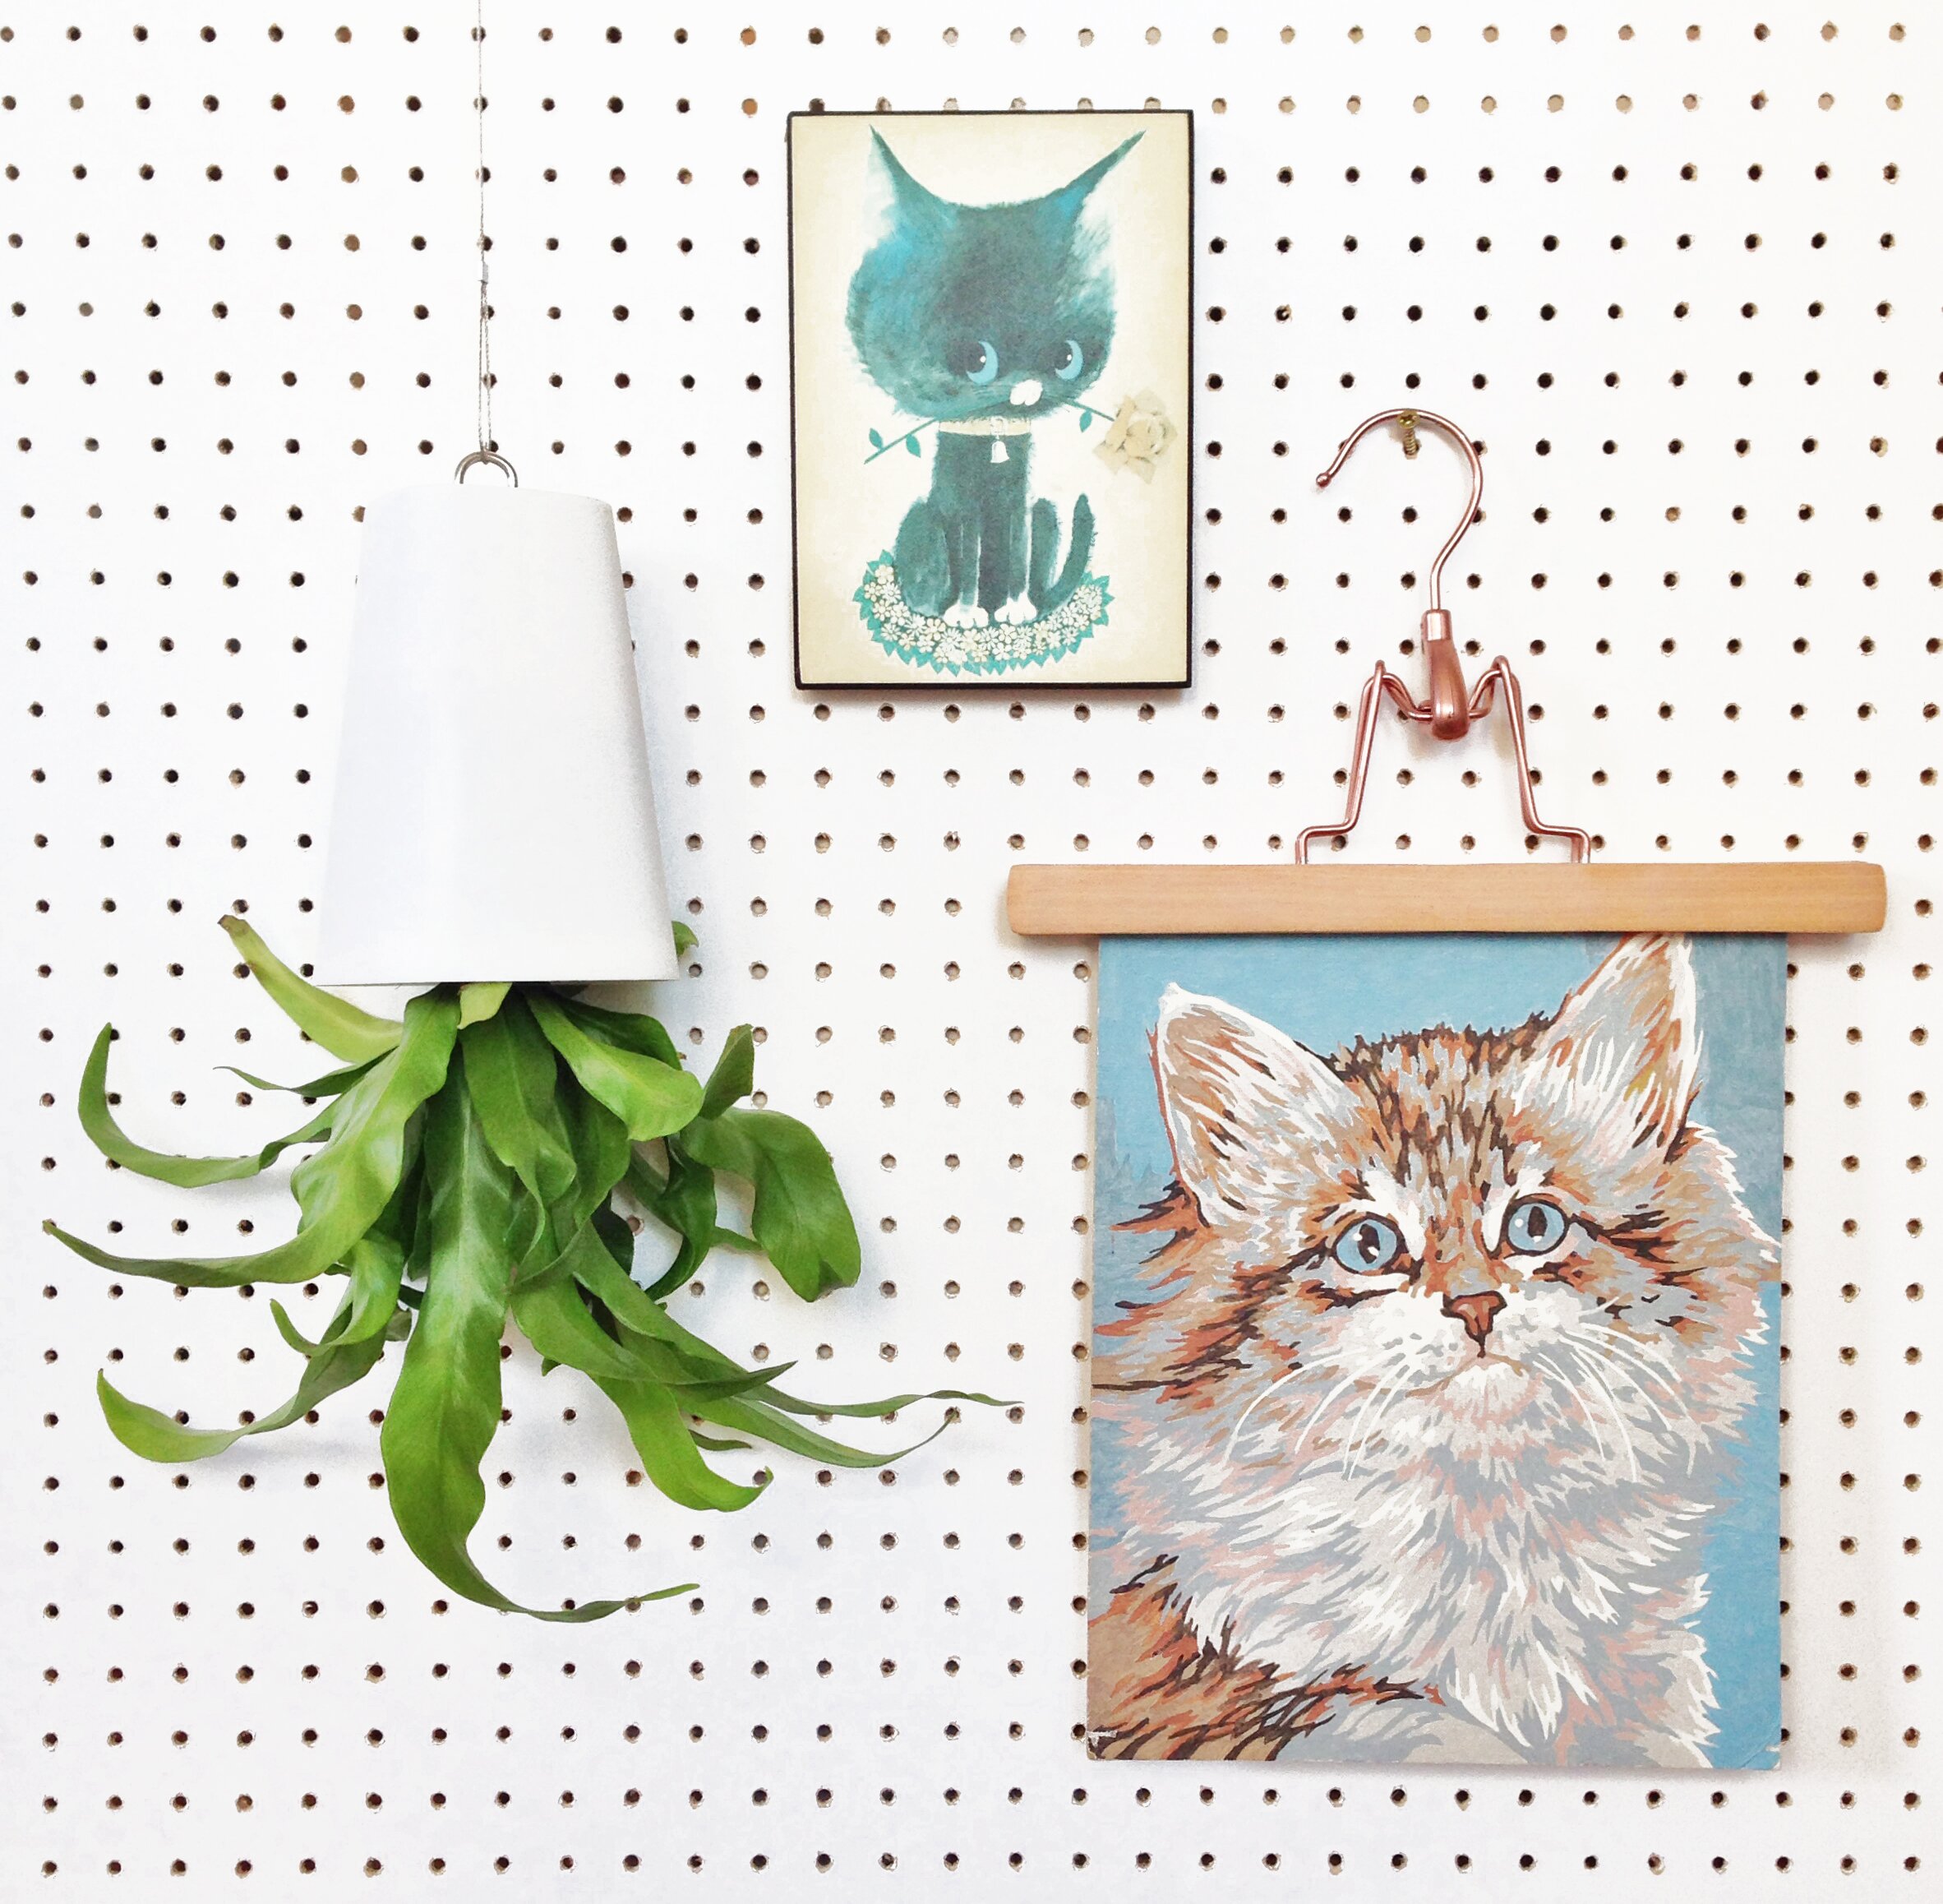
Hands up who likes pegboard? Me! Me! ME! The DIYer’s best friend is making a huge comeback as I’m sure you’ve seen in the kitchens and craft rooms of . It can be hard to come by here in the UK so here’s a simple DIY to help you add some to your home.
STEP ONE | PRINT YOUR FABRIC
You will need :
White cotton fabric (approx 55cm x 150cm if you want to make a 45cm x 45cm cushion)
Black fabric paint
Stippling sponge (available at most art shops)
Plate (not used for food)
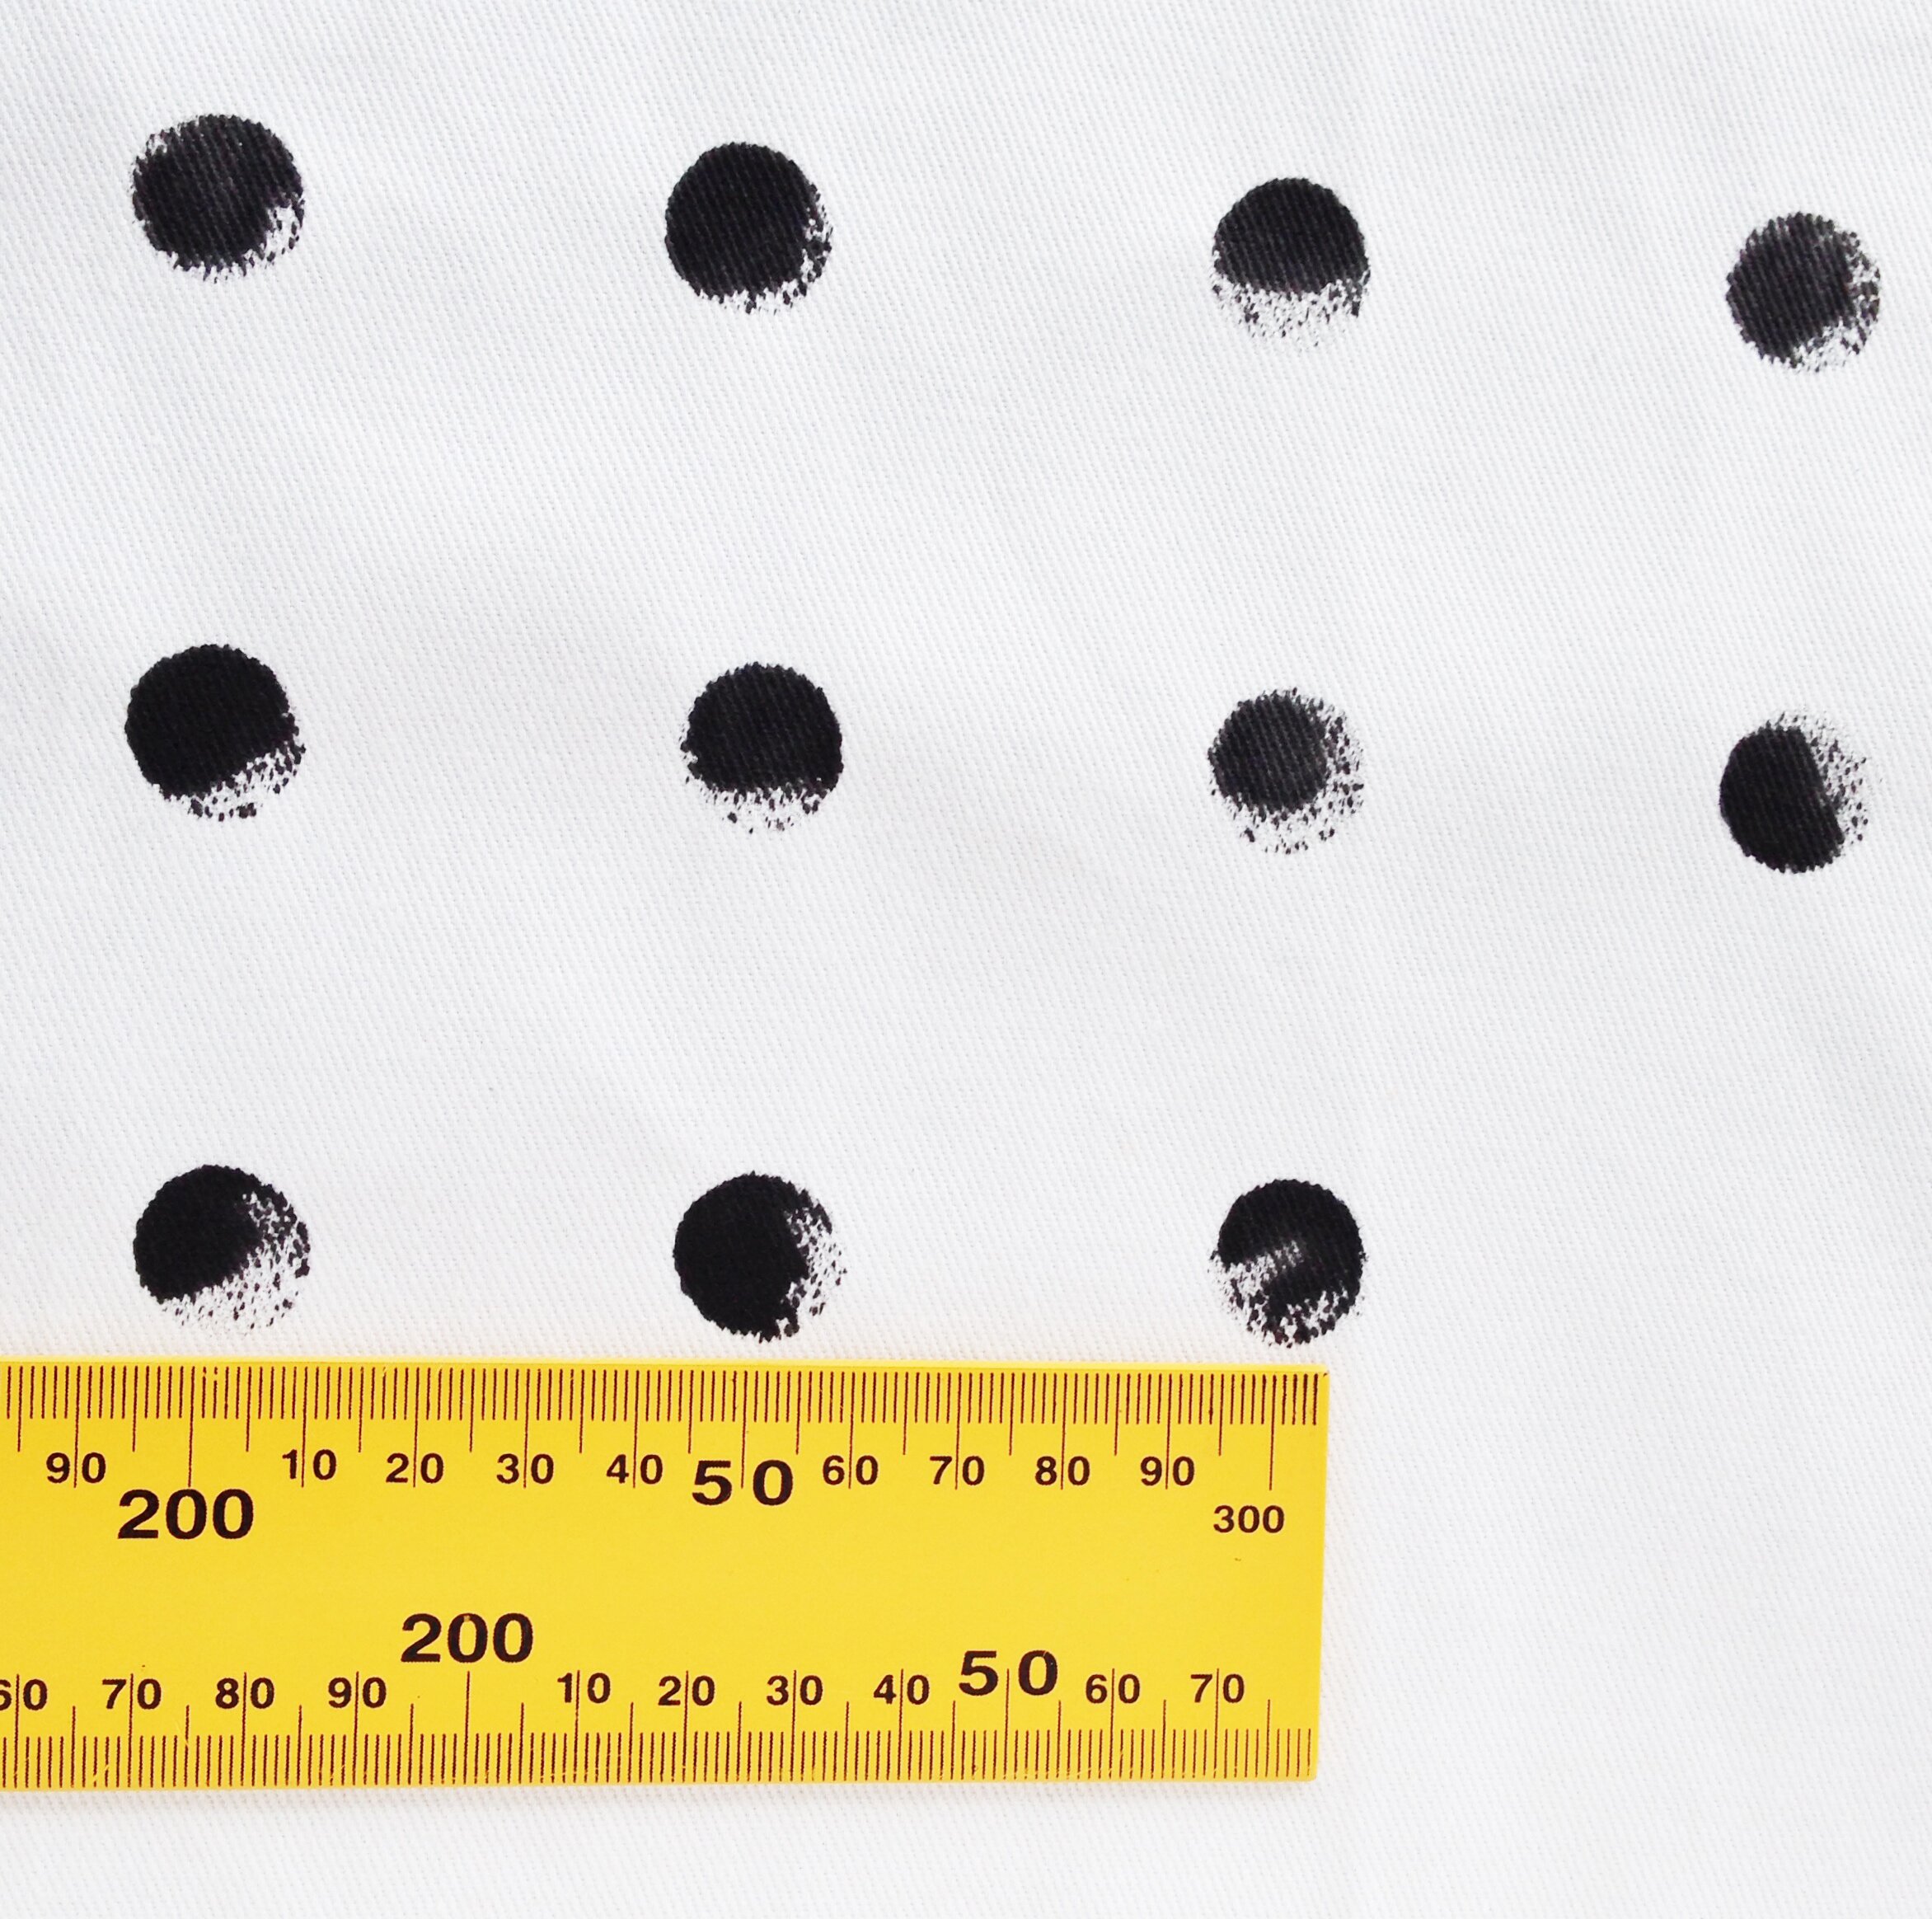
Ruler / measuring tape
Newspaper / plastic or similar protection for your work surface
Tea towel / Cloth
Iron
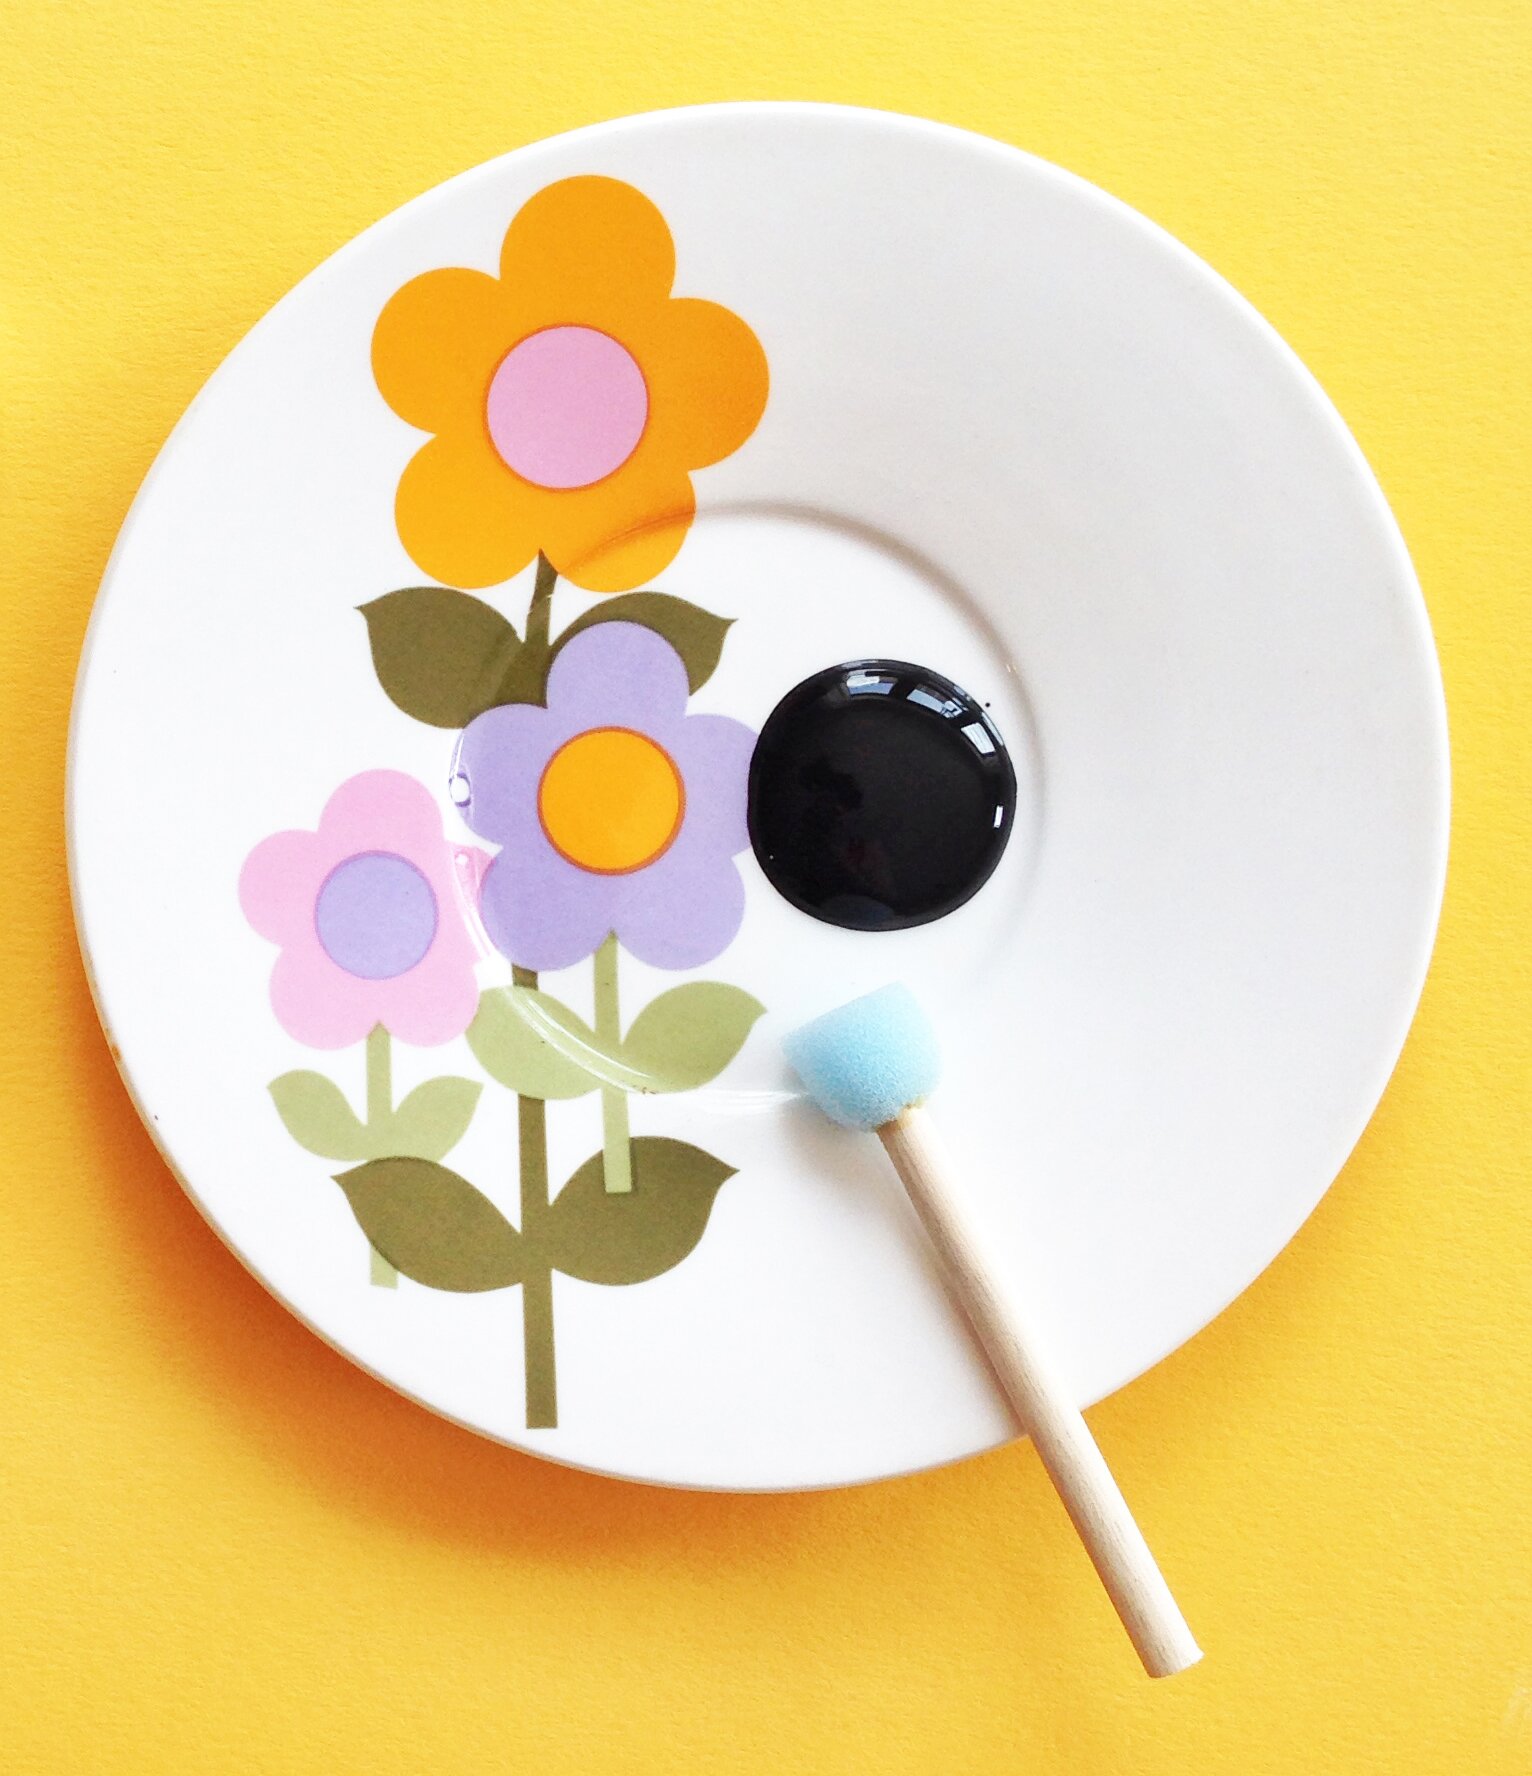
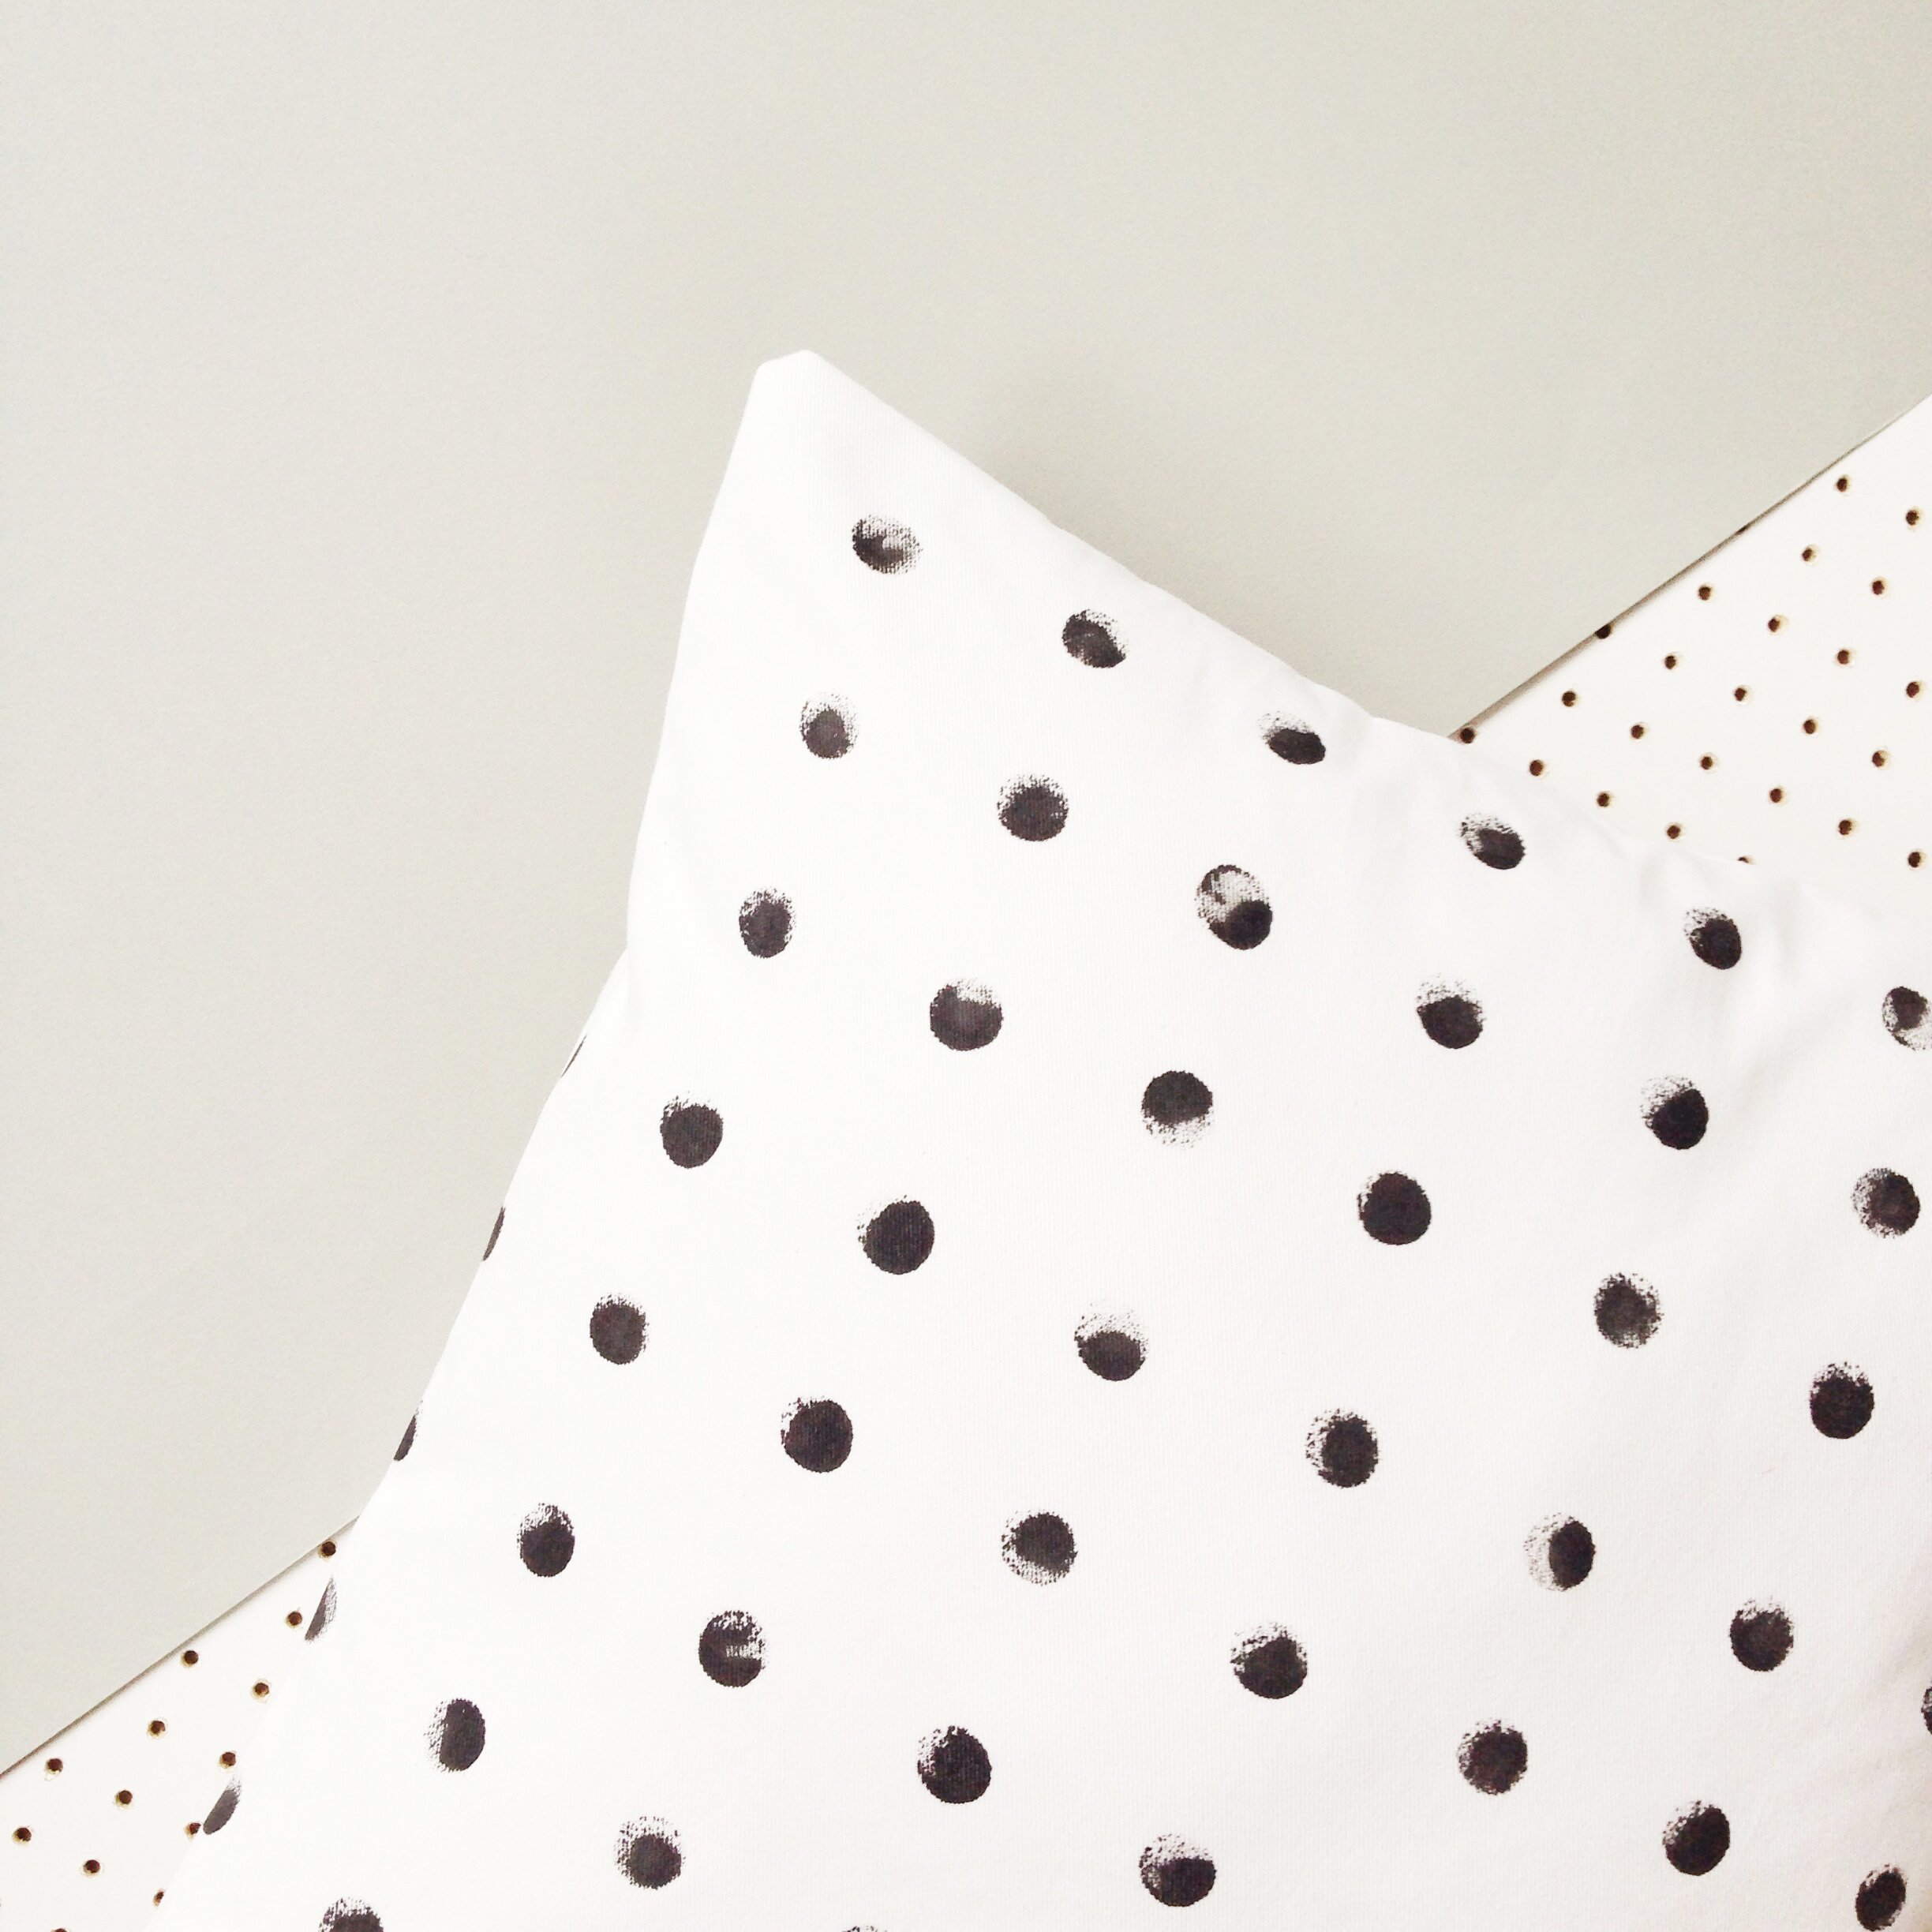
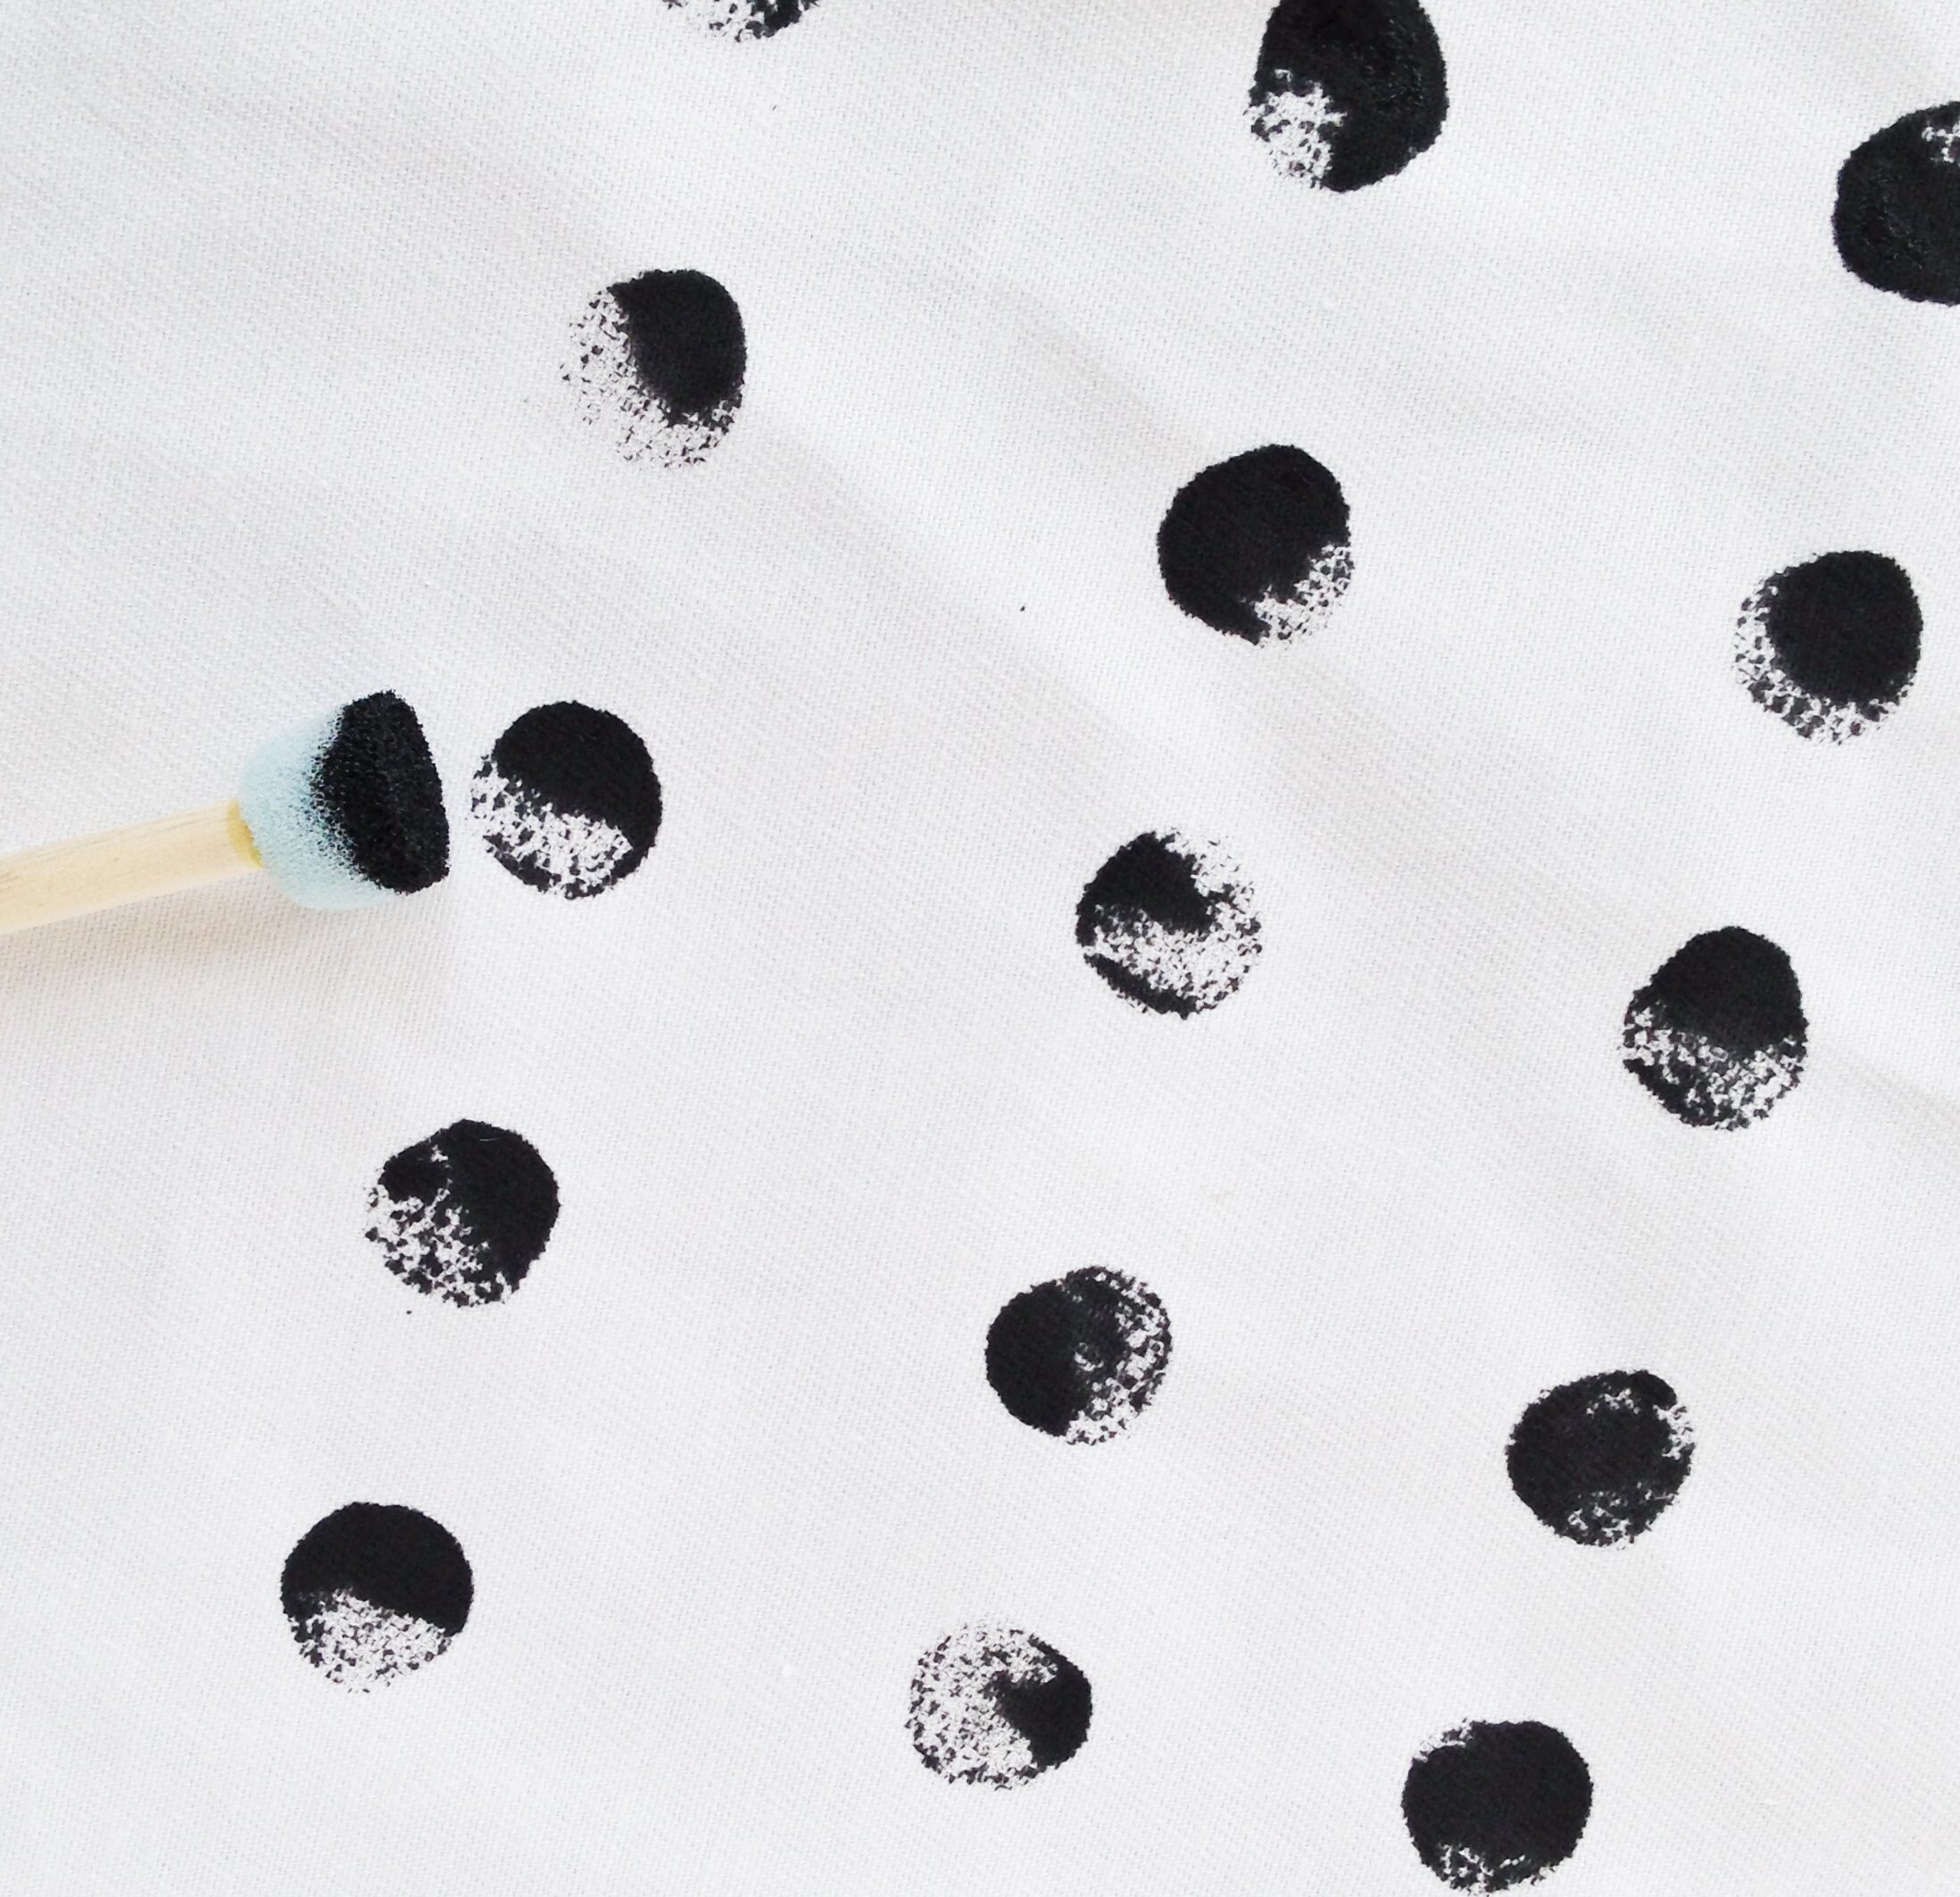
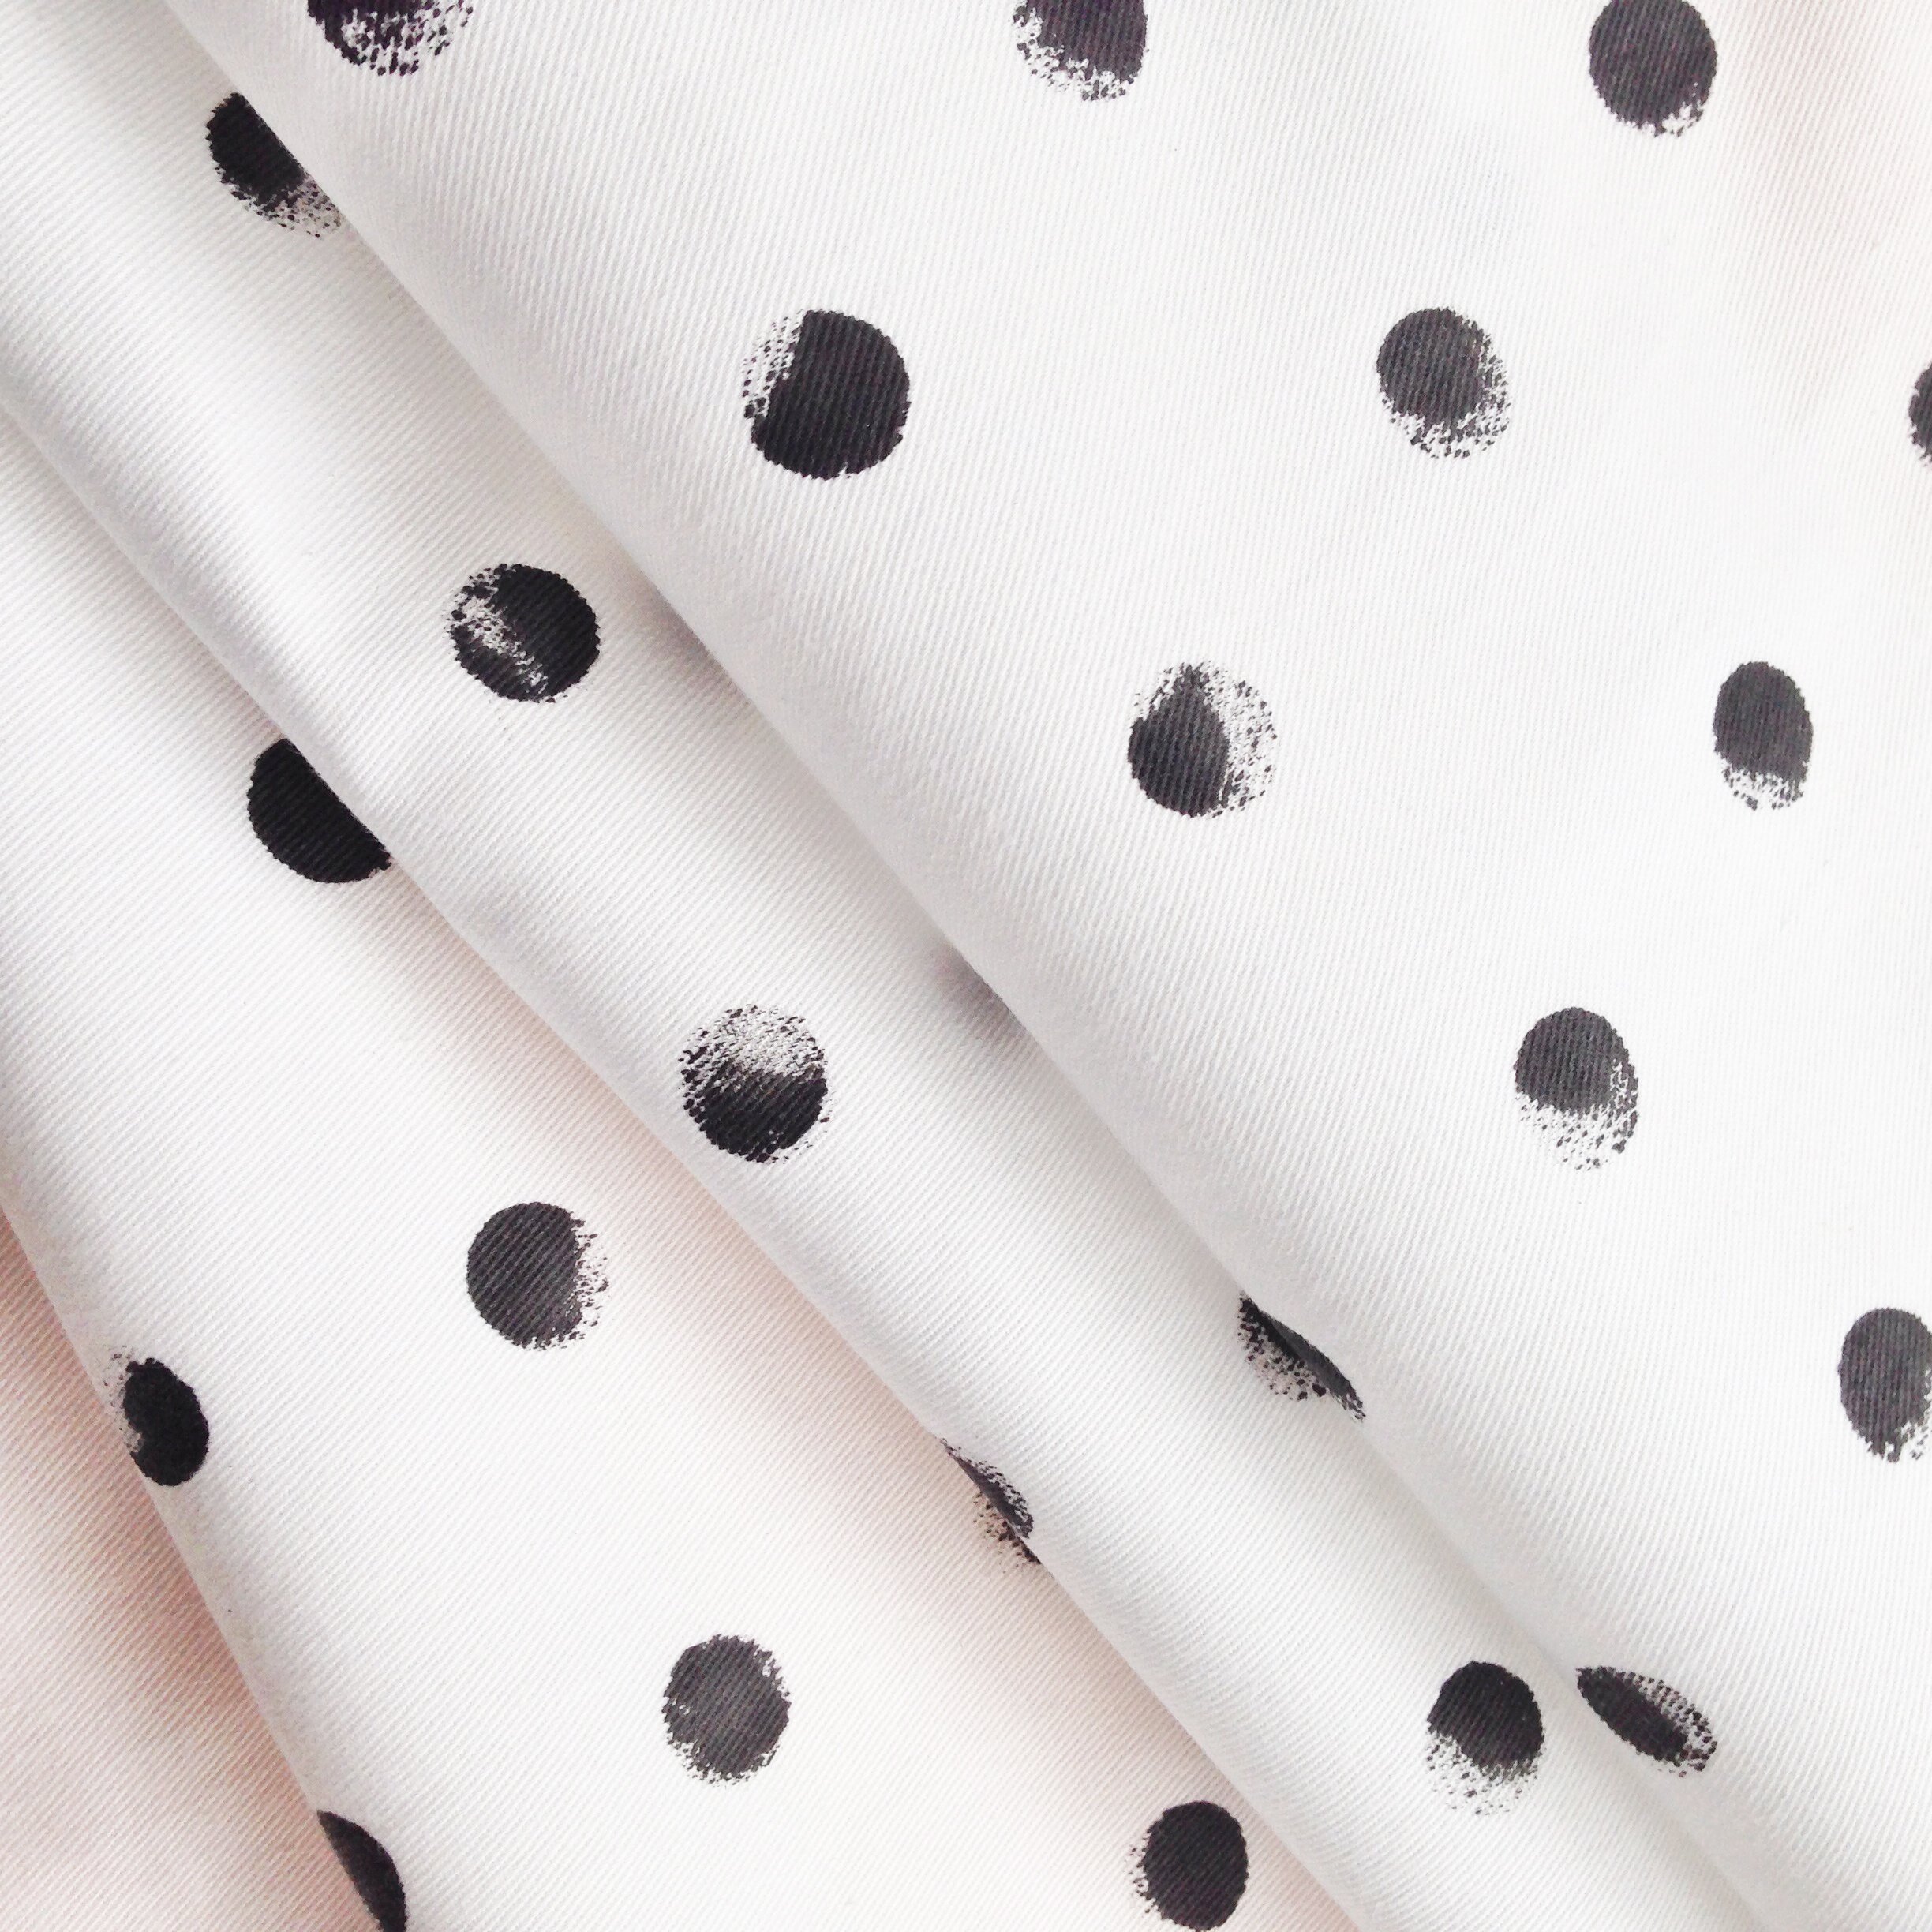
Lay out your newspaper on your work surface then place your fabric on top. It’s important that there’s a barrier between the fabric and your surface as the fabric paint may seep through and damage your table. Pour out some paint onto your plate and load up your stippling sponge. Starting in the top left corner, begin printing your dots. It’s a good idea to test on a scrap of fabric to judge how heavy you want to press down on the fabric to see what effect you prefer. Loading up your sponge with lots of paint and pressing heavy will give you a more opaque dot. I liked to re-load up my sponge after every other dot so every dot didn’t look exactly the same.
It’s also a good idea to use a ruler or measuring tape to try to get the dots evenly spaced, although it’s ok to go a bit wonky as you can see from my attempt!
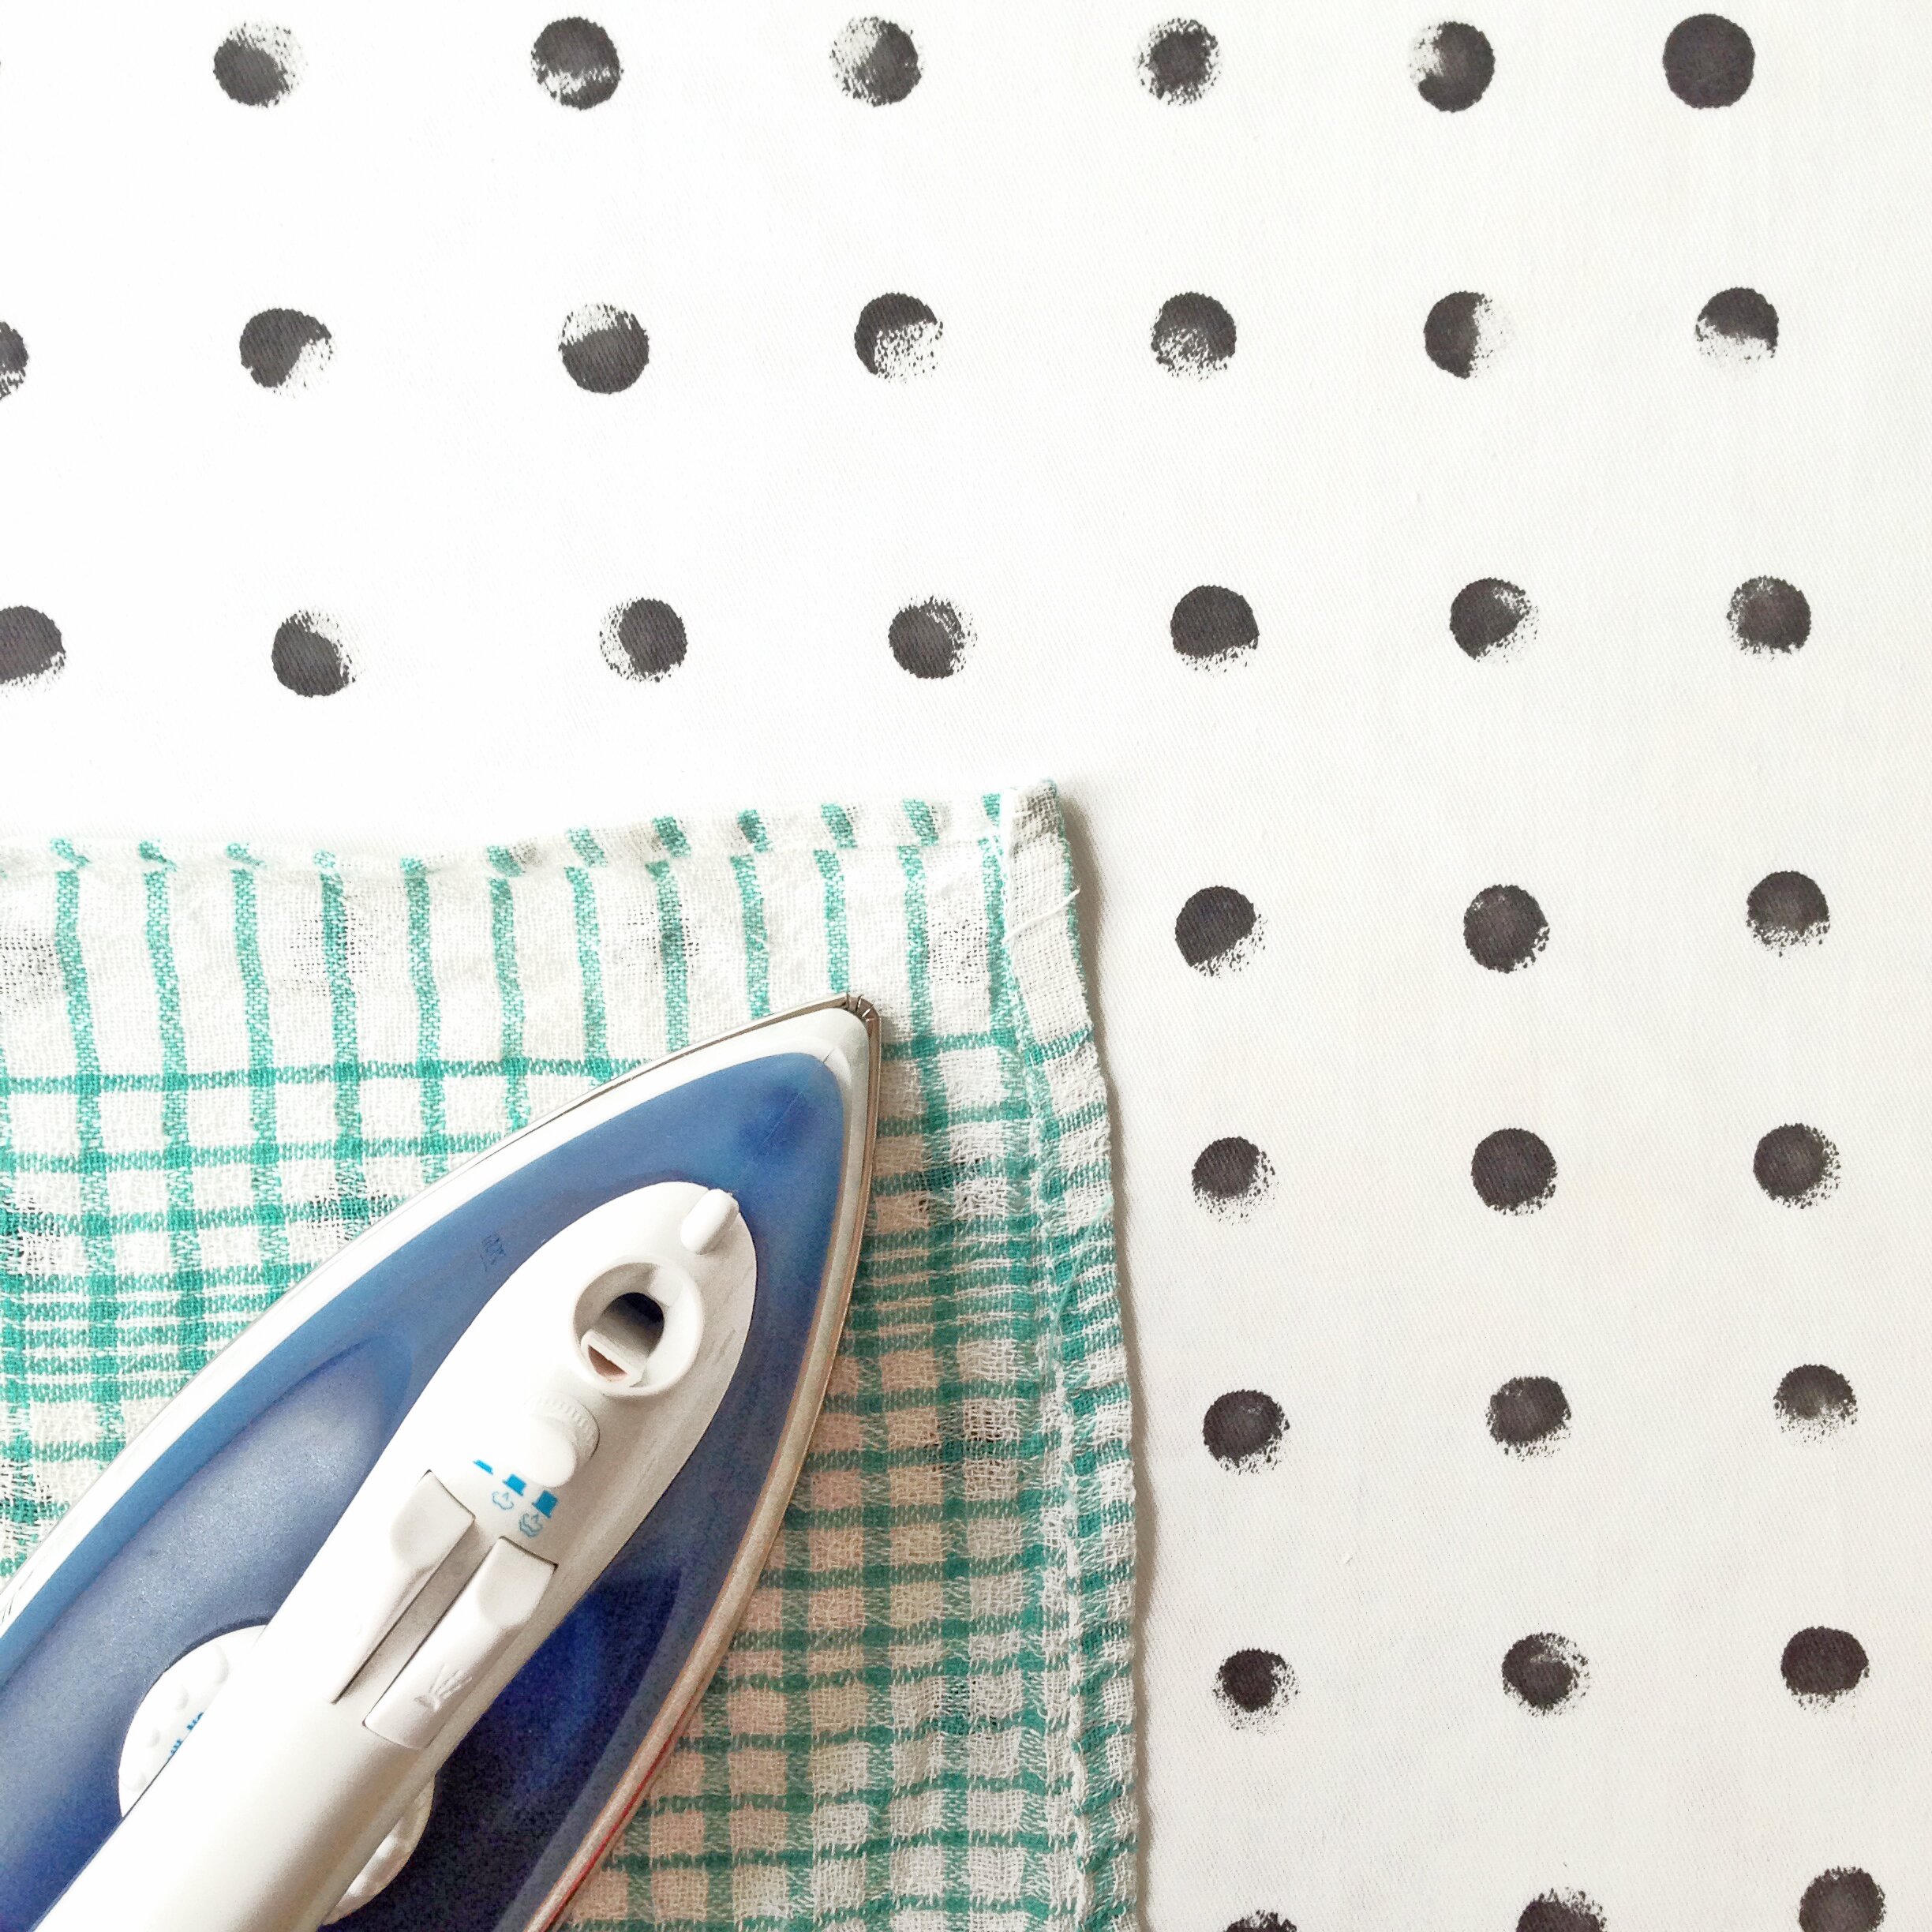
Once you’ve finished printing, leave your fabric to dry for at least an hour. When dry, place a tea towel or clean cloth on top of the fabric and iron on a high heat for around 1-2 minutes. This action will fix the paint to your fabric and make it safe to wash / get wet.
And now you have your pegboard inspired fabric! Time to turn it into a cushion.
STEP TWO | SEW YOUR CUSHION
You will need :
Sewing machine
Scissors (regular and pinking shears)
Pins
Iron
Cushion inner (45cm x 45cm or 50cm x 50cm if you want a really plump cushion)
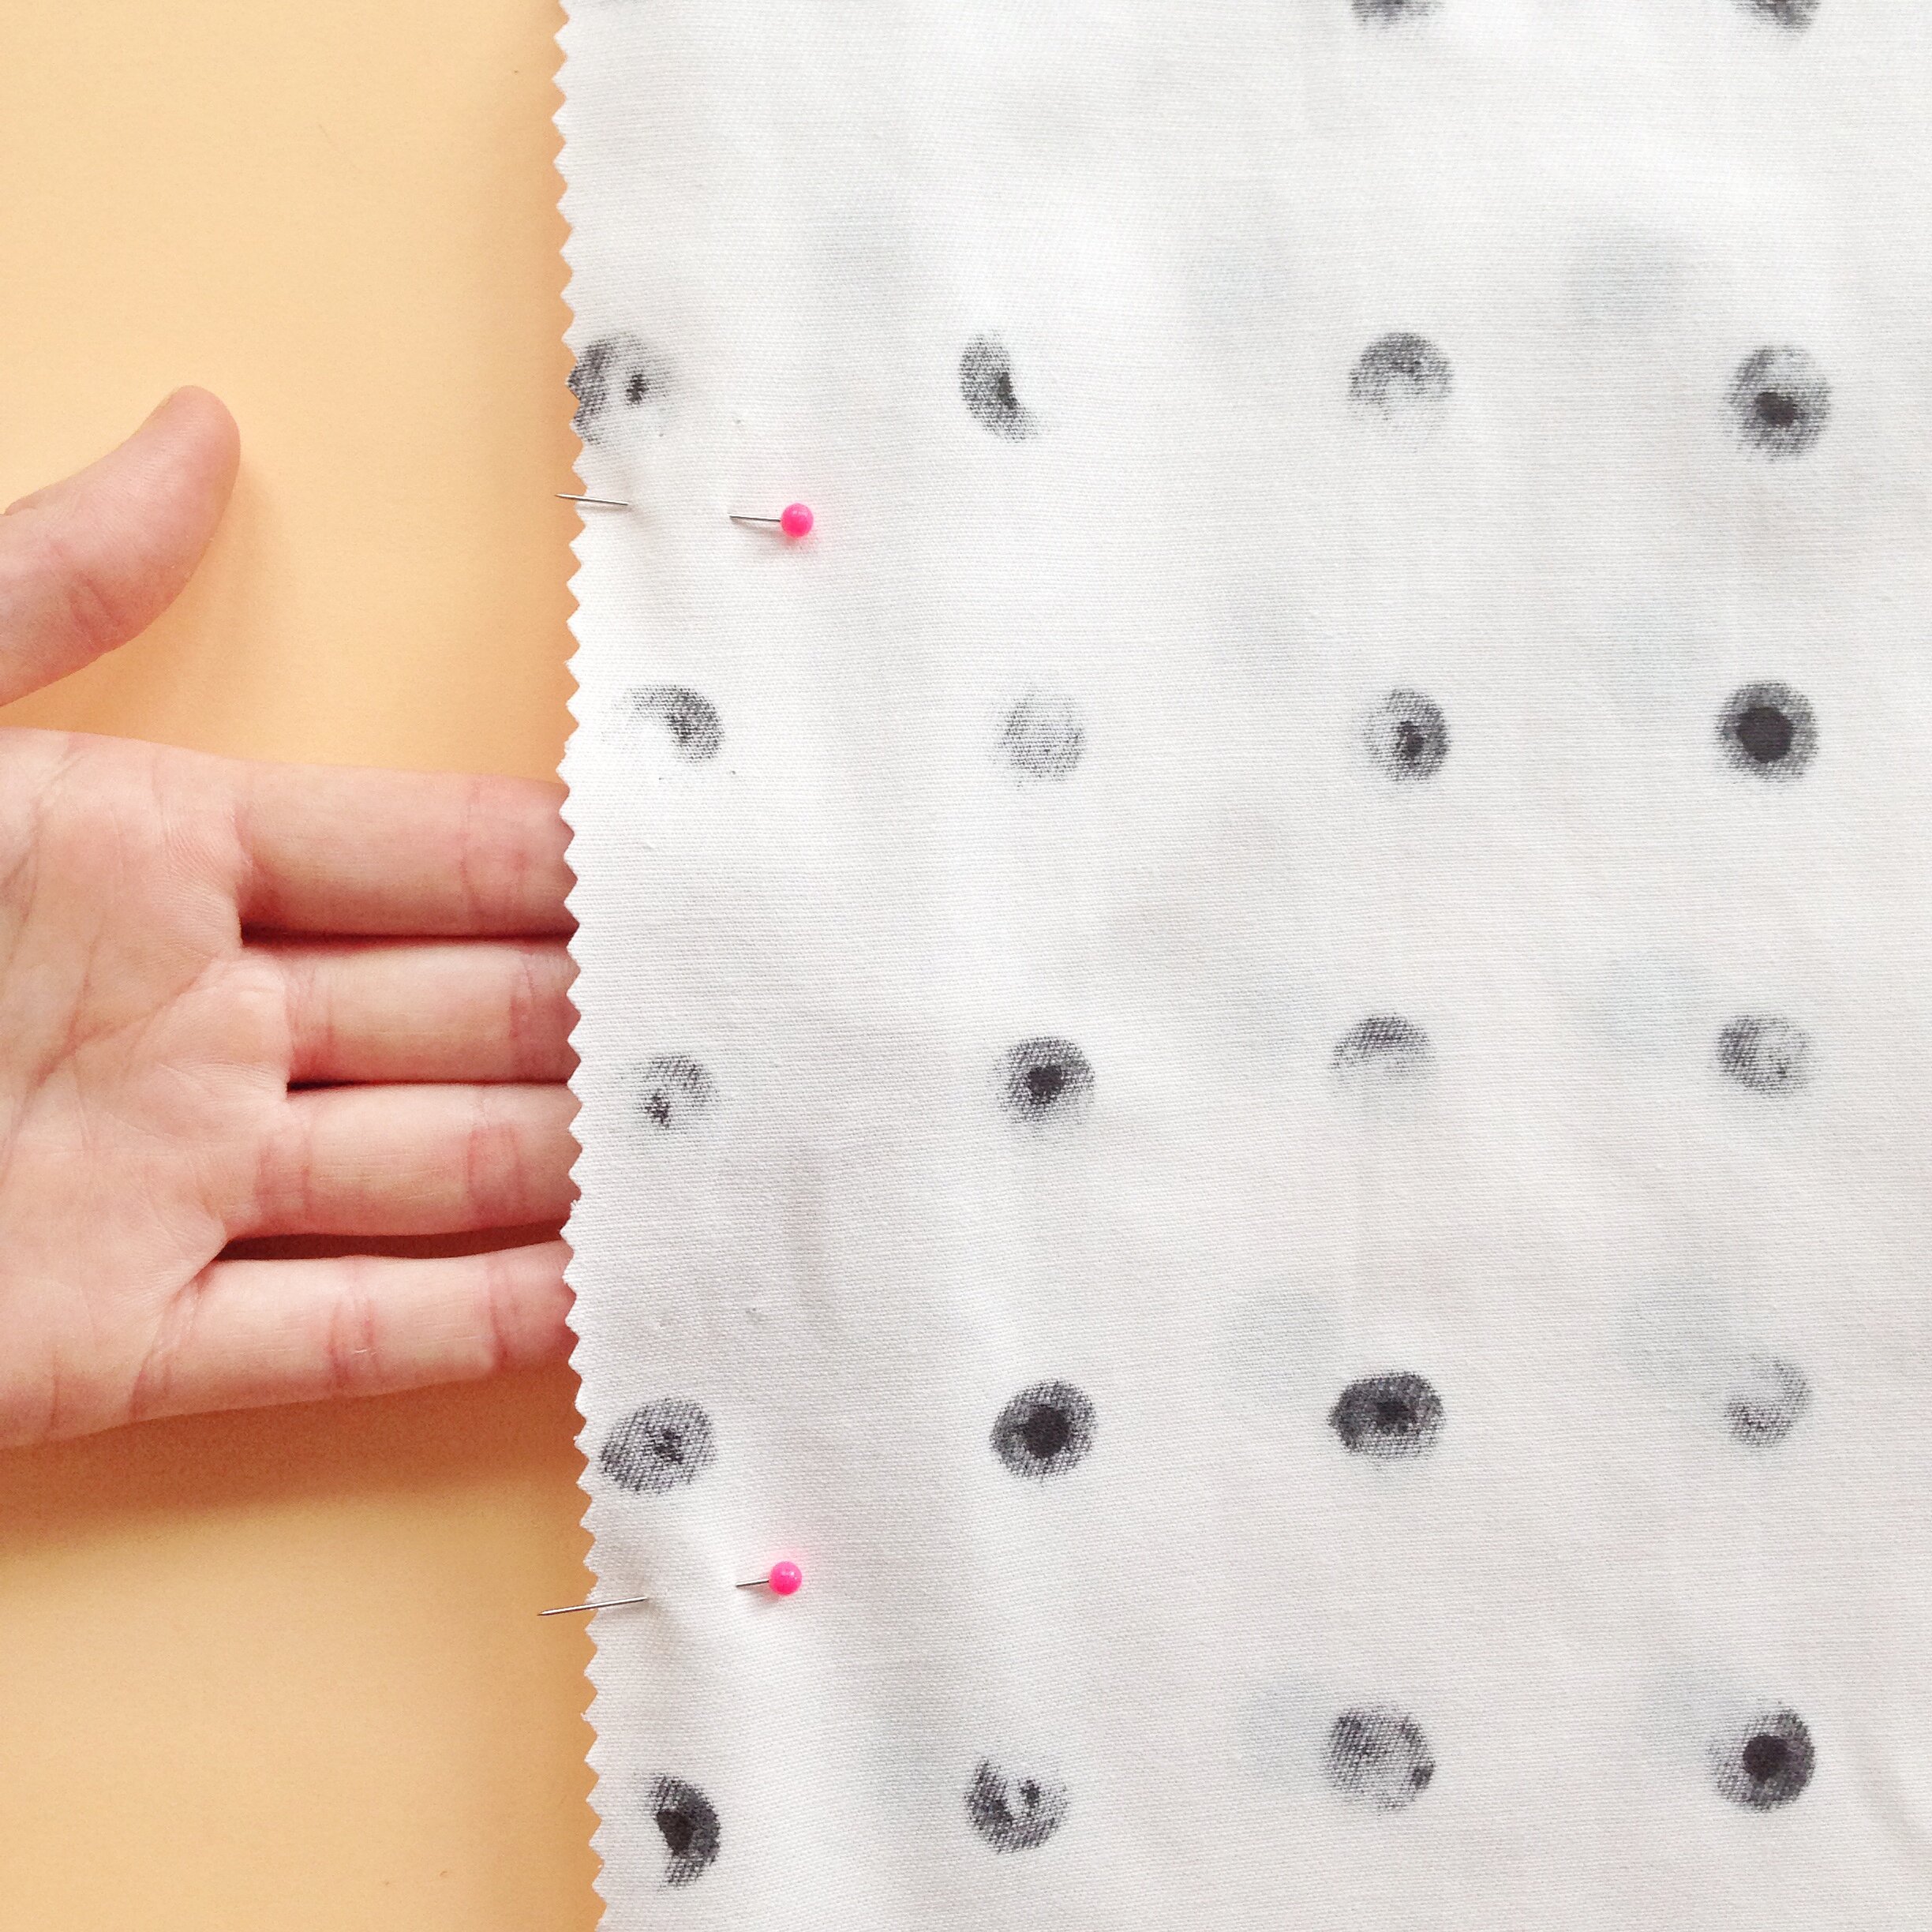
Cut out your 2 cushion pieces from your pegboard fabric. Each should measure 47cm x 47cm. Place them together, pattern sides facing and pin together along 3 sides, leaving one open.

On the open side you want to leave a gap which will be big enough for your cushion inner to squeeze through. Pin a few inches in on each side and leave your gap in the middle. You will not be sewing the gap at this point.
Using your sewing machine, sew around all sides (making sure not to sew the gap you made for the cushion inner). Sew approx. 1.5cm from the edge. When you’ve finished, cut your 4 corners at a diagonal being careful not to go too close to the stitching.

Using your pinking shears, trim all your edges to approx. 1 cm wide. You can now turn your cushion the right way round. Using the point of your scissors, carefully push the cushion corners into points. Be careful not to push too hard or you’ll rip through the fabric. Give your cushion a quick iron then take your cushion inner and fit inside the cushion cover. Now the cushion is inside, to close the gap you can either hand stitch or machine stitch it closed. Turn the gap fabric back in on itself and stitch closed.
That’s it! You now have your very own pegboard inspired cushion! There are obviously different and more complex ways (zip closure, envelope, etc…) to make a cushion, especially if you want to make it removable for washing purposes. I wanted to make this tutorial as simple as possible using basic sewing skills so anyone can do this. If you would like tips on how to make a more complex cushion, get in touch using the contact page and I can help.