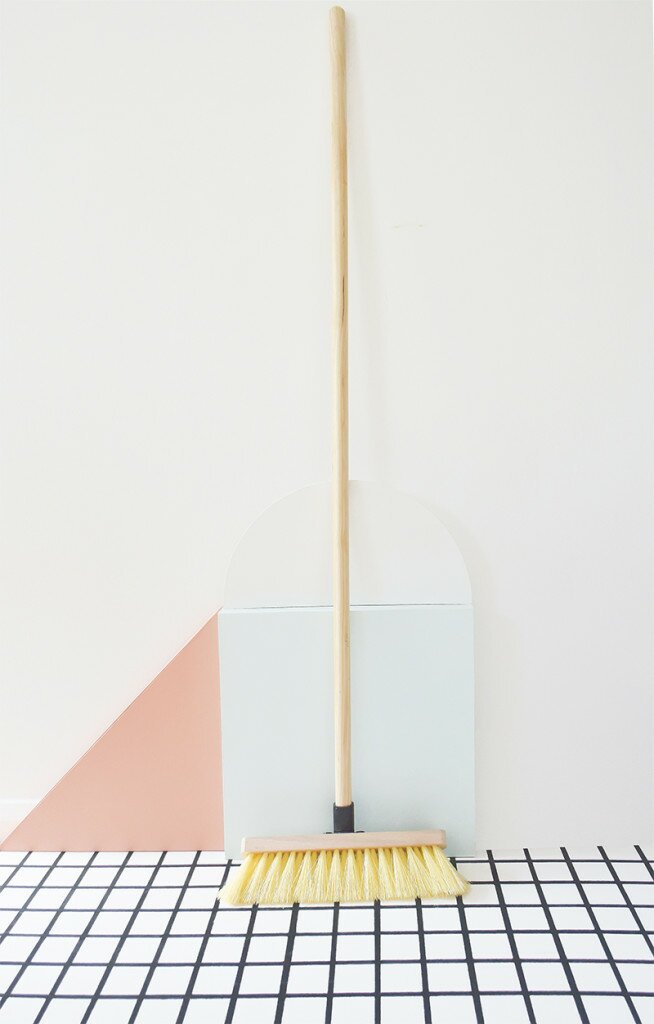
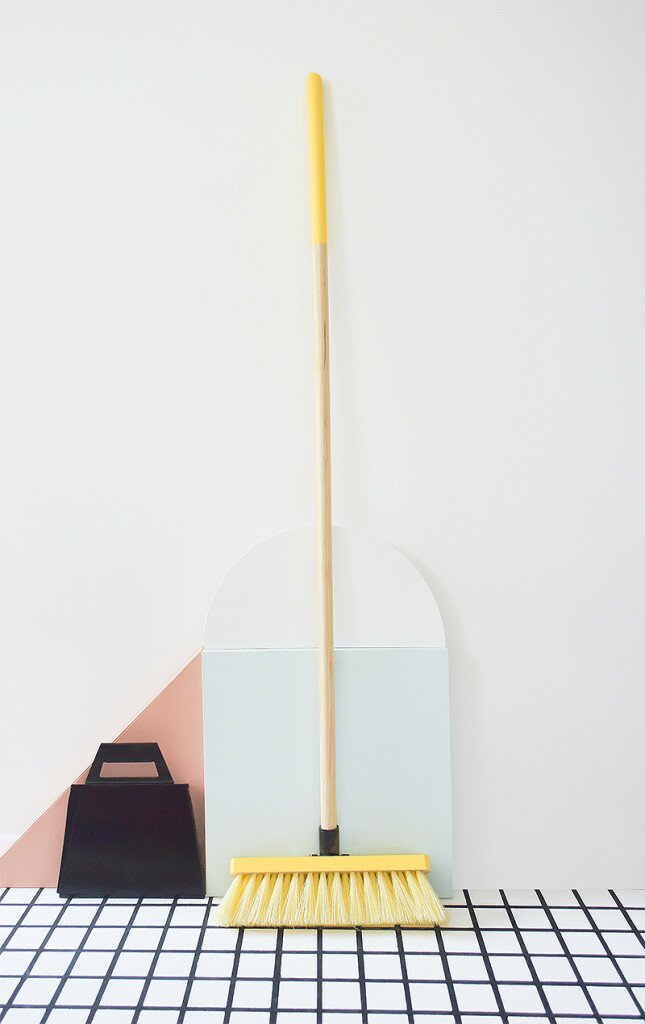
We don’t have a lot of storage space in the new flat so some things have to be out on display – there’s nowhere else for them to go! We bought this wooden broom when we moved and it took me 15 minutes to give it a little makeover so it looks nice on display as well as being useful.
You will need
wooden broom – ideally with a broom head that is removable
paint (I’ve used matt emulsion and a clear varnish to seal)
paintbrush
masking/washi tape
screwdriver
Start by removing the broom head from the handle. This will make it easier to paint. If your broom doesn’t have a removable head, don’t worry, just be extra careful when painting the head.
Using masking/washi tape, mark out where you want your painted area. I’ve just painted the top third of the broom handle but you could use your tape to create stripes or other patterns.
Paint the broom head and handle and leave to dry. Once you’ve painted 1-2 coats, protect your paintwork with a coat of clear varnish. This will help stop chipping and it’ll be easier to clean too. Once everything’s dry, reattach the broom handle to the head and start sweeping! It’s not made sweeping up any more fun but it does make the kitchen look good!


Leave a Reply